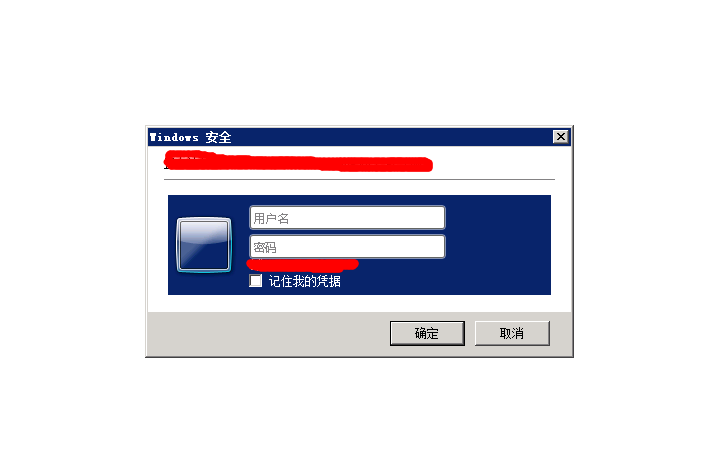
第一次设定好,记住你的凭据选上。 下次就直接登录了。
引用 1 楼 OrchidCat 的回复:第一次设定好,记住你的凭据选上。 下次就直接登录了。有没有具体的方案。
27,579
社区成员
68,558
社区内容
加载中
试试用AI创作助手写篇文章吧


 发帖
发帖 与我相关
与我相关 我的任务
我的任务
 分享
分享