Android

多個圓形button整齊排列,求教
 墨衍会员 · AI 创作全网分发 墨衍智能分发 通过墨衍一键同步至各平台 可同步平台 CSDN微信公众号微博知乎掘金百家号博客园抖音小红书 你的文章也可以这样分发 墨衍会员 ¥399起/年,写一次发全网
我也要 关注 + 加入社区
想做個界面,要做圖形的button,每行四個,排7行,平均排列每行每列,如圖1,但現在圓行button會被拉伸,如圖2
求大神指點。在任何大小界面下都可以是圓形button,而且平均排列,間距一樣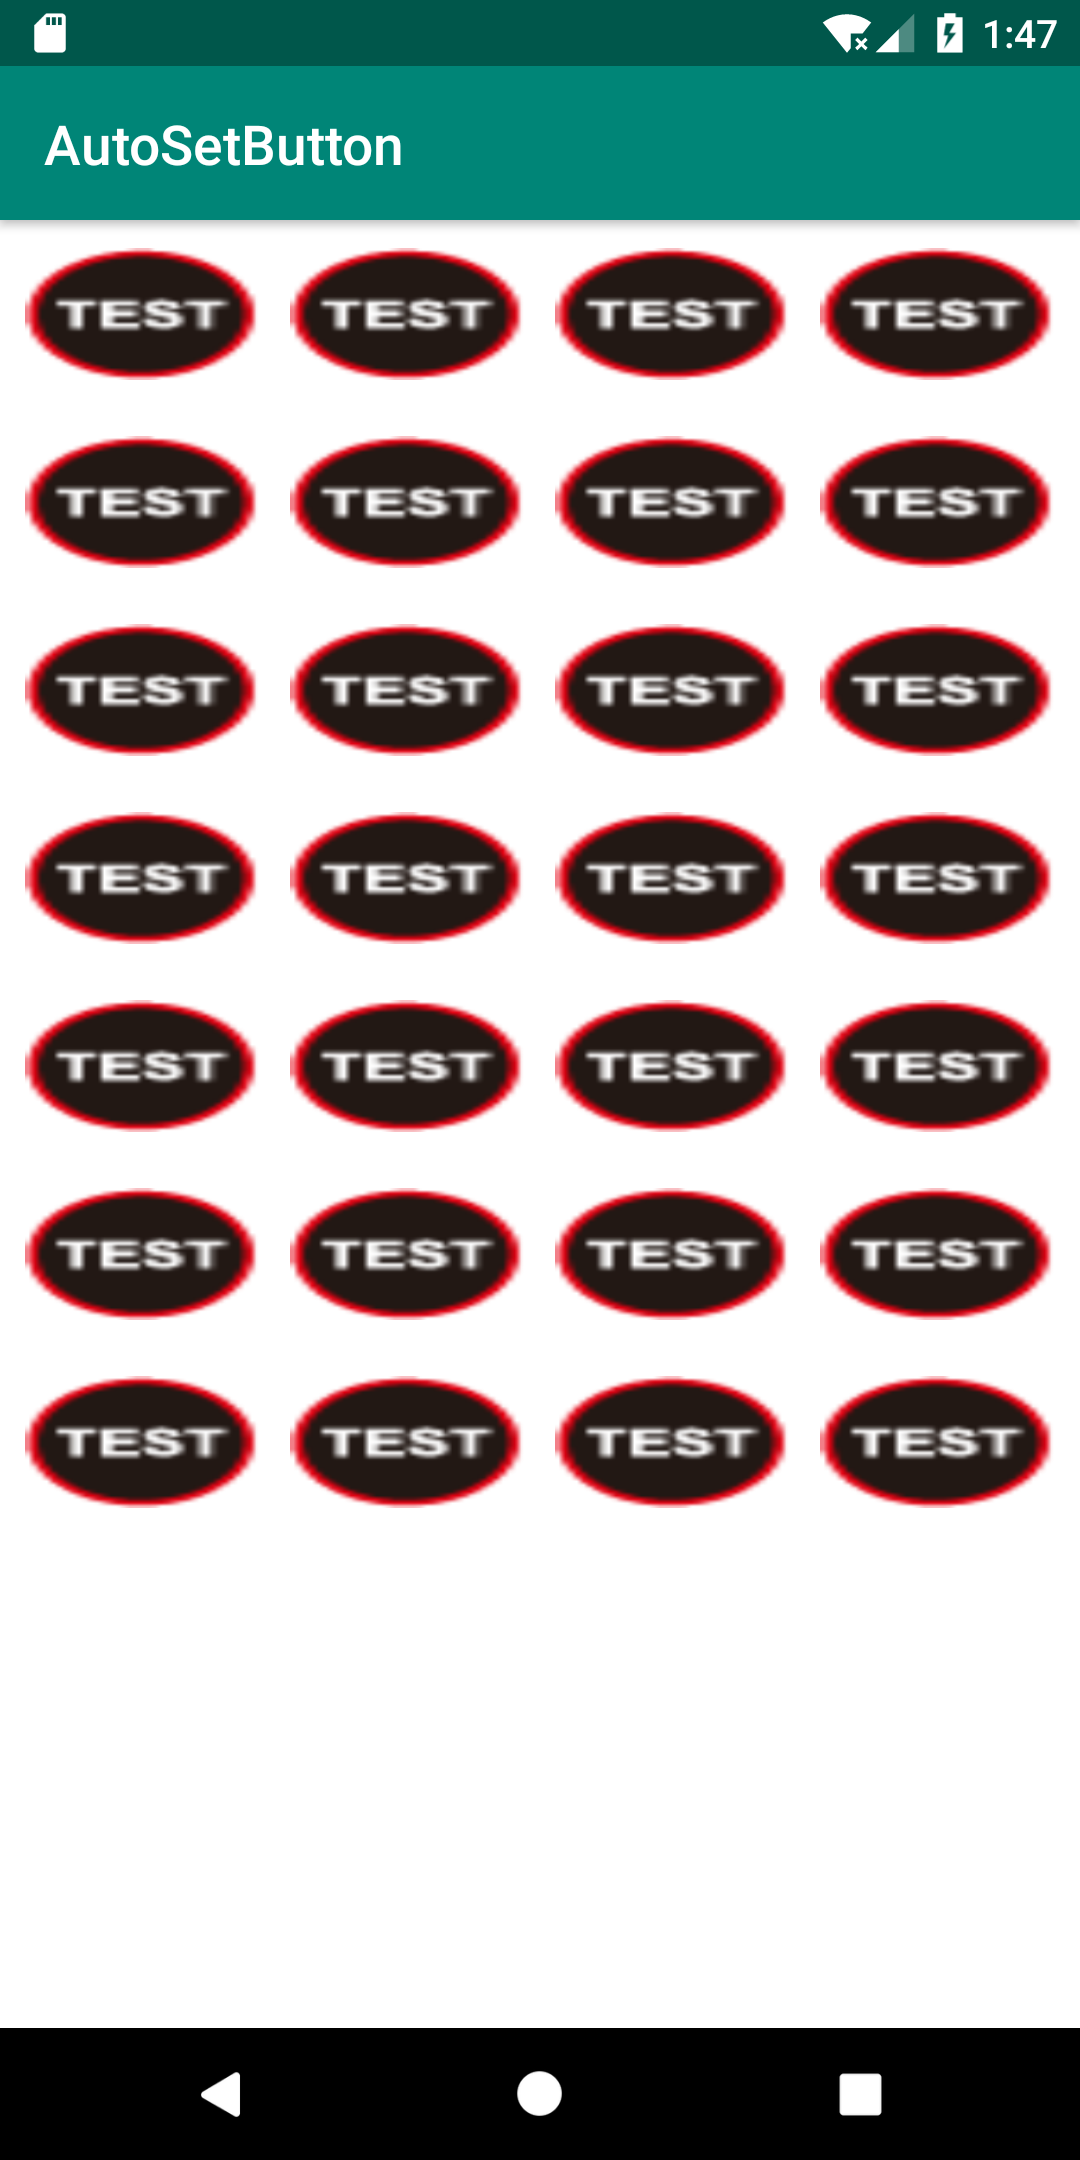
附上代碼:
主代碼:
public class MainActivity extends AppCompatActivity {
private static String[] irButtonName ={
"CH1","CH2","ON","LOCK","10","50","OFF","AUTO","100","300","SENS+","TEST","500",
"1000","SENS","SemiAuto","2000","24H","EYE","PULSE","30S","1m","3m","5m",
"10m","20m","30m","60m"
};
private LinearLayout contentView; //声明一个布局文件的引用
private View.OnClickListener btnOnClick; //声明button监听的引用
@Override
protected void onCreate(Bundle savedInstanceState) {
super.onCreate(savedInstanceState);
setContentView(R.layout.content_main);
contentView = (LinearLayout) findViewById(R.id.contentView);
this.initView(contentView);
}
public void initView(LinearLayout parentLL){
// LinearLayout parentLL = (LinearLayout) contentView;
int size = irButtonName.length;
LinearLayout.LayoutParams layoutParams = new LinearLayout.LayoutParams(LinearLayout.LayoutParams.WRAP_CONTENT,
LinearLayout.LayoutParams.WRAP_CONTENT); //每行的水平LinearLayout 的参数
layoutParams.setMargins(10,23,10,23);
ArrayList<Button> childBtns = new ArrayList<Button>();
int totoalBtns=0; //添加到第几个 button了
int yy=0;
for (int i=0;i<size;i++){
String item = irButtonName[i];
LinearLayout.LayoutParams itemParams = new LinearLayout.LayoutParams(LinearLayout.LayoutParams.WRAP_CONTENT,
LinearLayout.LayoutParams.WRAP_CONTENT); //button的布局参数
int length = item.length();
itemParams.weight=3;
itemParams.width=0;
totoalBtns++;
yy++;
System.out.println("AddButton :"+"add =--------- "+yy);
// itemParams.width = 0;
itemParams.setMargins(55,5,55,5);
Button childBtn =(Button) LayoutInflater.from(this).inflate(R.layout.button,null);
//创建Button
// childBtn.setText(item);
// childBtn.setTag(item);
childBtn.setLayoutParams(itemParams); // 设定button的布局参数
childBtns.add(childBtn); //Add List
if(totoalBtns>=4){
totoalBtns=0;
LinearLayout horizLL = new LinearLayout(this);
horizLL.setOrientation(LinearLayout.HORIZONTAL);
horizLL.setLayoutParams(layoutParams);
for (Button addBtn:childBtns)
{
// Log.d("AddButton","add"+"="+addBtn.getText());
System.out.println("AddButton :"+"add = "+addBtn.getText());
horizLL.addView(addBtn);
}
parentLL.addView(horizLL);
childBtns.clear();
}
}
if(!childBtns.isEmpty()){
LinearLayout horizLL = new LinearLayout(this);
horizLL.setLayoutParams(layoutParams);
horizLL.setOrientation(LinearLayout.HORIZONTAL);
for (Button addBtn:childBtns){
horizLL.addView(addBtn);
}
parentLL.addView(horizLL);
childBtns.clear();
}
}
}
button.xm代碼如下: test.png=36*36
<?xml version="1.0" encoding="utf-8"?>
<Button xmlns:android="http://schemas.android.com/apk/res/android"
android:id="@+id/item_btn"
android:layout_width="wrap_content"
android:layout_height="wrap_content"
android:textColor="#000000"
android:singleLine="true"
android:ellipsize="end"
android:background="@drawable/test"
android:textSize="18dp"
>
</Button>
content_main.xml代碼如下:
<?xml version="1.0" encoding="utf-8"?>
<LinearLayout
xmlns:android="http://schemas.android.com/apk/res/android"
android:id="@+id/contentView"
android:layout_width="match_parent"
android:layout_height="match_parent"
android:background="#ffffff"
android:orientation="vertical">
</LinearLayout>
求大神指點。在任何大小界面下都可以是圓形button,而且平均排列,間距一樣
附上代碼:
主代碼:
public class MainActivity extends AppCompatActivity {
private static String[] irButtonName ={
"CH1","CH2","ON","LOCK","10","50","OFF","AUTO","100","300","SENS+","TEST","500",
"1000","SENS","SemiAuto","2000","24H","EYE","PULSE","30S","1m","3m","5m",
"10m","20m","30m","60m"
};
private LinearLayout contentView; //声明一个布局文件的引用
private View.OnClickListener btnOnClick; //声明button监听的引用
@Override
protected void onCreate(Bundle savedInstanceState) {
super.onCreate(savedInstanceState);
setContentView(R.layout.content_main);
contentView = (LinearLayout) findViewById(R.id.contentView);
this.initView(contentView);
}
public void initView(LinearLayout parentLL){
// LinearLayout parentLL = (LinearLayout) contentView;
int size = irButtonName.length;
LinearLayout.LayoutParams layoutParams = new LinearLayout.LayoutParams(LinearLayout.LayoutParams.WRAP_CONTENT,
LinearLayout.LayoutParams.WRAP_CONTENT); //每行的水平LinearLayout 的参数
layoutParams.setMargins(10,23,10,23);
ArrayList<Button> childBtns = new ArrayList<Button>();
int totoalBtns=0; //添加到第几个 button了
int yy=0;
for (int i=0;i<size;i++){
String item = irButtonName[i];
LinearLayout.LayoutParams itemParams = new LinearLayout.LayoutParams(LinearLayout.LayoutParams.WRAP_CONTENT,
LinearLayout.LayoutParams.WRAP_CONTENT); //button的布局参数
int length = item.length();
itemParams.weight=3;
itemParams.width=0;
totoalBtns++;
yy++;
System.out.println("AddButton :"+"add =--------- "+yy);
// itemParams.width = 0;
itemParams.setMargins(55,5,55,5);
Button childBtn =(Button) LayoutInflater.from(this).inflate(R.layout.button,null);
//创建Button
// childBtn.setText(item);
// childBtn.setTag(item);
childBtn.setLayoutParams(itemParams); // 设定button的布局参数
childBtns.add(childBtn); //Add List
if(totoalBtns>=4){
totoalBtns=0;
LinearLayout horizLL = new LinearLayout(this);
horizLL.setOrientation(LinearLayout.HORIZONTAL);
horizLL.setLayoutParams(layoutParams);
for (Button addBtn:childBtns)
{
// Log.d("AddButton","add"+"="+addBtn.getText());
System.out.println("AddButton :"+"add = "+addBtn.getText());
horizLL.addView(addBtn);
}
parentLL.addView(horizLL);
childBtns.clear();
}
}
if(!childBtns.isEmpty()){
LinearLayout horizLL = new LinearLayout(this);
horizLL.setLayoutParams(layoutParams);
horizLL.setOrientation(LinearLayout.HORIZONTAL);
for (Button addBtn:childBtns){
horizLL.addView(addBtn);
}
parentLL.addView(horizLL);
childBtns.clear();
}
}
}
button.xm代碼如下: test.png=36*36
<?xml version="1.0" encoding="utf-8"?>
<Button xmlns:android="http://schemas.android.com/apk/res/android"
android:id="@+id/item_btn"
android:layout_width="wrap_content"
android:layout_height="wrap_content"
android:textColor="#000000"
android:singleLine="true"
android:ellipsize="end"
android:background="@drawable/test"
android:textSize="18dp"
>
</Button>
content_main.xml代碼如下:
<?xml version="1.0" encoding="utf-8"?>
<LinearLayout
xmlns:android="http://schemas.android.com/apk/res/android"
android:id="@+id/contentView"
android:layout_width="match_parent"
android:layout_height="match_parent"
android:background="#ffffff"
android:orientation="vertical">
</LinearLayout>
...全文
相关推荐
div按圆形排列
前端开发,JavaScript,元素按照圆形排列布局,简洁方便。
mfc 自绘控件 圆形button
改变mfc局限的方形button, 自绘控件实现圆形button
MFC重绘Button为圆形。
MFC中重绘Button为圆形Button,可以修改背景颜色、文本颜色、边框颜色等。
XAML中Button重绘为圆形的方法技巧
在用XAML布局的时候,有时候为了使界面Metro化,有些Button要使用圆形代替默认的长方形。以下的Button样式可以解决这个问题,可以根据自己的需要再加以修改
基于javascript实现按圆形排列DIV元素(一)
效果图: 一、分析图: 绿色边框内:外层的DIV元素,相对定位; 白色圆形框:辅助分析的想象形状; 白点:为白色圆形的圆心点,中心点,点o; 圆心角:角NOG; 黄色:需要按圆形排列的,绝对定位的DIV元素; 红色点:为每个黄色DIV的坐标点;即绝对定位时的元素,left值 和 top值 ,设置的点; 二、涉及到的概念定义: 2.1、弧度:弧度是角的度量单位。 (红色部分为弧长,角A为弧长对应的圆心角) 弧长等于半径的弧,其所对的圆心角为1弧度。(即两条射线从圆心向圆周射出,形成一个夹角和夹角正对的一段弧。当这段弧长正好等于圆的半径时,两条射线的夹角的弧度为1)。 根据定义,一周的弧度数