571
社区成员
 发帖
发帖 与我相关
与我相关 我的任务
我的任务
 分享
分享websocket协议是一种基于tcp的网络协议,实现了浏览器与服务器的全双工通信—允许服务器主动发送信息给客户端
websocket是一种持久层协议;http是一种非持久层协议
如果没有websocket,由于http请求,服务器无法给浏览器主动发数据,需要浏览器定时给服务器法请求,服务器把最新的数据响应给浏览器。这种模式浪费性能和资源
在HTML5中,浏览器已经实现了websocket的API,可以直接使用
//参数1 URL:连接的websocket属性
//参数2 protocol 可选的,指定连接的协议
var Socket =new WebSocket(url,[protocal])
| 事件 | 事件处理程序 | 描述 |
|---|---|---|
| open | Socket.onopen | 连接建立时触发 |
| message | Socket.onmessage | 客户端接受服务端数据时触发 |
| error | Socket.onerror | 通信发生错误时触发 |
| close | Socket.onclose | 连接关闭时触发 |
| 方法 | 描述 |
|---|---|
| Socket.send () | 使用连接发送数据 |
| Socket.close() | 关闭连接 |
新建一个html页面
<!DOCTYPE html>
<html lang="en">
<head>
    <meta charset="UTF-8">
    <meta http-equiv="X-UA-Compatible" content="IE=edge">
    <meta name="viewport" content="width=device-width, initial-scale=1.0">
    <title>Document</title>
    <style>
        div{
            width: 200px;
            height: 200px;
            border: 1px solid #000;
        }
    </style>
</head>
<body>
    <!--输入内容-->
    <input type="text" pattern="输入你的内容" >
    <!--发送请求-->
    <button>发送请求</button>
    <div></div>
</body>
</html>
如下
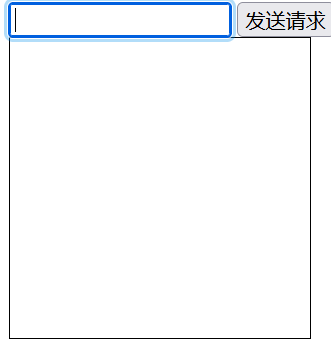
下载nodejs
去官网下载nodejs并配好环境变量,此时可能会遇到在vscode下不能使用npm 命令的情况,但是在命令行下却可以使用。这时要关掉之前打开的vscode终端,重新新建一个js文件,然后打开该文件目录下的终端,使用npm install nodejs-websocket即可。
在使用npm命令前,要切换数据源,设置为淘宝的镜像源(命令行下),否则不能下载成功,会卡在sill idealTree buildDeps没有反应
npm config set registry https://registry.npm.taobao.org
再重新使用npm install nodejs-websocket
此时就可以使用websocket服务了!
创建自己的websocket服务
//导入
const ws=require('nodejs-websocket')
const server=ws.createServer(connect=>{
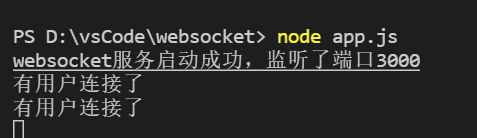
    console.log('有用户连接了') //一旦有用户连接了服务,就在终端打印信息
})
server.listen(3000,()=>{
      console.log('websocket服务启动成功,监听了端口3000') //启动服务就打印信息
})
在页面中连接websocket服务
<script>
        var input=document.querySelector('input')
        var button=document.querySelector('button')
        var div=document.querySelector('div')
        //演示websocket如何在浏览器使用
        var socket=new WebSocket('ws://localhost:3000')  //websocket的服务地址
        socket.addEventListener('open',function(){   //连接服务成功后的显示
           div.innerHTML='连接服务成功了'
        })
    </script>
这样每次打开页面,终端都会显示信息:
index页
<!DOCTYPE html>    <!--实现跳转-->
<html lang="en">
<head>
    <meta charset="UTF-8">
    <meta http-equiv="X-UA-Compatible" content="IE=edge">
    <meta name="viewport" content="width=device-width, initial-scale=1.0">
    <title>WebSocket聊天室-首页</title>
</head>
<body>
    <a href="./libai.html">
        <img src="./libai.jpg" width="150" height="150" style="border: 1px solid #000;">
    </a>
    <a href="./dufu.html">
        <img src="./dufu.JPG" width="150" height="150" style="border: 1px solid #000;">
    </a>
</body>
</html>
静态资源
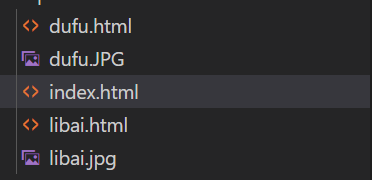
使用bitbug生成ico文件,在页面插入

body{
    width: 50%;
    height: 100vh;
    box-sizing: border-box;
    padding: 20px;
}
main{
    display: flex;
    height: 100%;
    flex-direction: column;
    justify-content: space-between;
}
.msgbox{
  height: 78%;
  width: 100%;
  box-sizing: border-box;
  border: 3px solid black;
  padding: 10px;
  background: rgb(216, 213, 211);
}
textarea{
    height: 20%;
    width: 100%;
    box-sizing: border-box;
    border: 3px solid black;
    resize: none;      /* 禁止手动拉动页面大小*/
    padding: 10px;
    background: rgb(216, 213, 211);
    outline: none;
  }
  .msg{
      display: flex;
      justify-content: space-between;
  }
  .msg section{
      flex: 1;
      background: white;
      border-radius: 6px;
      position: relative;
      padding: 10px;
      box-sizing: border-box;
      margin-bottom: 5px;
      word-break: break-all;
  }
  .left section{
      margin-left: 10px;
  }
  .right section{
      margin-right: 10px;
  }
  .msg section::after{
      content: "";
      width: 0;height: 0;
      position: absolute;
      left: -11px; top: 13px;
      border: 6px solid transparent;
      border-right-color: white;

  }
  .right section::after{
    border-right-color: transparent;
    border-left-color: white;
    left: auto;
    right: -11px;

}
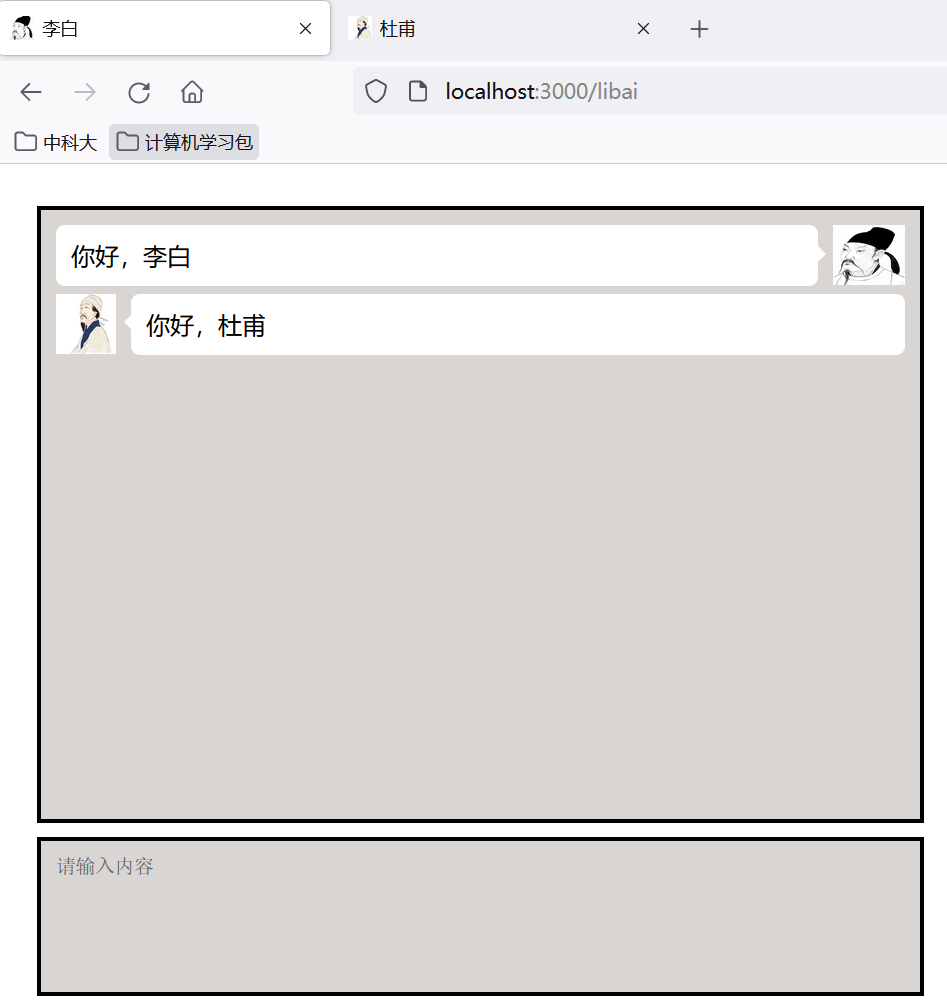
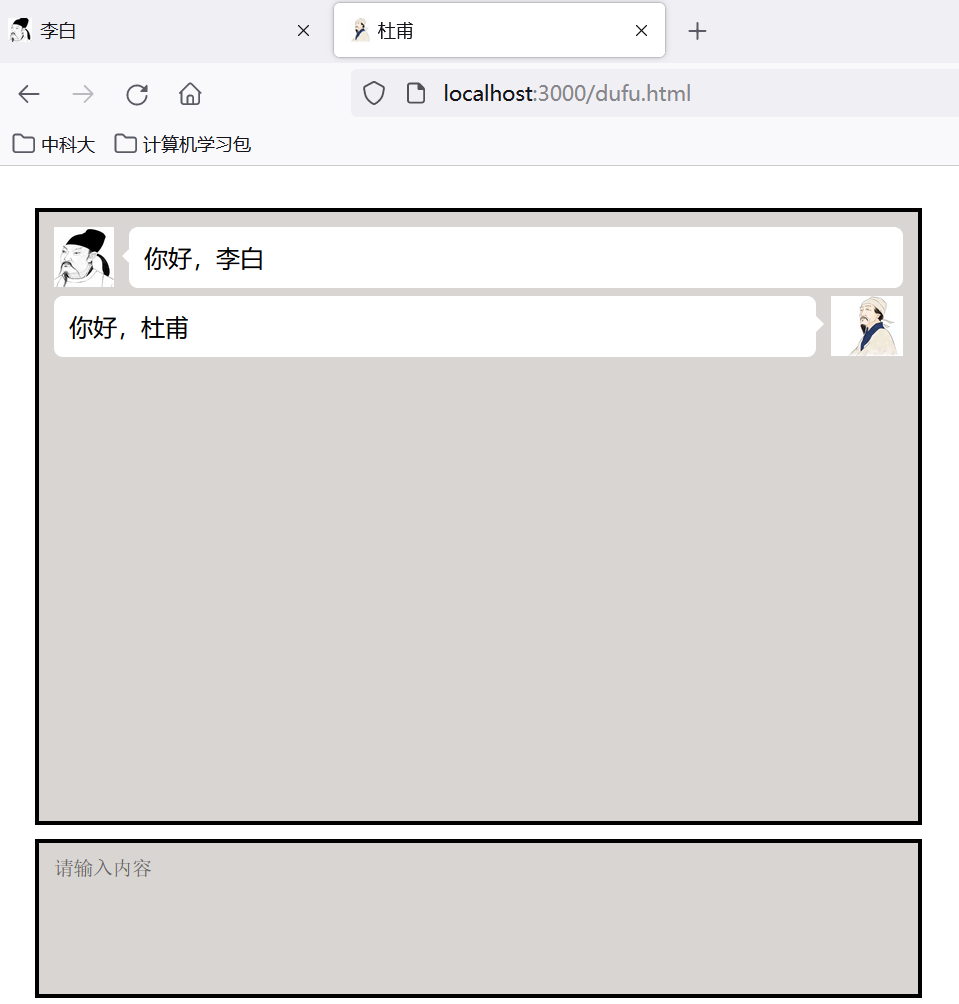
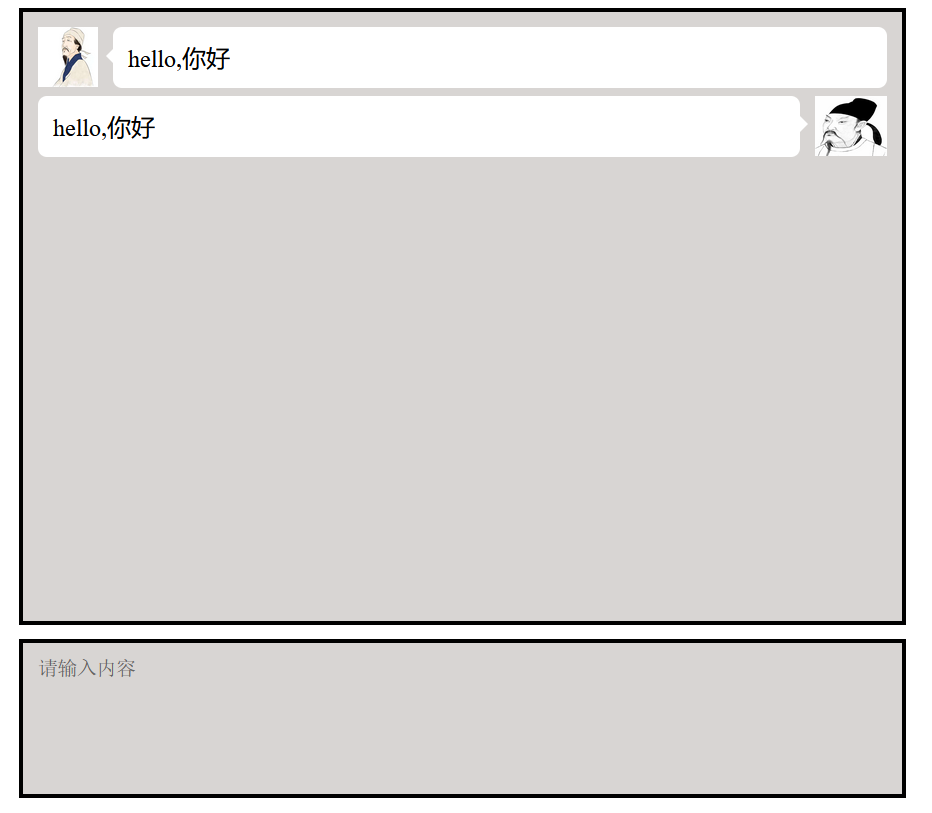
效果:
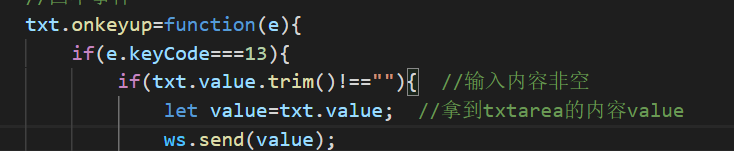
关于回车的设置:
<script>
    function rightFn(value){  //生成右侧对话内容的函数
        var rightHtml= `<div class=" msg right">
            <section>${value}</section>
                <img src="./dufu.jpg" width="48" height="40" alt="">
            </div>`;
            return rightHtml;
    }
    function leftFn(value){  //生成右侧对话内容的函数
        var leftHtml= `<div class=" msg right">
            <img src="./libai.JPG" width="40" height="40" alt="">
                <section>${value}</section>;`
            return leftHtml;
    }
    //回车事件
    txt.onkeyup=function(e){
        if(e.keyCode===13){
            if(txt.value.trim()!==""){  //输入内容非空
                let value=txt.value;  //拿到txtarea的内容value
            //拼成html字符串,追加到msgbox中
            msgbox.innerHTML+=rightFn(value);
            //添加盒子的滚动
            msgbox.scrollTo({
                top: msgbox.scrollHeight,
                behavior:"smooth"
            })
            }else{
                //给出提示
                tips.style.display="block";
                setTimeout(()=>{
                    tips.style.display="none";
                },1500);
            }
            txt.value="";
        }
    }
</script>
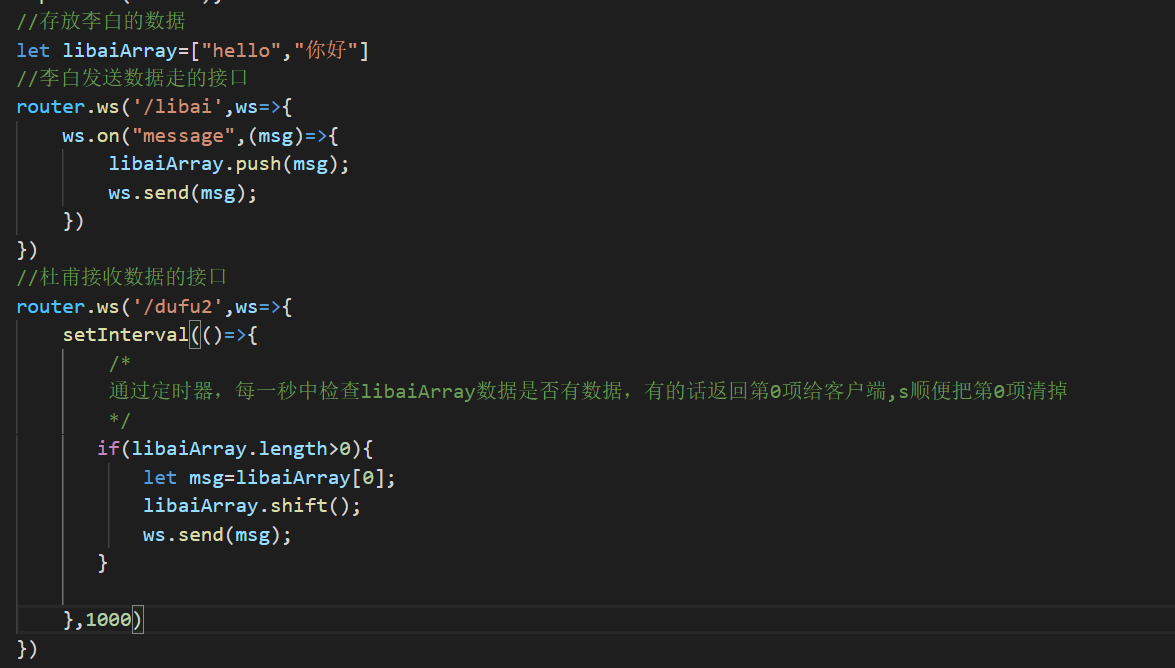
//引入框架
const express=require("express")
const app=express();
const port=3000;
//中间件
app.use(express.static('public'))
//监听端口
app.listen(port,()=>{
    console.log('server is running ');
})
发送:
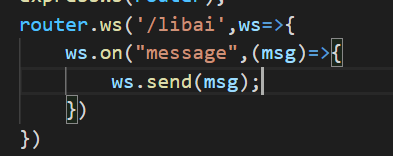
服务端接收并返还给客户端:
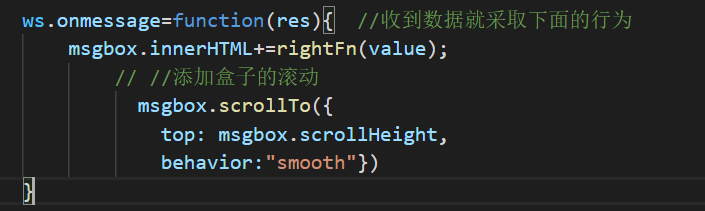
客户端再次接收:
客户端接受其他用户的消息: