


571
社区成员
 发帖
发帖 与我相关
与我相关 我的任务
我的任务
 分享
分享本文旨在设计一个匿名的单房间聊天室应用,使用MVVM架构,在前后端分离的情况下进行系统测试。
本文采用Vue作为Web前端框架,Express.js作为后端框架,采用Socket.io提供长连接通信。
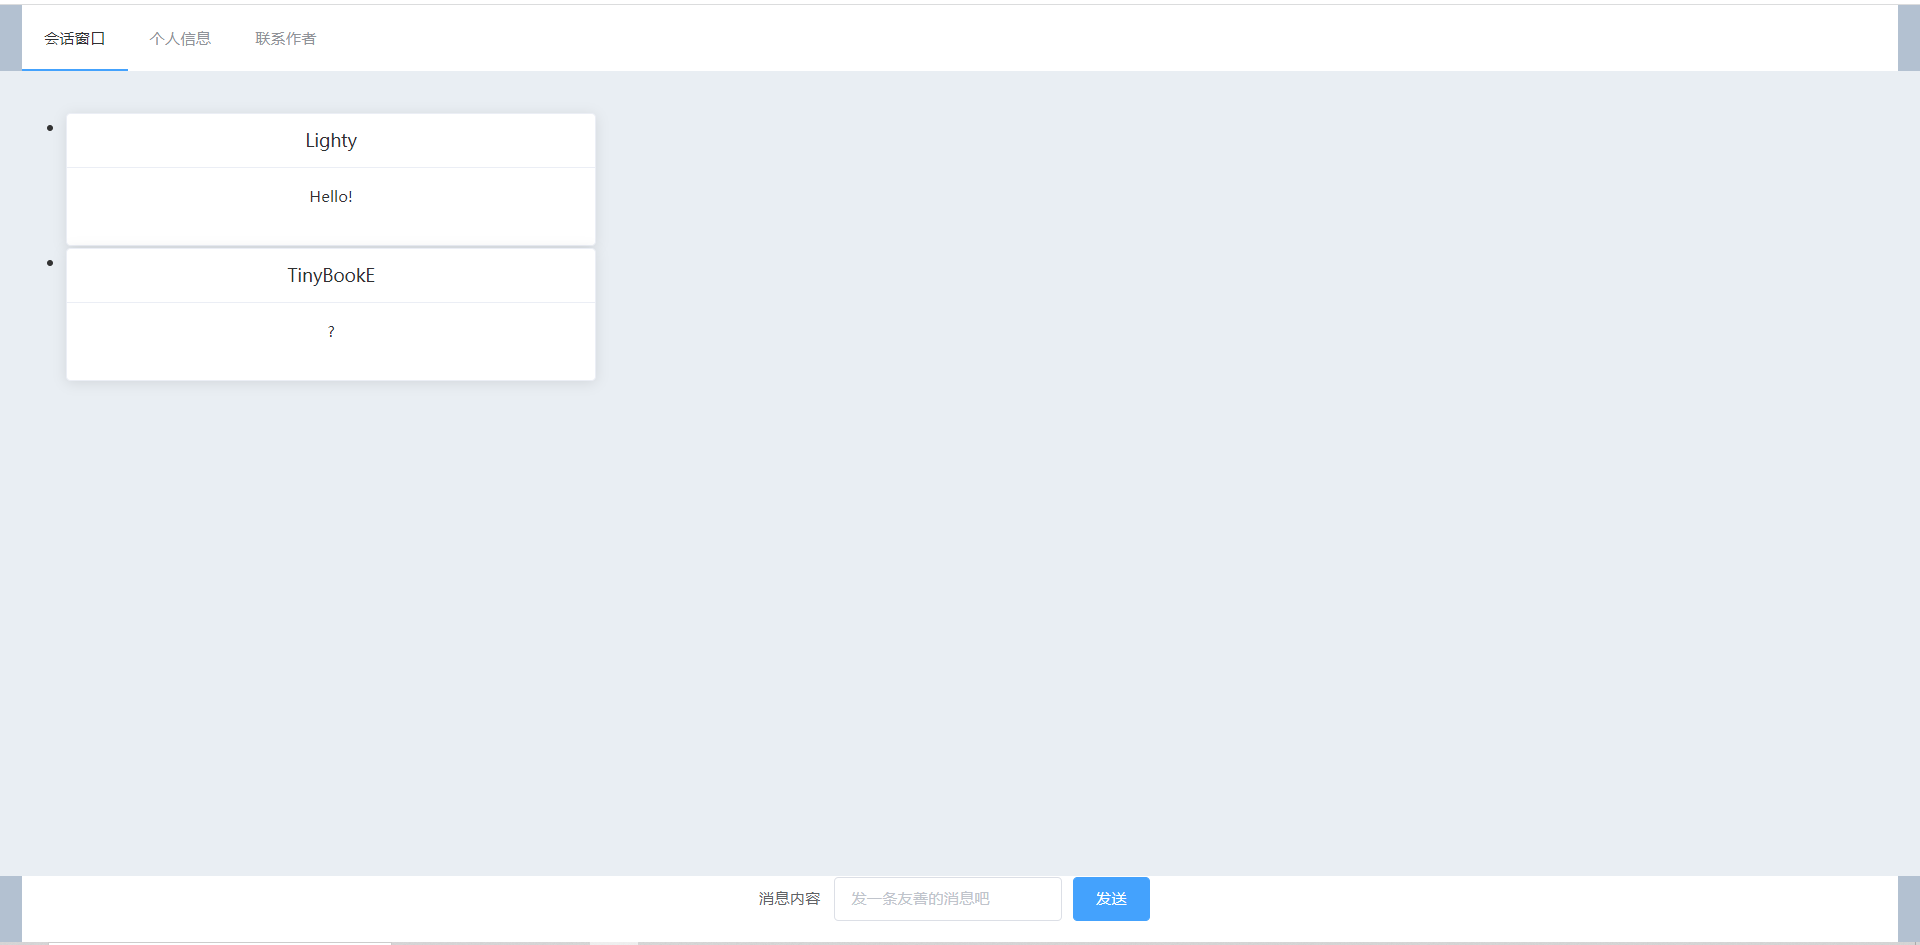
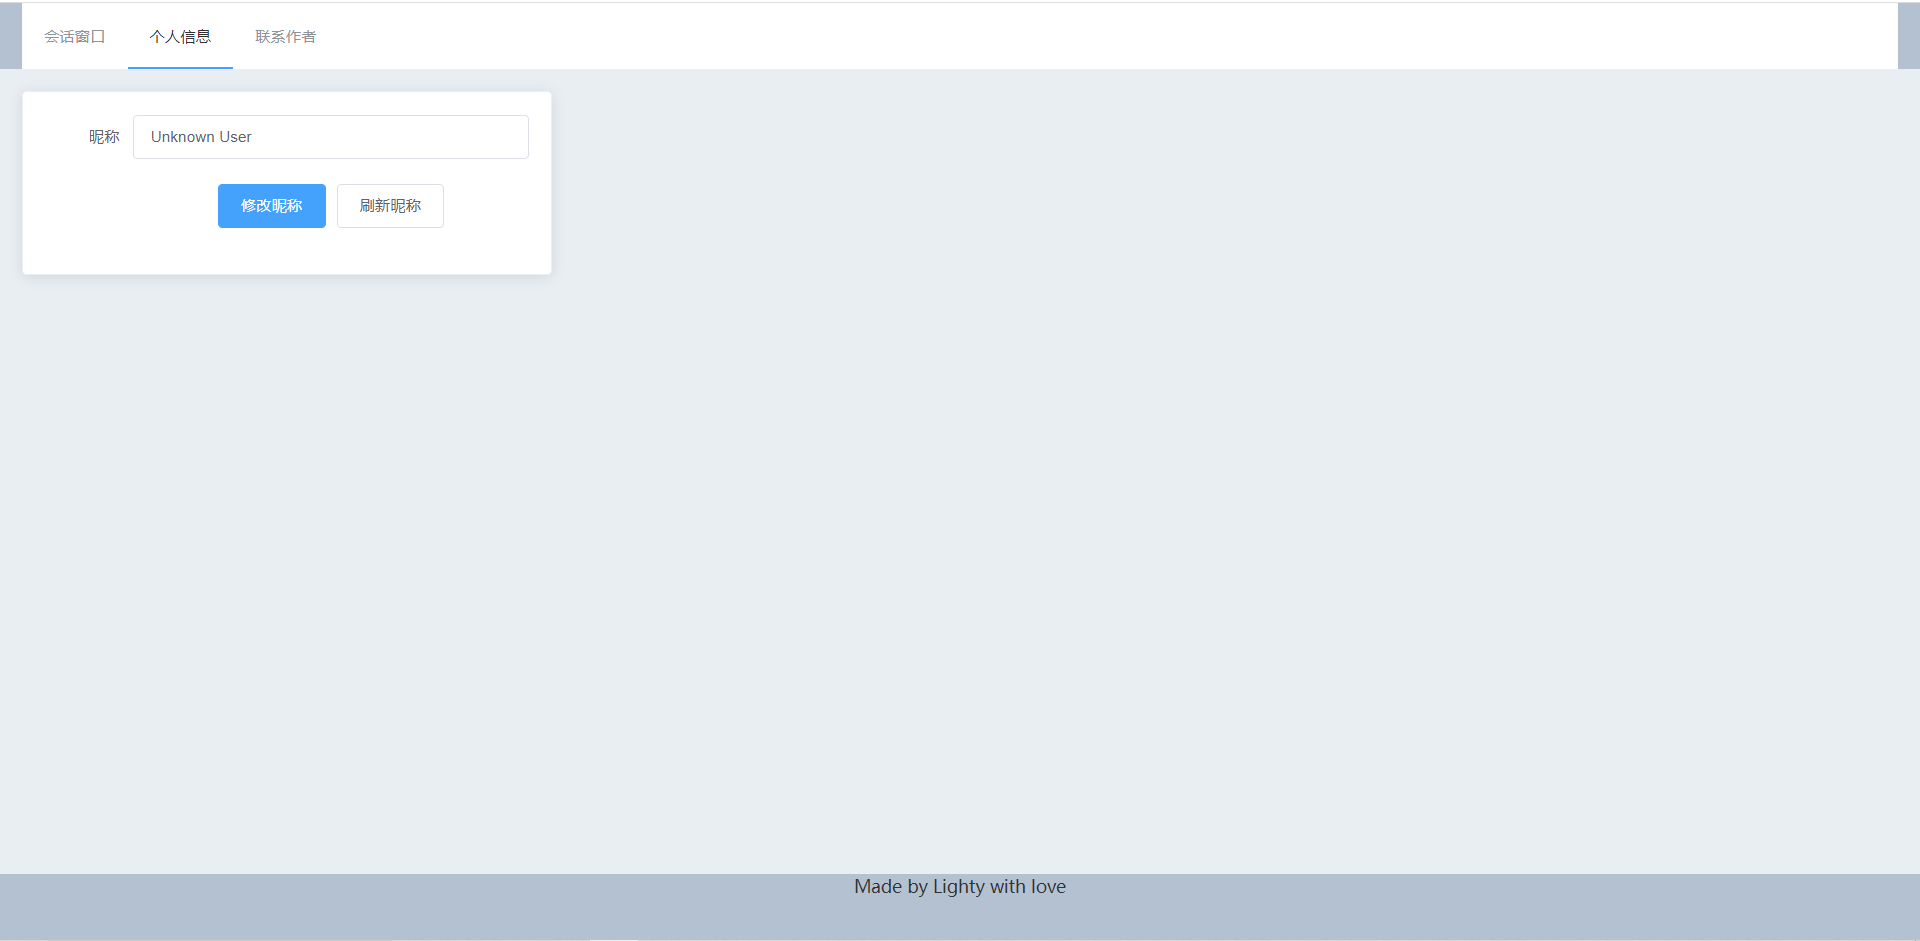
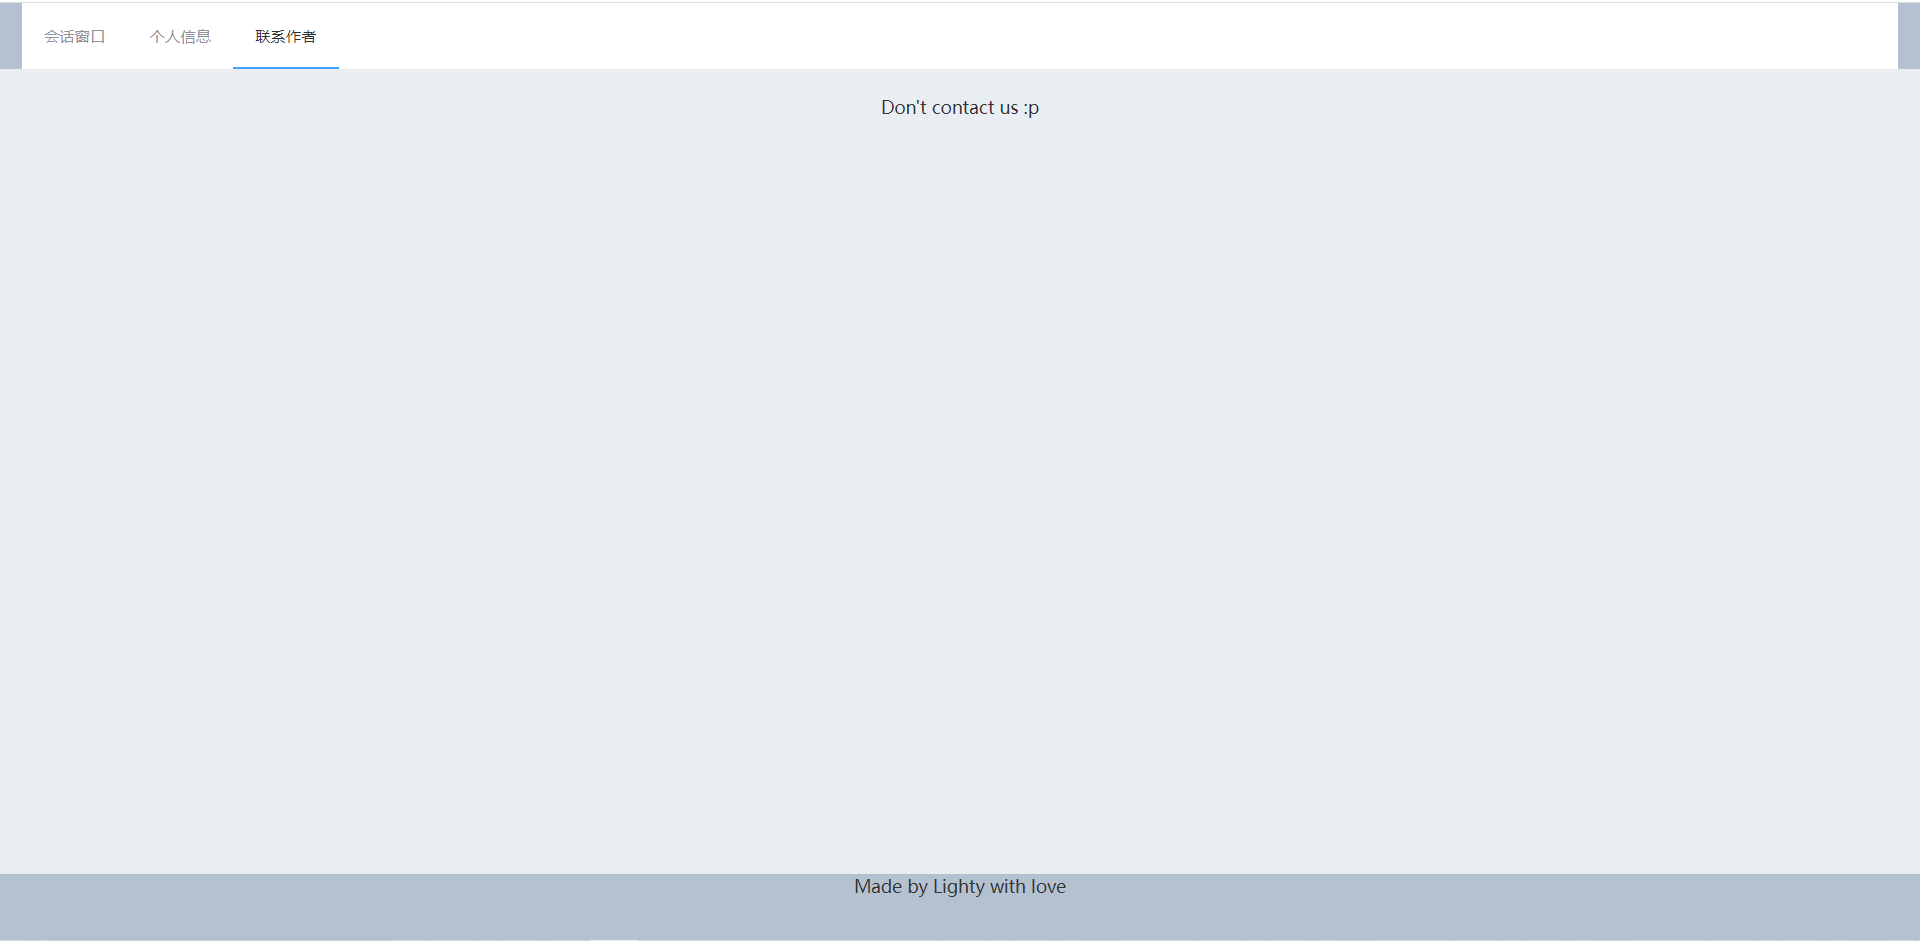
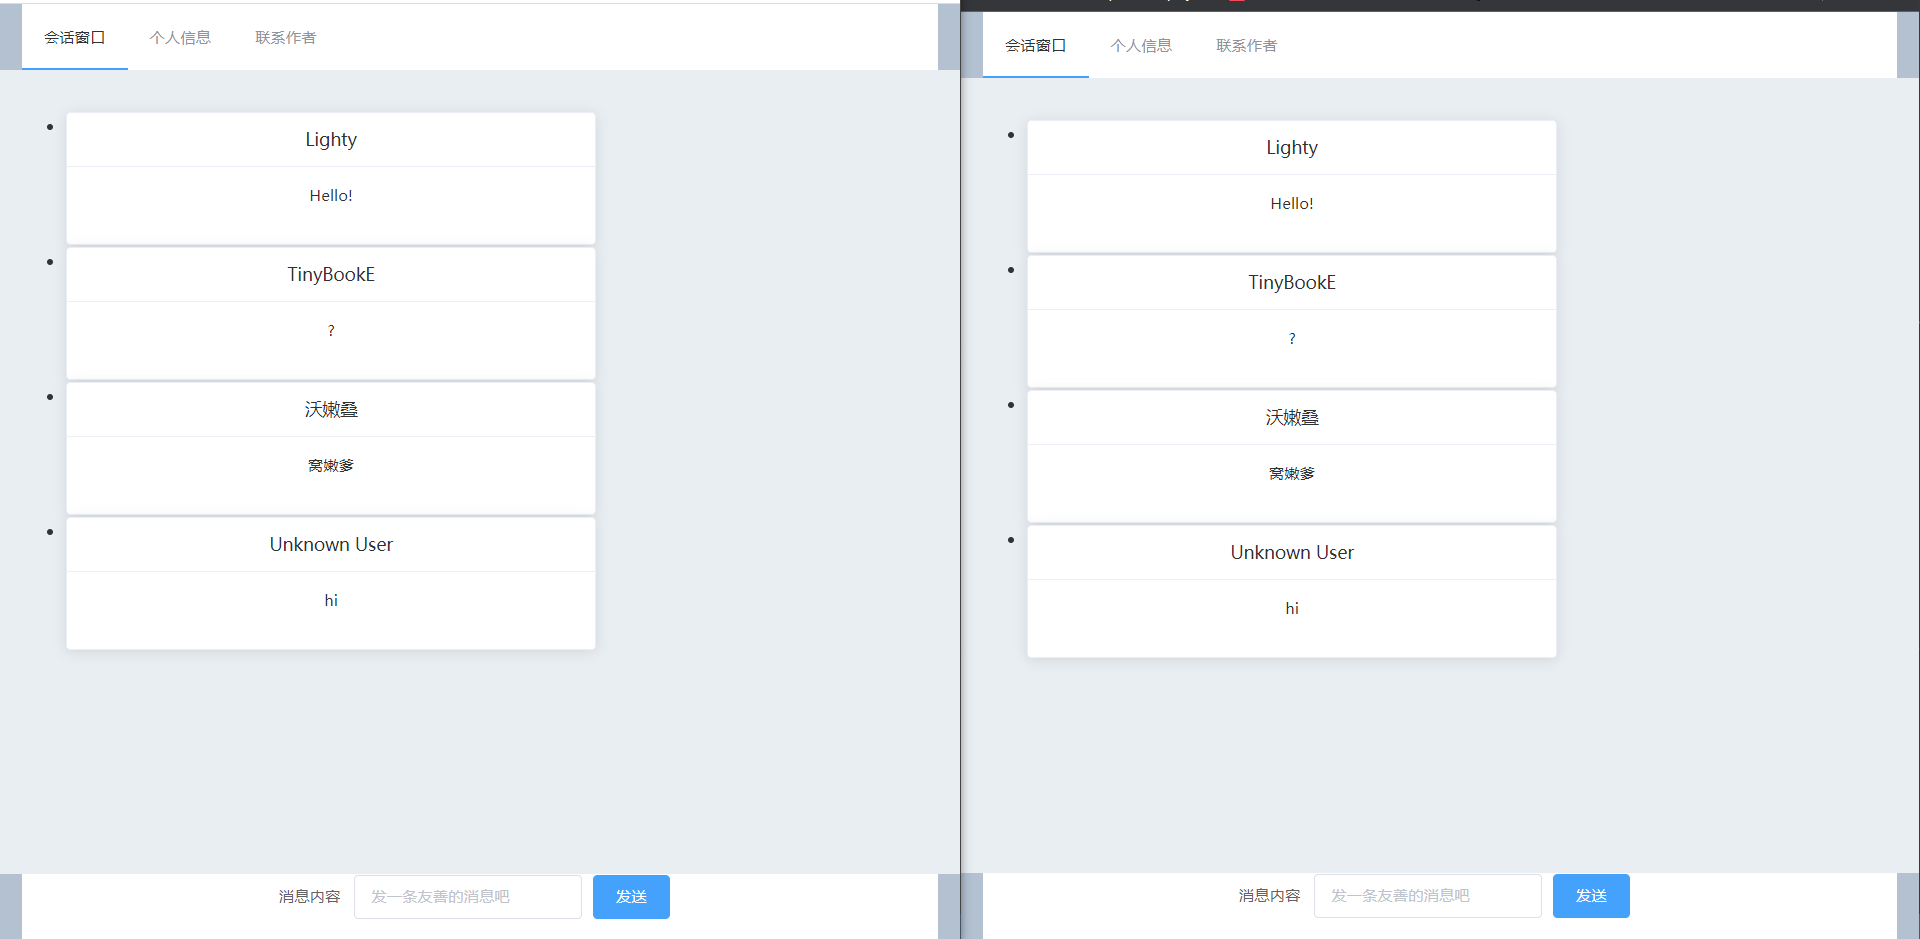
前端使用ElementUI作为组件库,以下是完成效果展示:
聊天室界面:
个人信息界面(可以修改昵称):
联系作者界面:
即时通讯:
该项目前端页面分为顶部导航条、中部功能区、下部功能区两部分,为了实现不同页面的功能区变化,本文采用了router-view。
此处通过Element-UI提供的容器分割了页面,并使用两个router-view来对应地改变功能区内容。其中由于中下功能区并非一一对应关系,为了提高复用性,分为两个view。
其中Navigation组件为自定义组件,用于实现顶部导航条并进行跳转。
<template>
  <div class="window" id="app">
    <el-container>
        <el-header>
          <navigation></navigation>
        </el-header>
        <el-main>
          <router-view name="default"></router-view>
        </el-main>
        <el-footer>
          <router-view name="footer"></router-view>
        </el-footer>
    </el-container>
  </div>
</template>
<template>
    <el-menu :default-active="activeIndex" class="el-menu-demo" mode="horizontal" @select="handleSelect">
        <el-menu-item index="/chat_room/default">
            会话窗口
        </el-menu-item>
        <el-menu-item index="/user_info">
            个人信息
        </el-menu-item>
        <el-menu-item index="/contact_us">
            联系作者
        </el-menu-item>
    </el-menu>
</template>
随后在main.js中添加路由信息,并注册组件。
const routes = [
  { path: '/chat_room/:room_id',
    components: {
      default: ChatRoom,
      footer: ChatFooter
    }
  },
  { path: '/user_info',
    components: {
      default: UserInfo,
      footer: PlainFooter
    }
  },
  { path: '/contact_us',
    components:{
      default: ContactUs,
      footer: PlainFooter
    }
  }
]
为了提供导航功能,采用Vue-router库提供的路由功能,代码如下:
export default {
    name: 'Navigation',
    data() {
        return {
        activeIndex: '1',
        };
    },
    methods: {
        handleSelect(key, keyPath) {
            this.activeIndex = key;
            console.log(key, keyPath);
            this.$router.replace(key)
        }
    }
}
个人信息部分支持修改昵称,昵称保存于Session中,前端部分仅需要使用axios发起HTTP请求以修改昵称或是获取昵称。
 getName() {
            this.$axios.get('http://localhost:3000/get_name')
          .then(response => {
            this.form.name = response.data;
          })
          .catch(error => {
            console.log(error);
          })
        },
        setName() {
          this.$axios.post('http://localhost:3000/set_name', {user_name: this.form.name}
          )
          .then(response => {
            this.form.name = response.data;
          })
          .catch(error => {
            console.log(error);
          })
        }
页面设计部分使用了Element-UI提供的表单组件,绑定了刷新昵称和修改昵称两个事件,通过Vue提供的MVVM容器进行了双向绑定,所有的修改和刷新均连接至页面Vue实例的form对象中。
<template>
    <el-card class="box-card">
        <el-form ref="form" :model="form" label-width="80px">
            <el-form-item label="昵称">
                <el-input id="name" v-model="form.name"></el-input>
            </el-form-item>
            <el-form-item>
                <el-button type="primary" @click="setName">修改昵称</el-button>
                <el-button type="secondary" @click="getName">刷新昵称</el-button>
            </el-form-item>
        </el-form>
    </el-card>
</template>
data() {
        return {
          form: {
          name: ''
          }
        };
    },
聊天室内采用了Element-UI提供的卡片组件,使用Vue数据绑定+轮询生成HTML的方式进行显示以及实时信息显示。
<template>
    <ul id="chat_record">
        <li v-for="record in records" :key="record.time">
            <el-card class="box-card">
                <div slot="header" class="clearfix">
                    <span>{{record.user}}</span>
                </div>
                <div class="text item">
                    {{record.content}}
                </div>
            </el-card>
        </li>
    </ul>
</template>
establish_connection(){
  const socket = this.$io("http://localhost:3000")
  socket.on("connection", (arg) => {
    console.log(arg); // world
  });
  socket.on("newMessage", (arg) =>{
    console.log(arg); // world
    this.records.push(arg)
  });
},
get_message(room_id){
    if(!room_id)room_id = "default"
    this.$axios.get('http://localhost:3000/get_data?room_id=' + room_id)
        .then(response => {
        this.records = response.data;
        })
        .catch(error => {
        console.log(error);
        })
}
进入该页面时,axios将负责首次的消息显示,随后Socket.io将会尝试连接至服务器,并且在得到消息时由服务端负责通知页面,以实现实时通信的功能。
该页面同时还具有一个独立的底部功能区路由视图,提供了发送消息的功能。使用的是Element-UI提供的单行表单组件,以及axios的post功能。
使用Vue-socket.io时发生了无法修正的bug,因而采用原生socket.io进行连接
<template>
    <el-form :inline="true" :model="formInline" class="demo-form-inline">
        <el-form-item label="消息内容">
            <el-input v-model="formInline.content" placeholder="发一条友善的消息吧"></el-input>
        </el-form-item>
        <el-form-item>
            <el-button type="primary" @click="onSubmit">发送</el-button>
        </el-form-item>
    </el-form>
</template>
onSubmit() {
            this.$axios.post('http://localhost:3000/send_message?room_id=' + this.$route.params.room_id, {content: this.formInline.content}
            )
            .then(response => {
                this.formInline.content = ""
                console.log(response);
            })
            .catch(error => {
                console.log(error);
            })
        }
在发送成功后将清空输入框,以通知用户已发送成功。失败时将在console给出提示。
本项目后端部分使用Express制作,需要提供以下功能:
跨域支持、消息获取、即时消息获取、消息发送、昵称修改、昵称获取。
本项目使用CORS(Cross-origin resource sharing)进行跨域配置。
为了允许携带cookie信息,不可以将origin设置为*****,否则将提示无法在全通配符地址上进行跨域的认证。
var corsOptions = {
    origin: "http://localhost:8080",
    credentials: true,
    optionsSuccessStatus: 200
}

app.use(cors(corsOptions))
这样的设置可以允许站点携带cookie等信息进行通讯,以支持基于session的昵称系统。
为了提供session功能,我们需要对服务器进行配置。
app.use(session({
    secret: 'sec',
    resave: true,
    saveUninitialized: true
}))
为方便测试,本站点提供了一小段静态数据,在服务器开启时就保存在内存中。
data = {
    "default" :
    [
        {time : "0",
        user : "Lighty",
        content : "Hello!"},
        {time : "1",
        user : "TinyBookE",
        content : "?"}
    ]
}
为了支持Json的数据格式,我们加入了对应的中间件。
app.use(express.json())
以下代码定义了服务端的各个接口:
app.post('/set_name', (req, res) => {
    req.session.user_name = req.body.user_name
    res.send(req.session.user_name)
})

app.get('/get_name', (req, res) => {
    res.send(GetUserName(req))
})

app.get('/get_data', (req, res) => {
    console.log(req.query)
    if(req.query.room_id){
        res.send(data[req.query.room_id])
    }
    else res.send(data["default"])
})

app.post('/send_message', (req, res) => {
    console.log(req.query)
    if(req.body.content.trim().length == 0){
        res.send("0")
        return
    }
    var newMessage = {
        time: next_time++,
        user: GetUserName(req),
        content: req.body.content
    }
    console.log(newMessage)
    data[req.query.room_id].push(newMessage)
    res.send("0")
    io.emit("newMessage", newMessage)
})

function GetUserName(req){
    if(!req.session.user_name)req.session.user_name="Unknown User"
    return req.session.user_name;
}
可以看到,用户的昵称等信息完全保存于session中,服务端会根据从request body中获得的信息来对其进行更新。在名字不存在、非法或未设置时将使用Unknown User作为占位符使用。
用户可以使用get_data接口一次性获取整个信息,也可以依靠socket.io建立的长连接来获取新的信息内容,此时新信息将携带下标,以便插入到前端的数据集中。
用户指明room_id之后可以上传信息,信息将和下标、发送者昵称一起组织为对象,保存在对应房间的内存中。随后服务端将通过socket.io发送消息到所有客户端以即时更新信息。
NP258

