
29,105
社区成员
 发帖
发帖 与我相关
与我相关 我的任务
我的任务
 分享
分享上一期我们讲解了如何通过canal实现增量/全量同步,但因为canal本身基于binlog。所以在binlog开启之前的历史数据是不会同步的。
因此要实现真正的全量同步,还需要针对binlog开启之前的历史数据进行全量同步。
而实现这种全量同步的常用方案有:
1、业务代码实现
2、logstash-input-jdbc实现
3、其他同步组件实现,如datax
本期我们就来讲讲如何通过logstash来同步mysql数据到es
mysql 8.0
ES 7.13.0
kibana 7.13.0
logstash 7.13.0
jdk1.8
因为logstash-jdbc-input是logstash的一个插件,因此需要先安装logstash
针对es、logstash、kibana的安装可参考我另外一篇博客:
ELK搭建:实现分布式微服务的日志监控,这里不再累述
因为logstash-jdbc-input是需要mysql驱动器的,且我的mysql是8.0版本,所以需要将驱动器上传到服务器上,这里选择scp的方式上传
scp mysql-connector-java-8.0.22.jar root@172.16.188.6:/var/local/logstash/lib
logstash5.x版本以上可以直接使用logstash-jdbc-input插件,不用安装ruby等环境
我这里使用的是logstash7.13.0,这个版本已经不用在安装jdbc插件了,可以直接使用,如果执行安装语句反而会报错:
Installation aborted, plugin 'logstash-input-jdbc' is already provided by 'logstash-integration-jdbc'
安装配置我们可以参考官方文档,善用官方文档能帮助我们避免、排查绝大部分错误!!!一定要学会使用官方文档。特别是Elastic Stack的官方文档是很详细的
logstash-output-elasticsearch官方文档
logstash-input-jdbc官方文档
1、创建mysql-es.conf配置文件
vim config/mysql-es.conf
文件内容
input {
   jdbc {
    #数据库连接参数
      jdbc_connection_string => "jdbc:mysql://172.16.188.1:3306/bladex?useSSL=false"
      # mysql用户名
      jdbc_user => "root"
      # mysql密码
      jdbc_password => "123456"
      # mysql驱动器jar包
      jdbc_driver_library => "/var/local/logstash/lib/mysql-connector-java-8.0.22.jar"
      # 驱动类名
      jdbc_driver_class => "com.mysql.cj.jdbc.Driver"
      # 开启分页
      jdbc_paging_enabled => "true"
      # 最大页码
      jdbc_page_size => "50000"
      # 用于同步的查询sql
      statement_filepath => "/var/local/logstash/config/mysql/user.sql"
      # 直接书写sql语句
      # statement => "select * from user"
      # 数据标签,用于标记不同的索引数据
      type => "user"
      # 加上jdbc时区, 要不然logstash的时间会不准确
      jdbc_default_timezone => "Asia/Shanghai"
      # 设置列名区分大小写, 默认全小写
      lowercase_column_names => "false"
    }
}
output {
     if[type] == "user"{
       elasticsearch {
        # elasticsearch url
           hosts => ["172.16.188.7:9200"]
           # 下面两个参数可以开启更新模式
           #action => "update"
           #doc_as_upsert => true
           # 索引名
           index => "user"
           # 文档id 设置成数据库的id
           document_id => "%{id}"
           # 设置文档类型为doc,否则会报错keyword无法匹配到text
           document_type => "_doc"
       }
    }
    stdout {
        # 以json格式输出到控制台,方便调试
        codec => json_lines
    }
}
如果需要增量更新的话,则需要在input/jdbc下添加如下配置
 #如果要使用其它字段追踪,而不是用时间开启这个配置
      use_column_value => true
      #设置要追踪的字段
      tracking_column_type => "timestamp"
      tracking_column => "create_time"
      # 是否记录sql_last_value
      record_last_run => true
      #上一个sql_last_value值的存放文件路径, 必须要在文件中指定字段的初始值
      last_run_metadata_path => "/var/local/logstash/config/mysql/user.metadata"
      # cron表达式, 全是*表示每秒都判断是否有更新
      schedule => "* * * * *"
2、创建user.sql文件
mkdir config/mysql
vim config/mysql/user.sql
文件内容
SELECT
        t.id,
        t.code,
        t.email,
        t.real_name AS realName,
        t.role_id AS roleId,
        t.post_id AS postId,
        t.dept_id AS deptId
FROM
        blade_user t
WHERE  t.create_time > :sql_last_value
3、以mysql-es.conf文件启动logstash
./bin/logstash -f config/mysql-es.conf
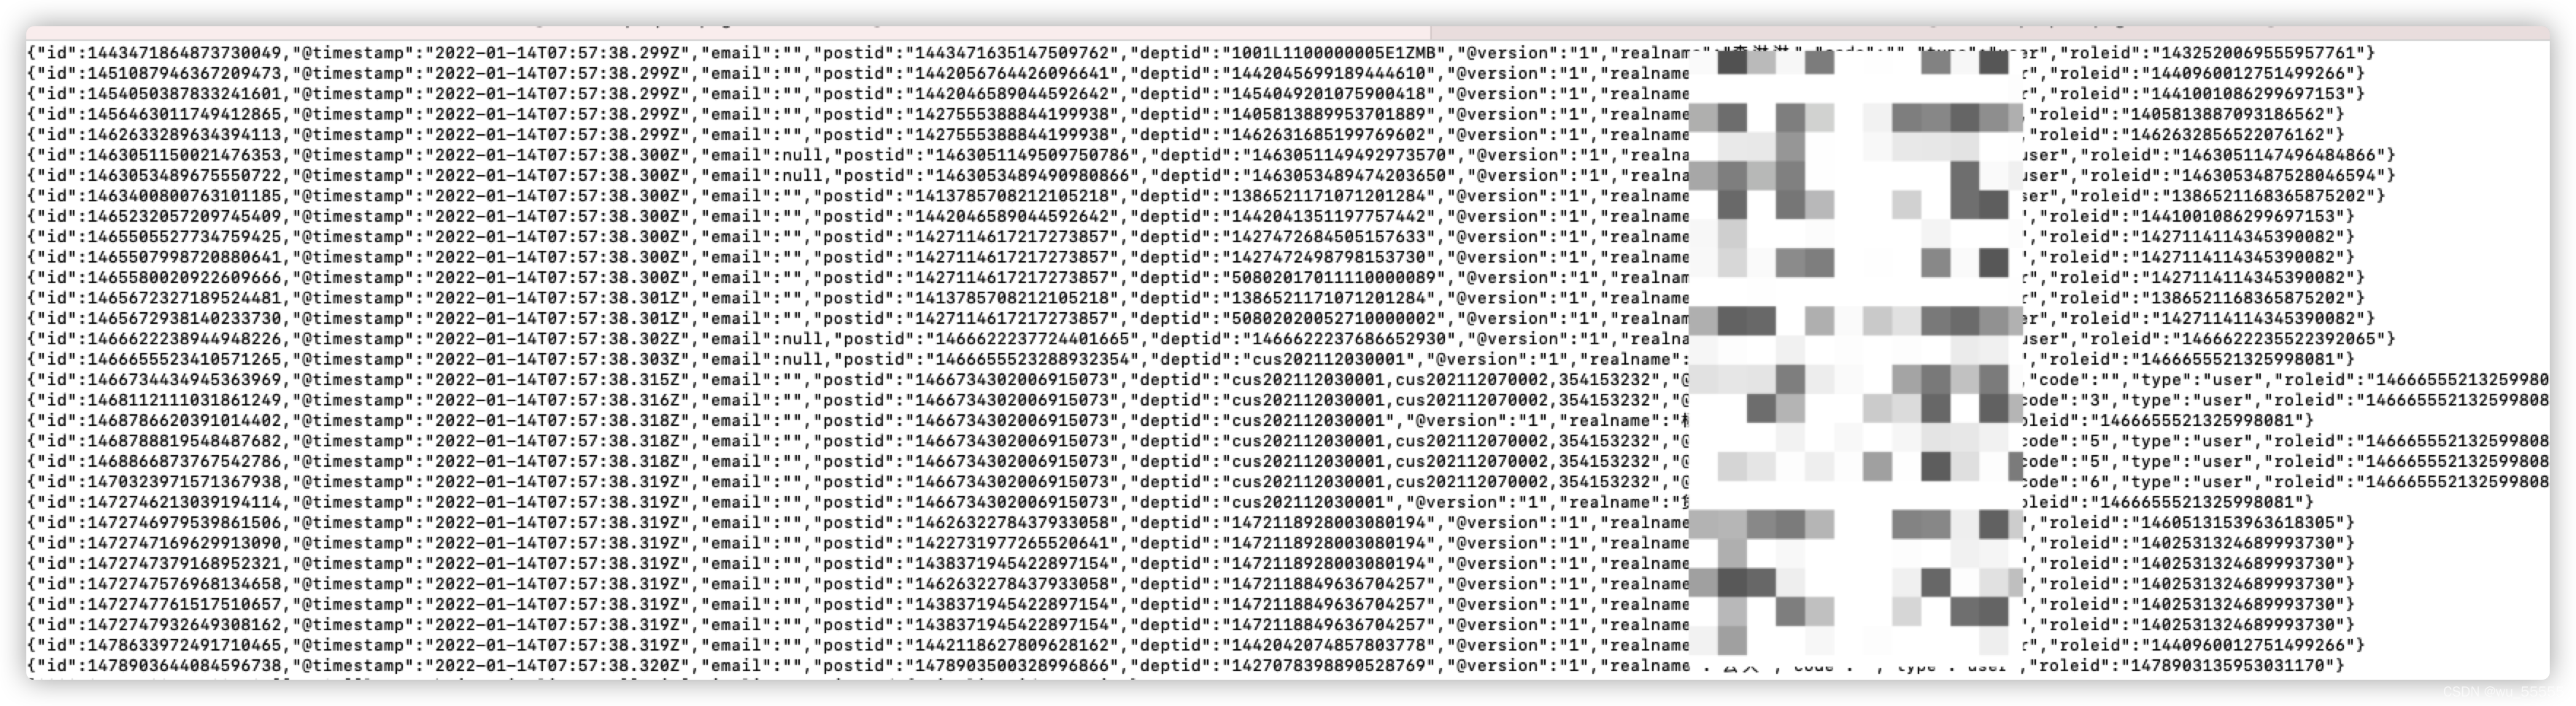
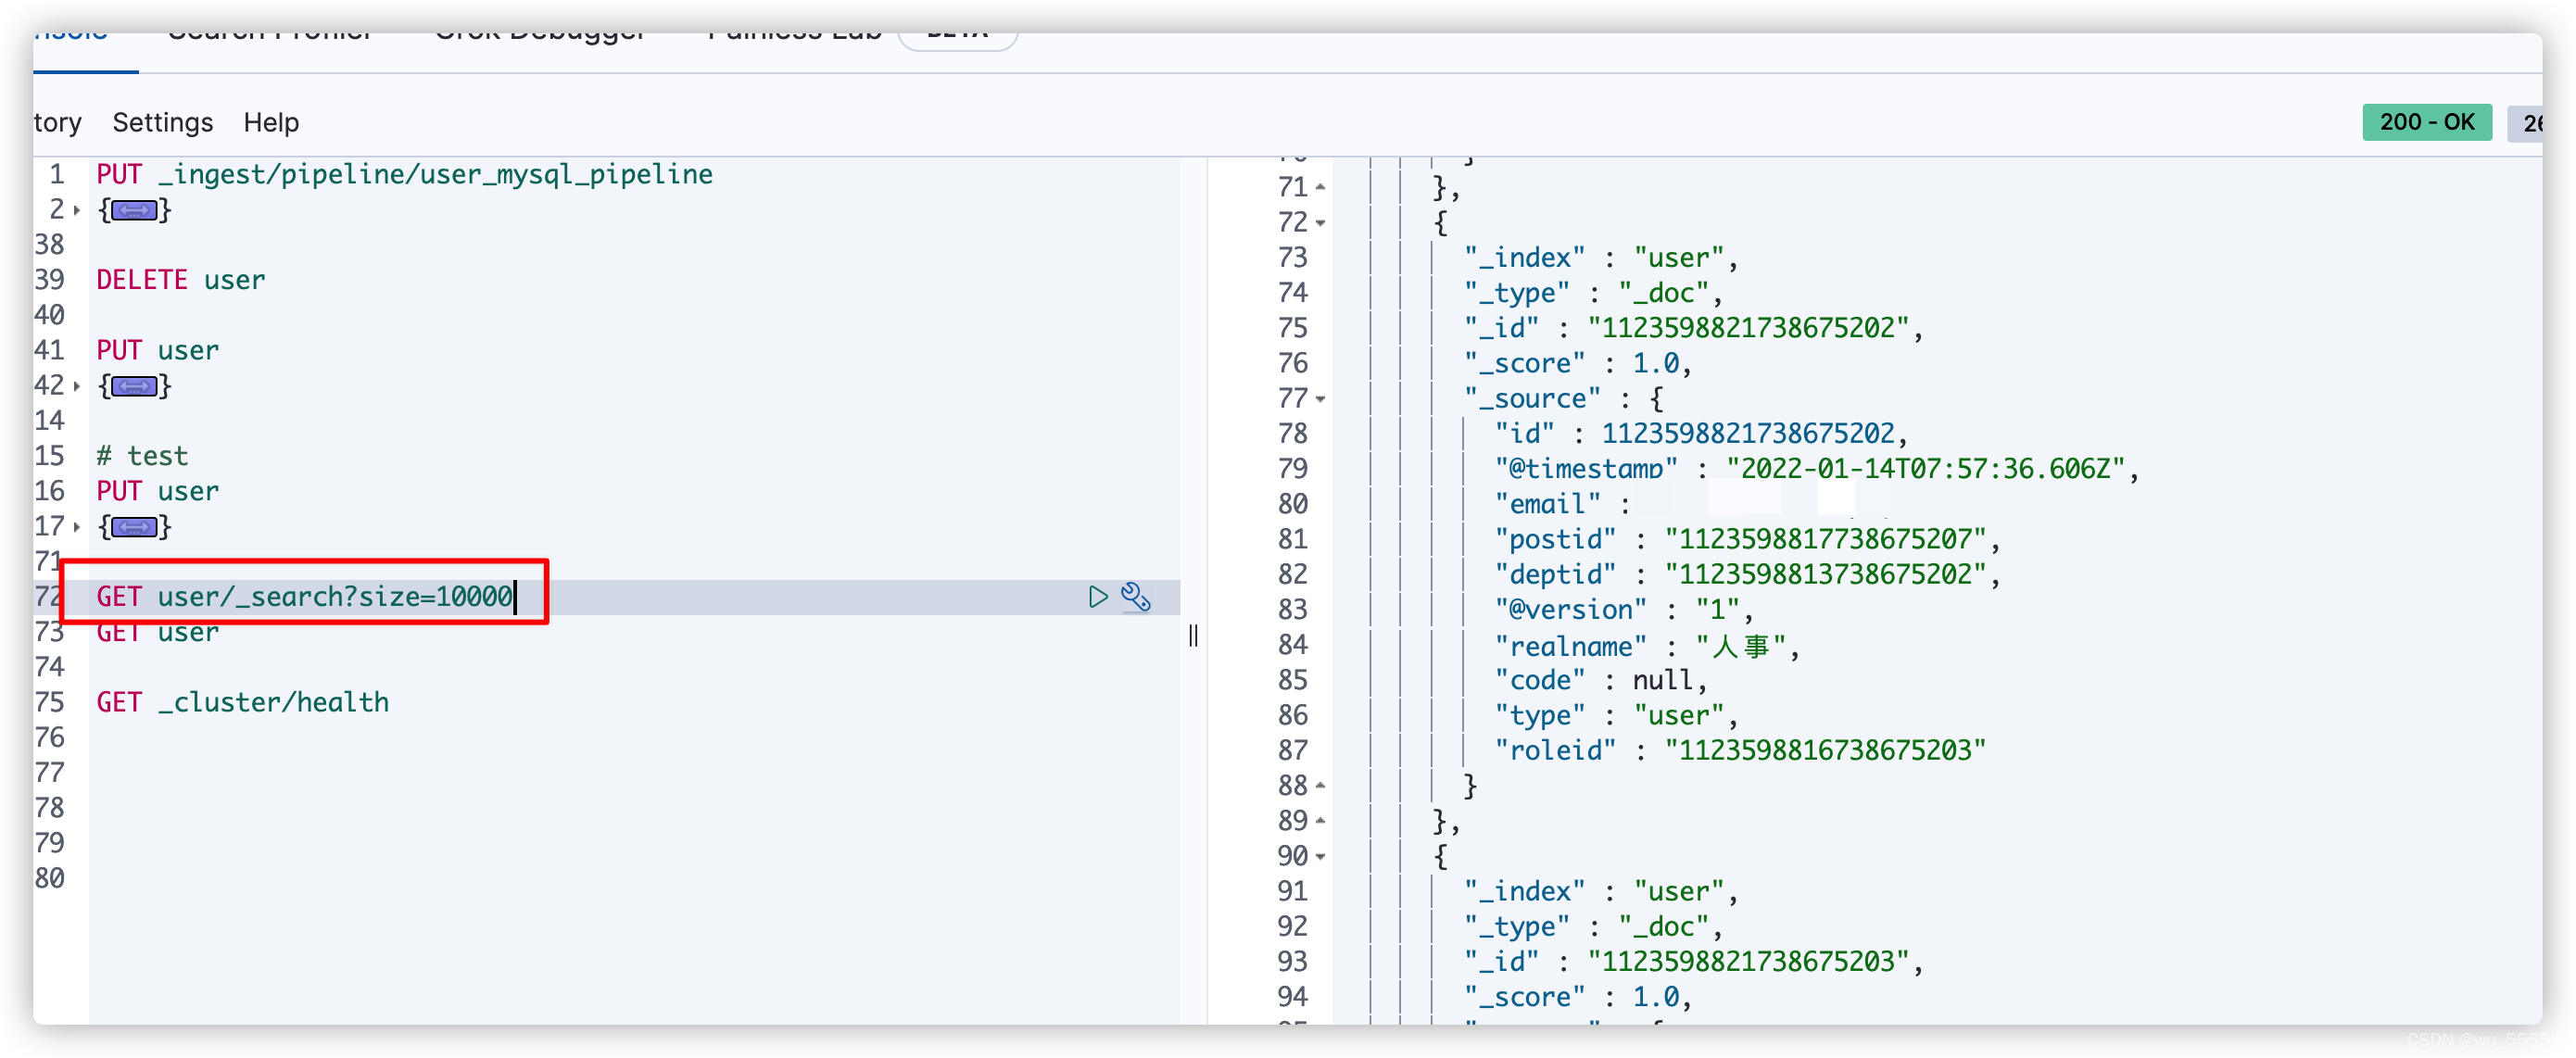
4、控制台打印出数据
schedule

There is no schedule by default. If no schedule is given, then the statement is run exactly once
实际上这也是符合真实场景的,一遍将所有数据同步了也就足够了
后续要再执行增量同步可以按照上述的配置。但是处于性能考虑,可以使用基于binlog的canal来实现增量同步,效果更高。具体配置可参考我另一篇博客:
Elastic实战:通过canal1.1.5实现mysql8.0数据增量/全量同步到elasticsearch7.x
一个配置文件代表一张表的同步,如果有多张表要进行同步呢,如何同时启动?
我们可以用到pipeline来实现
vim config/pipeline.yml
修改内容
如下内容就是要启动的多个配置文件
- pipeline.id: ServiceComplaintSuggestion
  path.config: "config/mysql/ServiceComplaintSuggestion.conf"
- pipeline.id: BladeUser
  path.config: "config/mysql/BladeUser.conf"
- pipeline.id: Project
  path.config: "config/mysql/Project.conf"
- pipeline.id: ServiceCommentOwner
  path.config: "config/mysql/ServiceCommentOwner.conf"
- pipeline.id: TransportCargo
  path.config: "config/mysql/TransportCargo.conf"
- pipeline.id: ServiceConsulte
  path.config: "config/mysql/ServiceConsulte.conf"
- pipeline.id: OrderGeneral
  path.config: "config/mysql/OrderGeneral.conf"
- pipeline.id: BladeDept
  path.config: "config/mysql/BladeDept.conf"
- pipeline.id: TransportOrder
  path.config: "config/mysql/TransportOrder.conf"
- pipeline.id: ServiceCommentDriver
  path.config: "config/mysql/ServiceCommentDriver.conf"
- pipeline.id: CertificateCarDrivingPermit
  path.config: "config/mysql/CertificateCarDrivingPermit.conf"
重新启动logstash,注意这里启动的方式发生了变化,就没有用f参数指定配置文件了
./bin/logstash
解决:
将 document_id => "%{_id}"调整为 document_id => "%{id}"
解决:
需要在url中添加上‘_doc’,比如post user/_doc/1
在logstash中修改配置如下:
elasticsearch {
           document_type => "_doc"
       }
需要注意的是在官方文档中的解释(基于7.13.0版本)
Value type is string
There is no default value for this setting.
This option is deprecated

for elasticsearch clusters 8.x: no value will be used;
for elasticsearch clusters 7.x: the value of _doc will be used;
for elasticsearch clusters 6.x: the value of doc will be used;
for elasticsearch clusters 5.x and below: the event’s type field will be used, if the field is not present the value of doc will be used.
所以这个document_type是没有默认值的,在8.x版本会完全弃用失效。6.x版本时应该设置为doc,7.x版本应该设置为_doc
解决:
input-jdbc默认设置列名全小写,但有时我们需要它区分大小写,比如同步数据到es中时,那么就需要手动关闭小写设置
input {
   jdbc {
        lowercase_column_names: false
    }
}
解决:
这个报错是因为es报错导致的
首先查看es中的报错日志,比如我这里遇到的是
There are no ingest nodes in this cluster, unable to forward request to an ingest node
问题很明显,是因为我使用了pipeline,但是集群中没有ingest节点,所以在es配置文件中添加上ingest角色即可
node.roles: [master,data,remote_cluster_client,ingest]
ouput.elasticsearch的默认action是create。当数据更新时,需要开启update
action => "update"
doc_as_upsert => true
解决:
配置文件有问题,检查下input和ouput的配置。一定要细心