FZU-SE-EE308-2022秋

EE308 Lab2-2
 墨衍会员 · AI 创作全网分发 墨衍智能分发 通过墨衍一键同步至各平台 可同步平台 CSDN微信公众号微博知乎掘金百家号博客园抖音小红书 你的文章也可以这样分发 墨衍会员 ¥399起/年,写一次发全网
我也要 关注 + 加入社区
Content
- I.Overall of The Software Bobing
- II.Key Techniques and Relevant Programing Thinking
- III.Innovation Points in Our Software
- IV.Pair-Programing Experience
- V.Big Events during Developing
- VI.PSP Form and Learning Progress Bar
- VII.Summary
| The Link Your Class | https://bbs.csdn.net/forums/MUEE308FZU202201 |
|---|---|
| The Link of Requirement of This Assignment | https://bbs.csdn.net/topics/608859318?spm=1001.2014.3001.6377 |
| The Aim of This Assignment | Develop a Bobing software |
| MU STU ID and FZU STU ID | 20124163_832002230 |
| Partner’s MU STU ID and FZU STU ID | 20124023_832002110 |
| GitHub link | https://github.com/LobsterJian/BobingGame.git |
| Bilibili video link | https://www.bilibili.com/video/BV1ye4y1x7Ms/?vd_source=a9129e629a43eefec6d1ce6ede33a1d6 |
I.Overall of The Software Bobing
So far, we have finished all the functions defined in our prototype which was submitted last week using Android (Because my partner and I are all familiar with it) and all the work are done by ourselves without any open source code. I divide the functions into 4 parts:
- Background Music. This part of function has already been defined in our prototype and we have realize it in our software. In total, we have three different kinds of background music and I will show the details about implementing it in part III.
- Multi-players. This function has also been defined in our prototype. We split this function into some small parts and realize them one by one. In the end, we finished it. And I will show details about implementing it in part II.
- Visual Effect of Dice Rotation. This function has been realized by multi-threads programing in Android. I will show it in part II.
- Producing Results Automatically. This function is very easy to realize because it can be realized by using basic logic judgement. So I will not give too many details about this part. (Just show the code snippet here)
public String[] getResult(int arr[][],int num){
        int res[][] = new int[num][6];
        for(int i = 0;i<num;i++){
            for(int j = 0;j<6;j++){
                res[i][arr[i][j]-1]++;
            }
        }
        String str[] = new String[num];
        for(int i = 0;i<num;i++){
             if(res[i][3] == 4 && res[i][0] == 2){
                str[i] = "【状元】状元插金花";
             }
             else if(res[i][3] == 6){
                 str[i] = "【状元】六勃红";
             }
             else if(res[i][0] == 6){
                 str[i] = "【状元】遍地锦";
             }
             else if(res[i][1] == 6 || res[i][2] ==6 || res[i][4] == 6 || res[i][5] == 6){
                 str[i] = "【状元】黑六勃";
             }
             else if(res[i][3] == 5){
                 str[i] = "【状元】五红";
             }
             else if(res[i][0] == 5 || res[i][1] == 5 || res[i][2] == 5 || res[i][4] == 5 || res[i][5] == 5){
                 str[i] = "【状元】五子登科";
             }
             else if(res[i][3] == 4 && res[i][0] != 2){
                 str[i] = "【状元】四点红";
             }
             else if(res[i][0] == 1 && res[i][1] == 1 && res[i][2] == 1 && res[i][3] == 1 && res[i][4] == 1 && res[i][5] == 1){
                 str[i] = "【榜眼】对堂";
             }
             else if(res[i][3] == 3){
                 str[i] = "【探花】三红";
             }
             else if(res[i][0] == 4 || res[i][1] == 4 || res[i][2] == 4 || res[i][4] == 4 || res[i][5] == 4){
                 str[i] = "【进士】四进";
             }
             else if(res[i][3] == 2){
                 str[i] = "【举人】二举";
             }
             else if(res[i][3] == 1){
                 str[i] = "【秀才】一秀";
             }
             else{
                 str[i] = "本轮未获奖";
             }
        }
        return str;
    }
II.Key Techniques and Relevant Programing Thinking
I think there are three key techniques in our programing. They are database SQLite, multi-activities data transfer based on bundle and multi-threads programing with handler mechanism. Each of them plays an important role in our application Bobing. And I will explain them one by one.
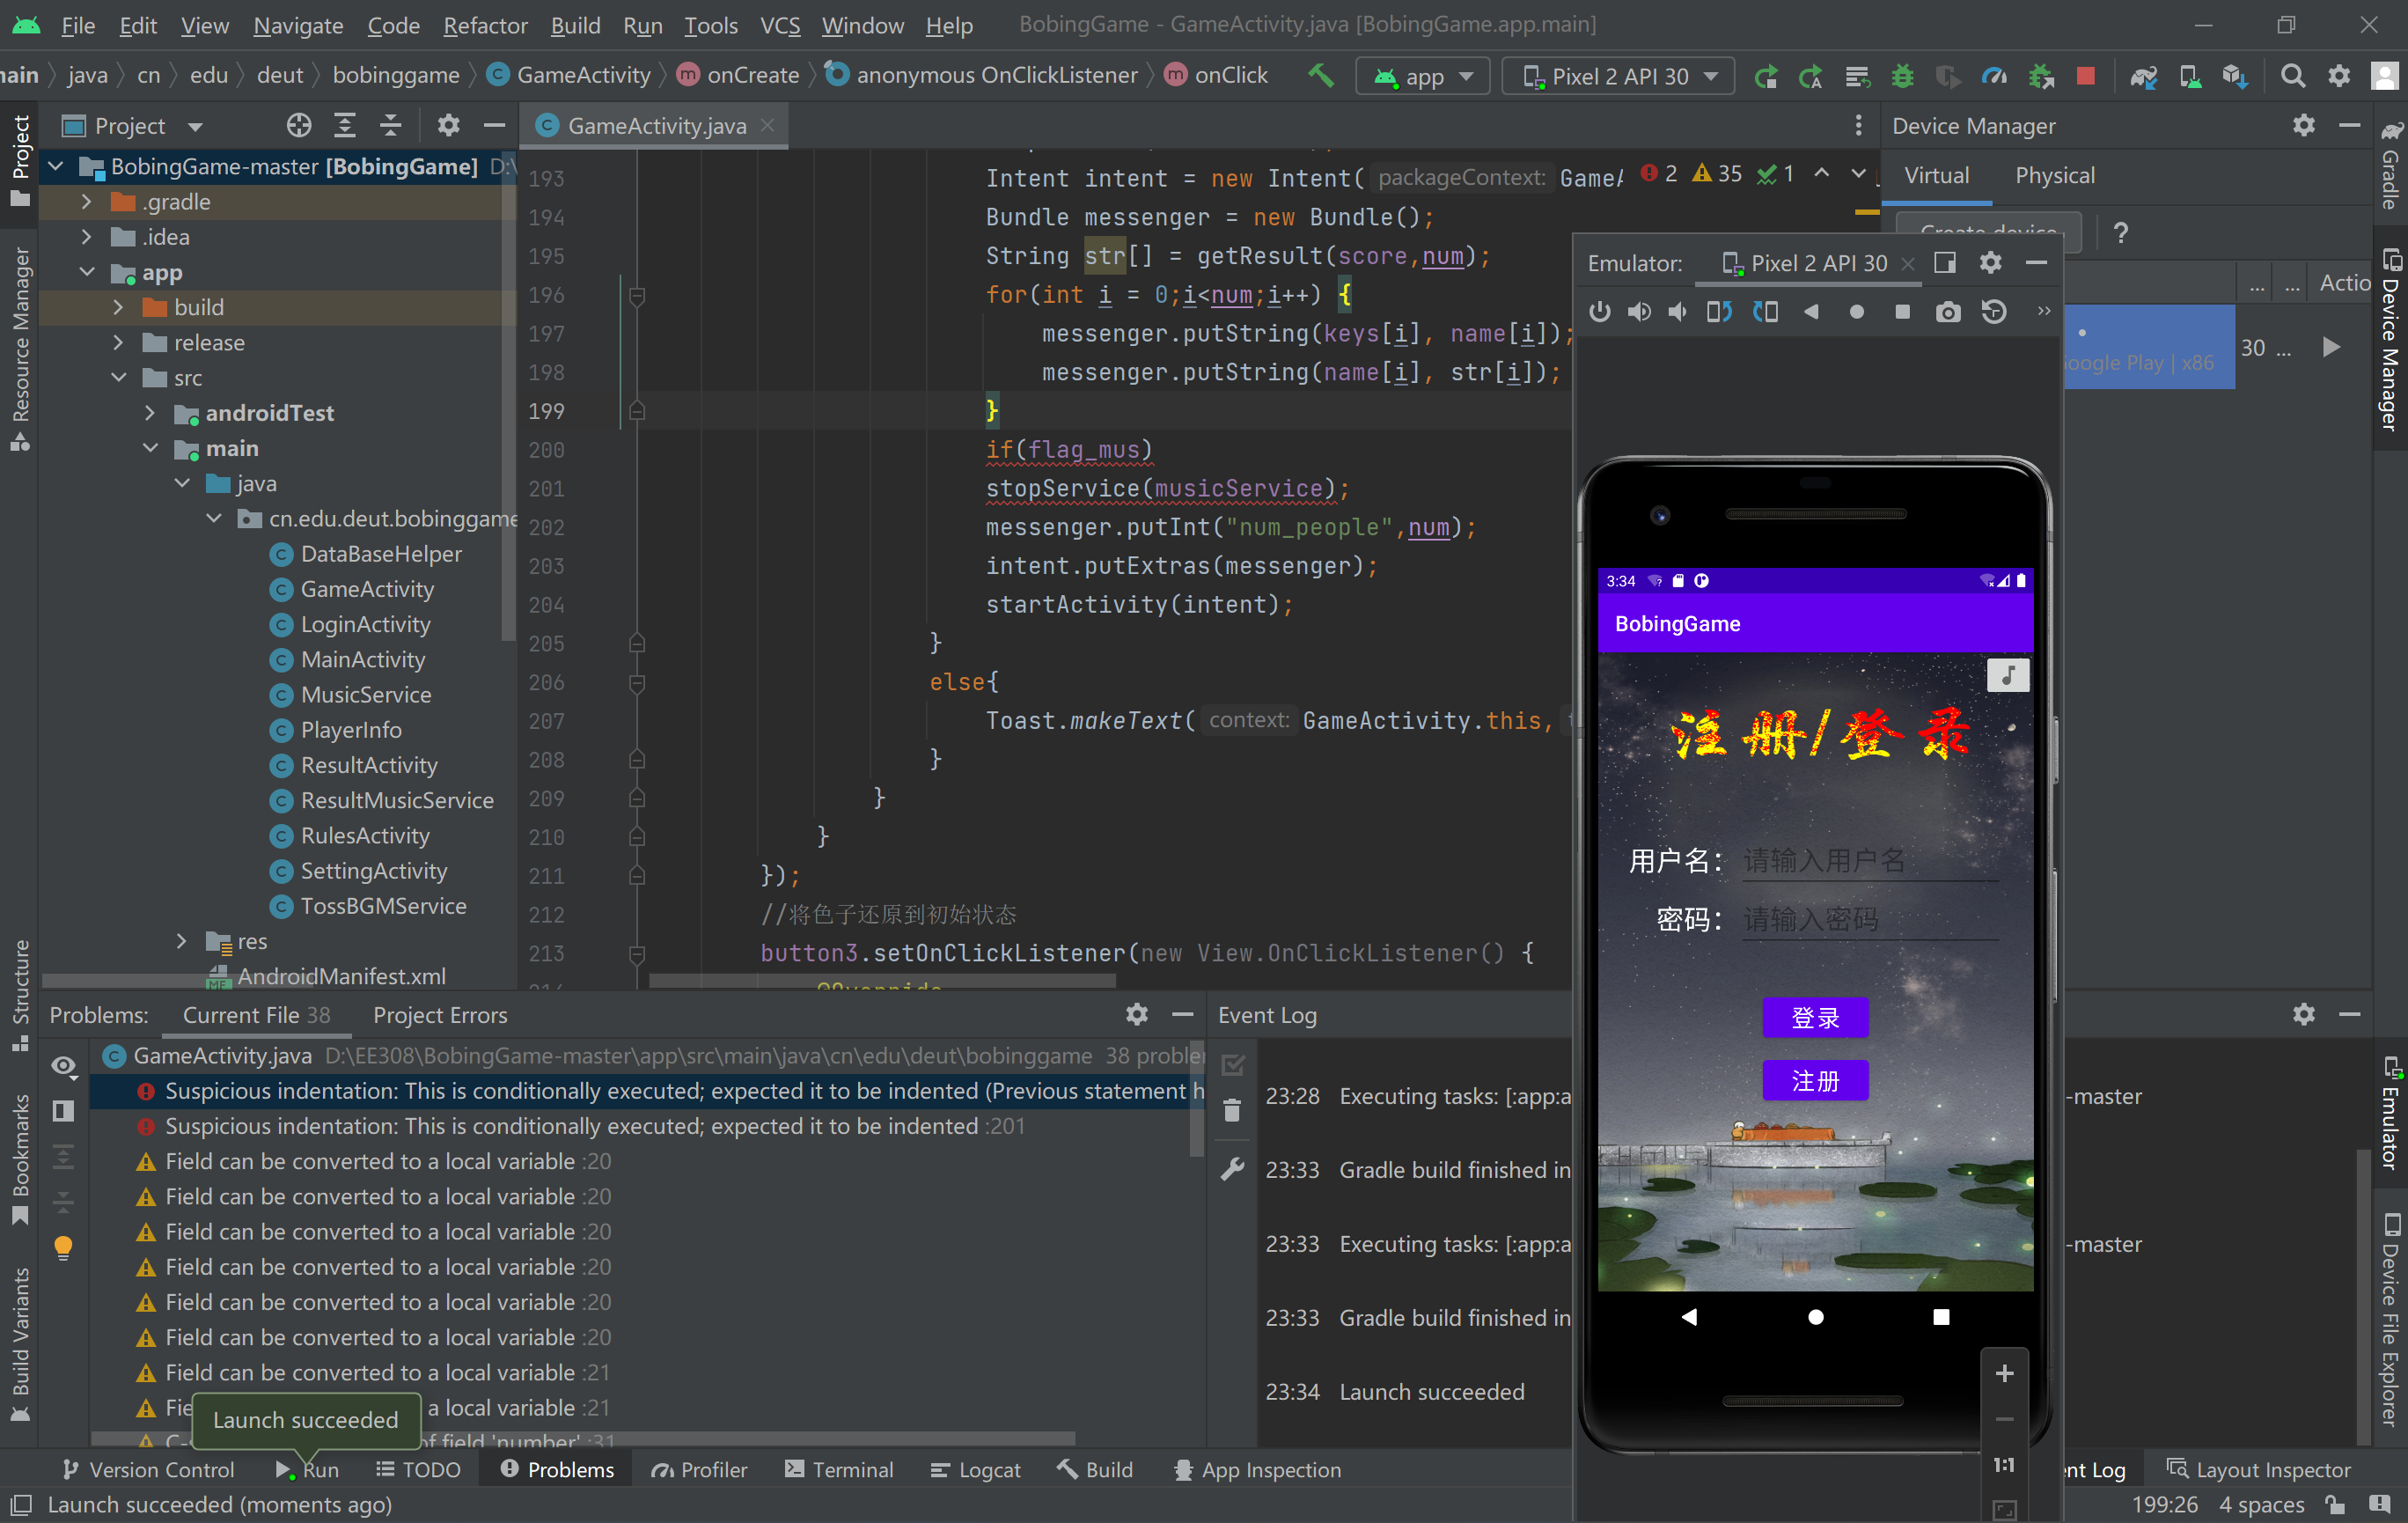
Database SQLite: SQLite is a relational and lightweight database. We use sqLite as database in our project to implement registration and login function. Until now, we realize this function. However, we do not go that far because the limitation of time. We hope in the future, the registration and login functions can be further expanded, for example, the personal page display of registered users and user personalized configuration can be added.
- The first code snippet shown is about defining a SQLite class and creating a relational table:
package cn.edu.deut.bobinggame;

import android.content.Context;
import android.database.sqlite.SQLiteDatabase;
import android.database.sqlite.SQLiteOpenHelper;

import androidx.annotation.Nullable;

public class DataBaseHelper extends SQLiteOpenHelper {
    public DataBaseHelper(@Nullable Context context, @Nullable String name, @Nullable SQLiteDatabase.CursorFactory factory, int version) {
        super(context, name, factory, version);
    }

    @Override
    public void onCreate(SQLiteDatabase db) {
        String sql = "CREATE TABLE user(userid integer primary key autoincrement,username text not null,userpwd text not null)";
        db.execSQL(sql);
    }

    @Override
    public void onUpgrade(SQLiteDatabase db, int oldVersion, int newVersion) {

    }
}
- And second code snippet shown is about core part of realizing registration and login:
public void onClick(View v) {
        String uname = edt_name.getText().toString();
        String upwd = edt_pwd.getText().toString();

        switch (v.getId()){
            case R.id.login:
//                sql = "delete from user";
//                sqLiteDatabase.execSQL(sql);
                String args1[] = new String[]{uname};
                String p = "";
                sql = "select * from user where username=?";
                cursor = sqLiteDatabase.rawQuery(sql,args1);
                cursor.moveToFirst();
                if(!cursor.isAfterLast()) p = cursor.getString(cursor.getColumnIndex("userpwd"));
                if(!uname.equals("")&&!upwd.equals("")){
                    if(p.equals("")){
                        Toast.makeText(this,"用户名"+uname+"不存在",Toast.LENGTH_SHORT).show();
                    }
                    else{
                        if(p.equals(upwd)){
                            Intent intent = new Intent(LoginActivity.this,SettingActivity.class);
                            startActivity(intent);
                        }
                        else{
                            Toast.makeText(this,"用户名"+uname+"密码错误",Toast.LENGTH_SHORT).show();
                        }
                    }
                }
                else if(uname.equals("")&&!upwd.equals("")){
                    Toast.makeText(this,"请填写用户名",Toast.LENGTH_SHORT).show();
                }
                else if(!uname.equals("")&&upwd.equals("")){
                    Toast.makeText(this,"请填写密码",Toast.LENGTH_SHORT).show();
                }
                else{
                    Toast.makeText(this,"请填写用户名和密码",Toast.LENGTH_SHORT).show();
                }
                break;
            case R.id.register:
                String args[] = new String[]{uname};
                sql = "select * from user where username=?";
                cursor = sqLiteDatabase.rawQuery(sql,args);
                cursor.moveToFirst();
                String tmp = "";
                if(!cursor.isAfterLast()) tmp = cursor.getString(cursor.getColumnIndex("userpwd"));
                if(!uname.equals("")&&!upwd.equals("")){
                    if(tmp.equals("")){
                        sql = "insert into user(username,userpwd) values('"+uname+"','"+upwd+"')";
                        sqLiteDatabase.execSQL(sql);
                        edt_pwd.setText("");
                        edt_name.setText("");
                        Toast.makeText(this,"注册成功",Toast.LENGTH_SHORT).show();
                    }
                    else{
                        Toast.makeText(this,"用户名已存在",Toast.LENGTH_SHORT).show();
                    }
                }
                else if(uname.equals("")&&!upwd.equals("")){
                    Toast.makeText(this,"请填写用户名",Toast.LENGTH_SHORT).show();
                }
                else if(!uname.equals("")&&upwd.equals("")){
                    Toast.makeText(this,"请填写密码",Toast.LENGTH_SHORT).show();
                }
                else{
                    Toast.makeText(this,"请填写用户名和密码",Toast.LENGTH_SHORT).show();
                }
                break;
        }
    }
Multi-Activities Data Transfer Based on Bundle: Bundle class is used to carry data. It is a mapping from String values to various Parcelable types. We use Bundle object to realize transferring data from one activity to another activity. Totally, there are three steps to use Bundle class to transfer data. Firstly, you should define a Bundle object with default constructor. Then you put values as key-value form in to this Bundle object and put the Bundle object to Intent object. Finally, in target activity, you define another Bundle object and extract the data using your “key” value.
So why we need to transfer data from one activity to another? In fact, we use this techinque many times. For example, in our third activity, users are asked to determine how many players they want to play in this turn. And this will result in the changes of number of input-box in the next activity. So in this case, we need this technique.
Here is an example of how to using Bundle class to transfer data in our project (In fact, we use Bundle class so many times in our project and this is just one example).
- This is the code snippet of the initial activity:
public void onClick(View v) {
                bundle = new Bundle();
                String keys[] = {"p1","p2","p3","p4","p5","p6"};
                for(int i = 0; i < num;i++){
                    bundle.putString(keys[i],editText[i].getText().toString());
                }
                bundle.putInt("num_people",num);
                bundle.putBoolean("music",flag);
                Intent intent = new Intent(PlayerInfo.this,GameActivity.class);
                intent.putExtras(bundle);
                startActivity(intent);
            }
- This is the code snippet of the target activity:
protected void onCreate(Bundle savedInstanceState) {
        Bundle bundle = this.getIntent().getExtras();
        int num = bundle.getInt("num_people");
        int score[][] = new int[num][6];
        String name[] = new String[num];
        String keys[] = {"p1","p2","p3","p4","p5","p6"};
        for(int i = 0;i<num;i++){
            name[i] = bundle.getString(keys[i]);
        }
}
Multi-Threads Programing with Handler Mechanism: In Android, the main thread is usually used to perform major tasks, while time-consuming tasks are usually placed in child threads. This technique is called multi-threads programing. In our application Bobing, the rotation of six-dice is time-consuming task. So we use multi-threads technique to realize it.
Now let us talk about handler mechanism. So why we use class Handler? In Android, It does not allow a child thread to access the UI component of the Activity. This prevents the child thread from changing the UI component’s property values.In practice, however, there are many cases where you need to change UI component property values based on the results produced in child threads. Based on the fact that our Bobing application needs to dynamically change the dice face pattern during running, the handler messaging mechanism is the most appropriate way. Every time when child thread has finished producing a random value, it will invoke Handler object to send a message which causes the change of dice face pattern.
- Here is the relevant code snippet:
public void onClick(View v) {
                if(isRecoverd && current_player <= num){
                    if(flag){
                        startService(tossService);
                        flag = false;
                        current_score ++;
                        if (thread != null&&isStop == true){
                            isStop = false;
                        }
                        handler = new Handler(){
                            @Override
                            public void handleMessage(@NonNull Message msg) {
                                super.handleMessage(msg);
                                for(int i = 0;i < 6;i++) {
                                    switch (number[i]) {
                                        case 1:
                                             imageViews[i].setImageResource(R.drawable.t1);
                                           break;
                                        case 2:
                                           imageViews[i].setImageResource(R.drawable.t2);
                                           break;
                                        case 3:
                                           imageViews[i].setImageResource(R.drawable.t3);
                                           break;
                                        case 4:
                                           imageViews[i].setImageResource(R.drawable.t4);
                                           break;
                                        case 5:
                                           imageViews[i].setImageResource(R.drawable.t5);
                                           break;
                                        case 6:
                                           imageViews[i].setImageResource(R.drawable.t6);
                                           break;
                                    }
                                }
                            }
                        };
                        thread = new Thread(new Runnable() {
                            @Override
                            public void run() {
                                while (!isStop) {
                                    Message message = handler.obtainMessage();
                                    count = 0;
                                    for (int i = 0; i < 6; i++) {
                                        try {
                                            Thread.sleep(5);
                                        } catch (InterruptedException e) {
                                            e.printStackTrace();
                                        }
                                        int random = secureRandom.nextInt(6) + 1;
                                        if(current_score <= num-1)
                                        score[current_score][i] = random;
                                        number[i] = random;
                                        count += random;
                                    }
                                    handler.sendMessage(message);
                                }
                            }
                        });
                        thread.start();
                    }
III.Innovation Points in Our Software
Totally, there are two innovation points in our software:
The Way to Generate Random Numbers: We know that there are several ways to generate random values in Java. In the previous programing, we were teached to use function math.random() to generate random numbers. However, after trails, we found out that this way can not “really” generate random numbers. This random number can be predicted and even can be the same as the numbers it has generated last time.
So we spend a lot of time studying the theory about generating random numbers in Java. After that, we find out the best way to generate random numbers: Using class SecureRandom. Then we import this class and implement generating unpredictable random numbers.
import java.security.SecureRandom;
    public void run() {
        SecureRandom secureRandom = new SecureRandom();
        int random = secureRandom.nextInt(6) + 1;
        if(current_score <= num-1)
        score[current_score][i] = random;
        number[i] = random;
        count += random;
    }
The Way to Implement Background Music: We use service class to implement background music. Because in Android, as one of the four components of Android, a service class can be understood as an activity that executes in the background.It is suitable for handling long background operations that do not interfere with the user. So based on these reasons, we choose to use service class to implement background music. What’s more, using service class can also provide us a way to control the background music to be open or off in all the activities.
Here is the code about music service class:
package cn.edu.deut.bobinggame;

import android.app.Service;
import android.content.Intent;
import android.media.MediaPlayer;
import android.os.IBinder;

import androidx.annotation.Nullable;

public class MusicService extends Service {
    MediaPlayer mediaPlayer;
    @Override
    public void onCreate() {

        super.onCreate();
    }

    @Override
    public int onStartCommand(Intent intent, int flags, int startId) {
        mediaPlayer = MediaPlayer.create(this,R.raw.dragonrider);
        mediaPlayer.start();
        mediaPlayer.setLooping(true);
        return super.onStartCommand(intent, flags, startId);
    }

    @Override
    public void onDestroy() {
        mediaPlayer.stop();
        mediaPlayer.reset();
        super.onDestroy();
    }

    @Nullable
    @Override
    public IBinder onBind(Intent intent) {
        return null;
    }
}
IV.Pair-Programing Experience
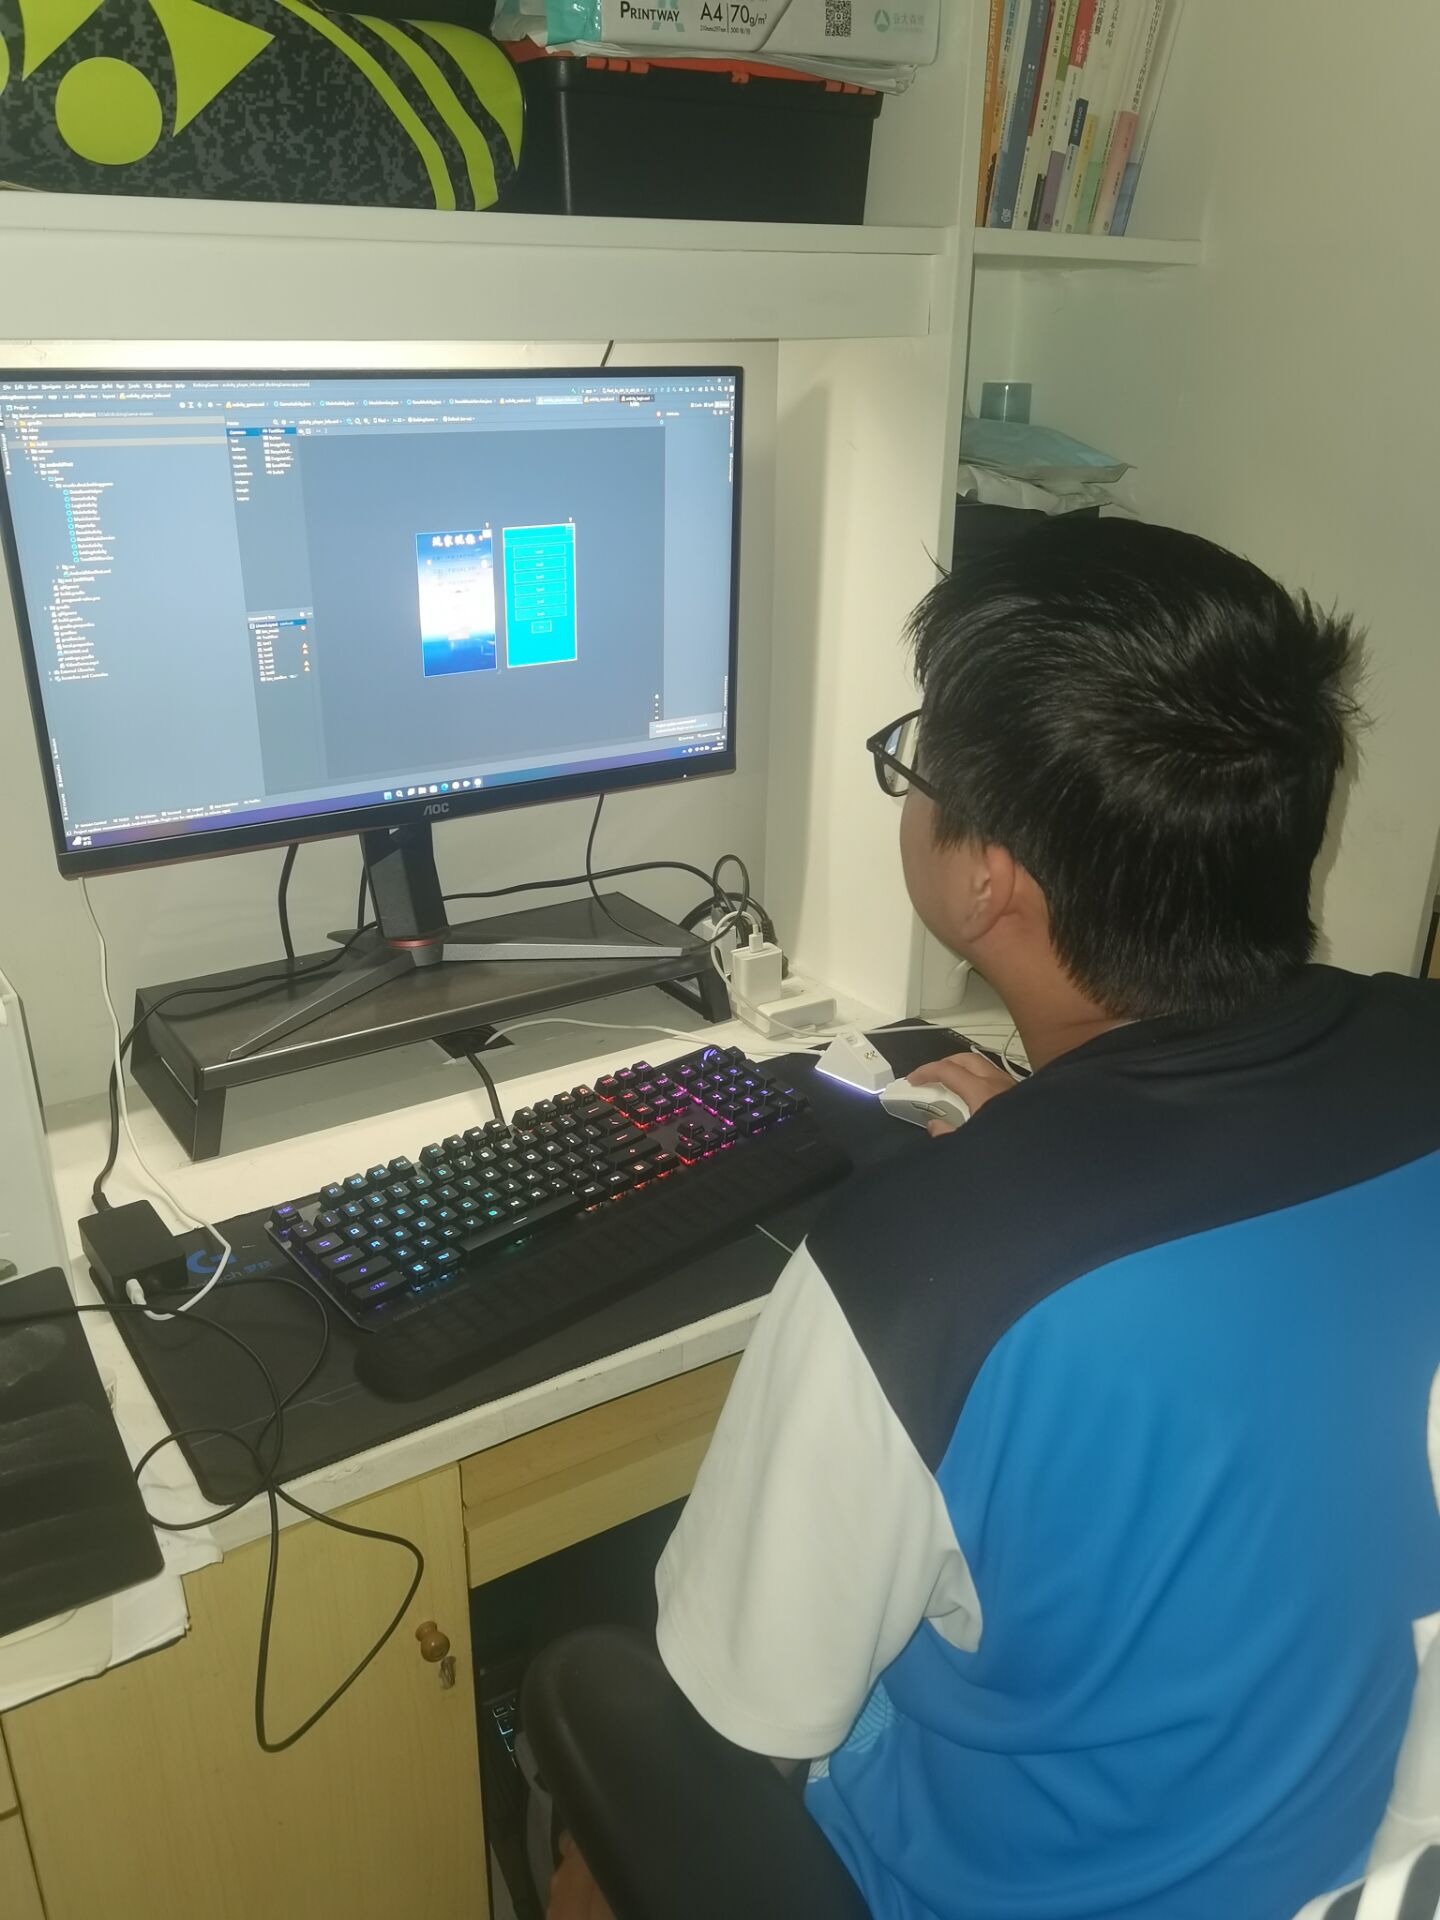
For this pair-programing process, my partner and I all learned a lot. And we experience And we feel a completely different experience from single-programming. For example, I prefer to think abstractly while my partner prefer to think a problem specifically. Then we can complement each other. And we have experience some big events during the process and I will mention them clearly in part V.
V.Big Events during Developing
How to realize background music. I think that we can just put the video player object in main activity. However my partner think it is not the best way to realize this because it has two problems. Firstly, it will degrade the user experience since users can not stop it at any time. Secondly, it will result in the main thread overload which will make the game very unsmooth. So in the end, we come up with using service class to implement background music and control it in every single activity using Intent object.
Whether to add user’ nickname or not. I think that is is difficult to realize this function. But my partner do not agree with him. My partner think we can realize this function using the same idea which is used in “number of people selection”. It is just a data transfer problem. So finally we try to use the same idea and finish this function.
Whether to extent registeration and login functions or not. Here we have the same point that in this phase it is no need to extent it because firstly we should add function “networking”. Then it is time for us to extent these two functions. But now my partner and I do not want to rent a webserver for this lab because it is too expensive. So we do not use socket programing to realize networking in the end.
Whether to put the video demo to bilibili or just put it in my own website. My partner think we can just put the video and the installation package into my onw website. However I think we should put it in bilibili to make more people find it, which in turn can advertise our application. In the end, we choose to both put it on my own website and in bilibili. That’s why we give two links at the begining of this blog. If you are a android user, you can also download the installation package in my own website. Here is the link (I have put this link at the begining of the blog and now I repeat ): http://lobster.3vcm.vip/
VI.PSP Form and Learning Progress Bar
| Pair-working Software Process Stage | Estimated Time (minutes) | Actual Time (minutes) |
|---|---|---|
| Planning | 30 | 20 |
| · Estimate | 30 | 20 |
| Development | 2330 | 2070 |
| · Analysis | 100 | 150 |
| · Design Spec | 30 | 20 |
| · Design Review | 50 | 50 |
| · Coding Standard | 50 | 50 |
| · Design | 100 | 200 |
| · Coding | 1500 | 1200 |
| · Code Review | 300 | 200 |
| · Test | 200 | 200 |
| Reporting | 250 | 250 |
| · Test Report | 120 | 120 |
| · Size Measurement | 30 | 30 |
| · Postmortem&Process Improvement | 100 | 100 |
| Total | 2610 | 2340 |
| Week N | Newly Added Code(line) | Cumulative Code (line) | Learning Time This Week (hours) | Cumulative Learning Time (hours) | Main Growth |
|---|---|---|---|---|---|
| 1 | 1210 | 1310 | 9 | 9 | Be familiar with Android Studio, Java multi-thread programing, XML and so on. |
| 2 | 292 | 1502 | 5 | 14 | Be familiar with learning progress bar. This week is used to fix some problems. |
VII.Summary
From this lab 2-2, I have obtained:
(1).How to work with a partner.
(2).Review of writing a Android application.
(3).Know what is a learning progress bar.
Given that there are still some defects with my lab 2-2, I think my partner and I have tried our best with it.
相关推荐
EE-308 LAB4 final version.7z
这是本次实验的压缩包
从可观测性的角度研究基于扩展卡尔曼滤波器(EKF)的同时定位与地图构建(SLAM)中的不一致性问题(Matlab代码实现)
内容概要:本文系统研究了基于扩展卡尔曼滤波器(EKF)的同时定位与地图构建(SLAM)系统中存在的不一致性问题,重点从系统可观测性的角度进行深入分析。文章指出,EKF-SLAM在实际应用中常因系统可观测性不足而导致状态估计偏差和协方差低估,进而引发滤波器发散或定位精度下降。通过理论推导揭示了在特定运动模式(如纯旋转或直线运动)下系统可观测性降低的机理,并结合Matlab仿真实验验证了相关结论。研究构建了典型的SLAM仿真场景,展示了不同运动轨迹对估计一致性的影响,并探讨了提升系统可观测性的改进策略,旨在增强EKF-SLAM算法的鲁棒性与可靠性。; 适合人群:具备控制理论、机器人学、状态估计或传感器融合等相关领域基础知识,正在从事SLAM、自主导航、智能系统研发的硕士、博士研究生及科研人员。; 使用场景及目标:①深入理解EKF-SLAM中估计不一致性的根本原因及其与可观测性的内在联系;②掌握基于可观测性理论分析非线性估计系统的方法;③利用提供的Matlab代码复现仿真结果,用于学术研究、算法验证或教学演示。; 阅读建议:建议读者结合线性系统理论与非线性滤波知识,重点研读可观测性分析的数学推导部分,并动手运行配套的Matlab代码,通过改变机器人运动轨迹等方式观察滤波性能变化,以深化对理论内容的理解与实践应用能力。
基于AI大模型的量化交易可信数据空间建设方案.pptx
基于AI大模型的量化交易可信数据空间建设方案.pptx
(Multisim课设资料)最全面函数信号发生器(三角波+正弦波+方波信号+锯齿波仿真设计+报告文档
内容概要:本文详细介绍了基于Multisim的最全面函数信号发生器的设计与仿真,涵盖三角波、正弦波、方波及锯齿波等多种信号的生成电路设计,并结合仿真结果进行分析验证。文档不仅提供了完整的电路设计方案,还包括详尽的报告文档,适用于电子类课程设计与实践教学。通过该设计,用户能够深入掌握信号发生器的工作原理、Multisim仿真软件的应用技巧以及模拟电路的调试方法,全面提升电路设计与系统仿真能力。; 适合人群:电子信息工程、自动化、电气工程等相关专业的本科生及研究生,具备基本电路理论知识和Multisim软件操作基础的学习者。; 使用场景及目标:①用于高校电子类课程设计(如模拟电子技术、电路仿真等)的教学与实践;②帮助学生系统掌握函数信号发生器的设计流程与Multisim仿真技能;③为科研项目中信号源模块的搭建提供可复用的参考方案和技术支持。; 阅读建议:建议读者结合Multisim软件同步操作,按照文档中的电路图逐步搭建并仿真,重点关注各信号产生电路的参数设置、波形生成质量及调试过程,以深化对模拟电路工作原理与系统设计方法的理解。
Go语言高并发与云原生项目实战
Go语言高并发与云原生项目实战