


11
社区成员
 发帖
发帖 与我相关
与我相关 我的任务
我的任务
 分享
分享先放代码段
视频演示:
arduino端代码:
#include <U8g2lib.h>

int Aim;
int inData;

void setup() {
  Serial.begin(9600);
  Serial1.begin(9600);//连接蓝牙
  Serial2.begin(9600);//连接openmv
  Serial3.begin(9600);
}

void OpenmvRead(void)
{
  while(Serial2.read()>=0);//清除缓存
  while(Serial2.available()==0);//等待信号传输
  if(Serial2.available())//接收到openmv发来的病房号数字
  {
    inData=Serial2.read();//读取接收的字符
    if(inData=='1')Aim=1;
    if(inData=='2')Aim=2;
    if(inData=='3')Aim=3;
    if(inData=='4')Aim=4;
    if(inData=='5')Aim=5;
    if(inData=='6')Aim=6;
    if(inData=='7')Aim=7;
    if(inData=='8')Aim=8;
    inData=' ';
    while(Serial2.read()>=0);//清除缓存区数据
    Serial.println(Aim);
    delay(1000);
    Serial.println("ok");
  }
}


void loop() {  //调试
Serial.println("loop");
      OpenmvRead();//获取任务码


}
只是用来把识别的数字打印到串口显示用,目前openmv只是调试阶段,都是最基本的代码
openmv端代码:
# Template Matching Example - Normalized Cross Correlation (NCC)
#
# This example shows off how to use the NCC feature of your OpenMV Cam to match
# image patches to parts of an image... expect for extremely controlled enviorments
# NCC is not all to useful.
#
# WARNING: NCC supports needs to be reworked! As of right now this feature needs
# a lot of work to be made into somethin useful. This script will reamin to show
# that the functionality exists, but, in its current state is inadequate.

import time, sensor, image,os,tf
from image import SEARCH_EX, SEARCH_DS
from pyb import UART
#从imgae模块引入SEARCH_EX和SEARCH_DS。使用from import仅仅引入SEARCH_EX,
#SEARCH_DS两个需要的部分,而不把image模块全部引入。
uart = UART(3, 9600)
# Reset sensor
sensor.reset()

# Set sensor settings
# Max resolution for template matching with SEARCH_EX is QQVGA
sensor.set_framesize(sensor.QQVGA)
# You can set windowing to reduce the search image.
#sensor.set_windowing(((640-80)//2, (480-60)//2, 80, 60))
sensor.set_pixformat(sensor.GRAYSCALE)

net = "trained.tflite"
labels = [line.rstrip('\n') for line in open("labels.txt")]

# Load template.
# Template should be a small (eg. 32x32 pixels) grayscale image.
template1 = "/1.pgm"
template2 = "/2.pgm"
template3 = "/3.pgm"
template4 = "/4.pgm"
template5 = "/5.pgm"
template6 = "/6.pgm"
template7 = "/7.pgm"
template8 = "/8.pgm"

A0=1
A9=1
B0=1
A1=0
A2=0
A3=0
A4=0
A5=0
A6=0
A7=0
A8=0
B0=1
C0=1
C1=0
C2=1
D0=1
D1=1


clock = time.clock()

# Run template matching
while (True):
        uart = UART(3, 9600)
        sensor.reset()
        sensor.set_framesize(sensor.QQVGA)
        sensor.set_pixformat(sensor.GRAYSCALE)
        net = "trained.tflite"
        labels = [line.rstrip('\n') for line in open("labels.txt")]
        clock = time.clock()
        template1 = "/1.pgm"
        template2 = "/2.pgm"
        template3 = "/3.pgm"
        template4 = "/4.pgm"
        template5 = "/5.pgm"
        template6 = "/6.pgm"
        template7 = "/7.pgm"
        template8 = "/8.pgm"
        A0=1
        A9=1
        B0=1
        A1=0
        A2=0
        A3=0
        A4=0
        A5=0
        A6=0
        A7=0
        A8=0
        B0=1
        C0=1
        C1=0
        C2=1
        D0=1
        D1=1

        clock.tick()
        img = sensor.snapshot()
        A0=A9=1
        while(A0):
            clock.tick()
            img = sensor.snapshot()
            t1 = image.Image(template1)
            r1 = img.find_template(t1, 0.80, step=4, search=SEARCH_EX) #, roi=(10, 0, 60, 60))
            if r1:
                img.draw_rectangle(r1)
                A1=1
                A0=0
            t2 = image.Image(template2)
            r2 = img.find_template(t2, 0.80, step=4, search=SEARCH_EX) #, roi=(10, 0, 60, 60))
            if r2:
                img.draw_rectangle(r2)
                A2=1
                A0=0
            t3 = image.Image(template3)
            r3 = img.find_template(t3, 0.85, step=4, search=SEARCH_EX) #, roi=(10, 0, 60, 60))
            if r3:
                img.draw_rectangle(r3)
                print('3') #打印模板名字
                A3=1
                A0=0
            t4 = image.Image(template4)
            r4 = img.find_template(t4, 0.80, step=4, search=SEARCH_EX) #, roi=(10, 0, 60, 60))
            if r4:
                img.draw_rectangle(r4)
                print('4') #打印模板名字
                A4=1
                A0=0
            t5 = image.Image(template5)
            r5 = img.find_template(t5, 0.80, step=4, search=SEARCH_EX) #, roi=(10, 0, 60, 60))
            if r5:
                img.draw_rectangle(r5)
                print('5') #打印模板名字
                A5=1
                A0=0
            t6 = image.Image(template6)
            r6 = img.find_template(t6, 0.80, step=4, search=SEARCH_EX) #, roi=(10, 0, 60, 60))
            if r6:
                img.draw_rectangle(r6)
                print('6') #打印模板名字
                A6=1
                A0=0
            t7 = image.Image(template7)
            r7 = img.find_template(t7, 0.80, step=4, search=SEARCH_EX) #, roi=(10, 0, 60, 60))
            if r7:
                img.draw_rectangle(r7)
                print('7') #打印模板名字
                A7=1
                A0=0
            t8 = image.Image(template8)
            r8 = img.find_template(t8, 0.85, step=4, search=SEARCH_EX) #, roi=(10, 0, 60, 60))
            if r8:
                img.draw_rectangle(r8)
                print('8') #打印模板名字
                A8=1
                A0=0
        while(A9):
            if A1==1:
                uart.write('1')
                print('1') #打印模板名字
                num=1
                A9=0
            if A2==1:
                uart.write('2')
                print('2') #打印模板名字
                num=2
                A9=0
            if A3==1:
                uart.write('3')
                print('3')
                num=3
                A9=0
            if A4==1:
                uart.write('4')
                print('4')
                num=4
                A9=0
            if A5==1:
                uart.write('5')
                print('5')
                num=5
                A9=0
            if A6==1:
                uart.write('6')
                print('6')
                num=6
                A9=0
            if A7==1:
                uart.write('7')
                print('7')
                num=7
                A9=0
            if A8==1:
                uart.write('8')
                print('8')
                num=8
                A9=0
具体怎么用请查阅资料,我的文字表达能力实在不好
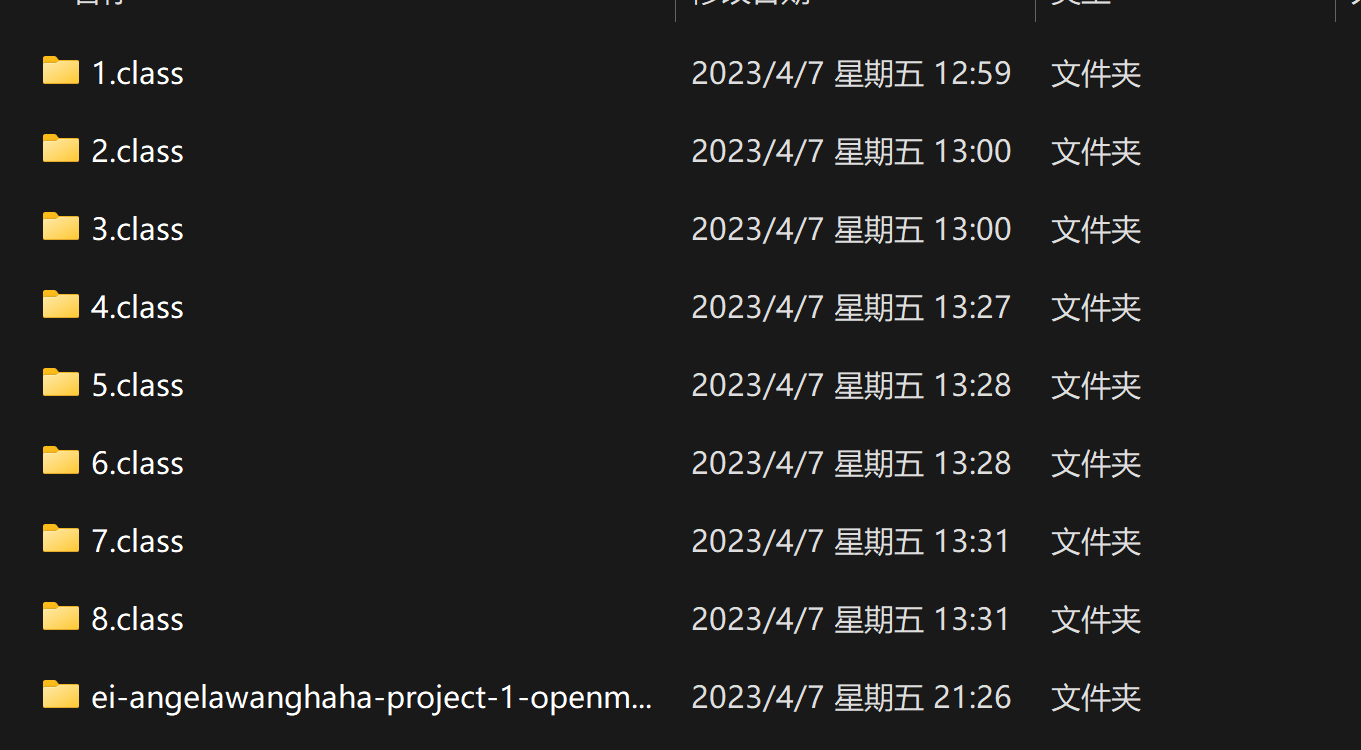
训练集:
用的edge impluse网站训练生成三个文件,具体操作见别的老师的blog
具体的
openmv IDE软件用法
以及edge impluse网站神经网络算法训练用法
详见其他老师blog
OK,我只负责代码

