162
社区成员
 发帖
发帖 与我相关
与我相关 我的任务
我的任务
 分享
分享Numpy 和 Pillow在图像处理中的应用
1) 掌握Numpy的基本应用
2)掌握 Pillow的简单用法
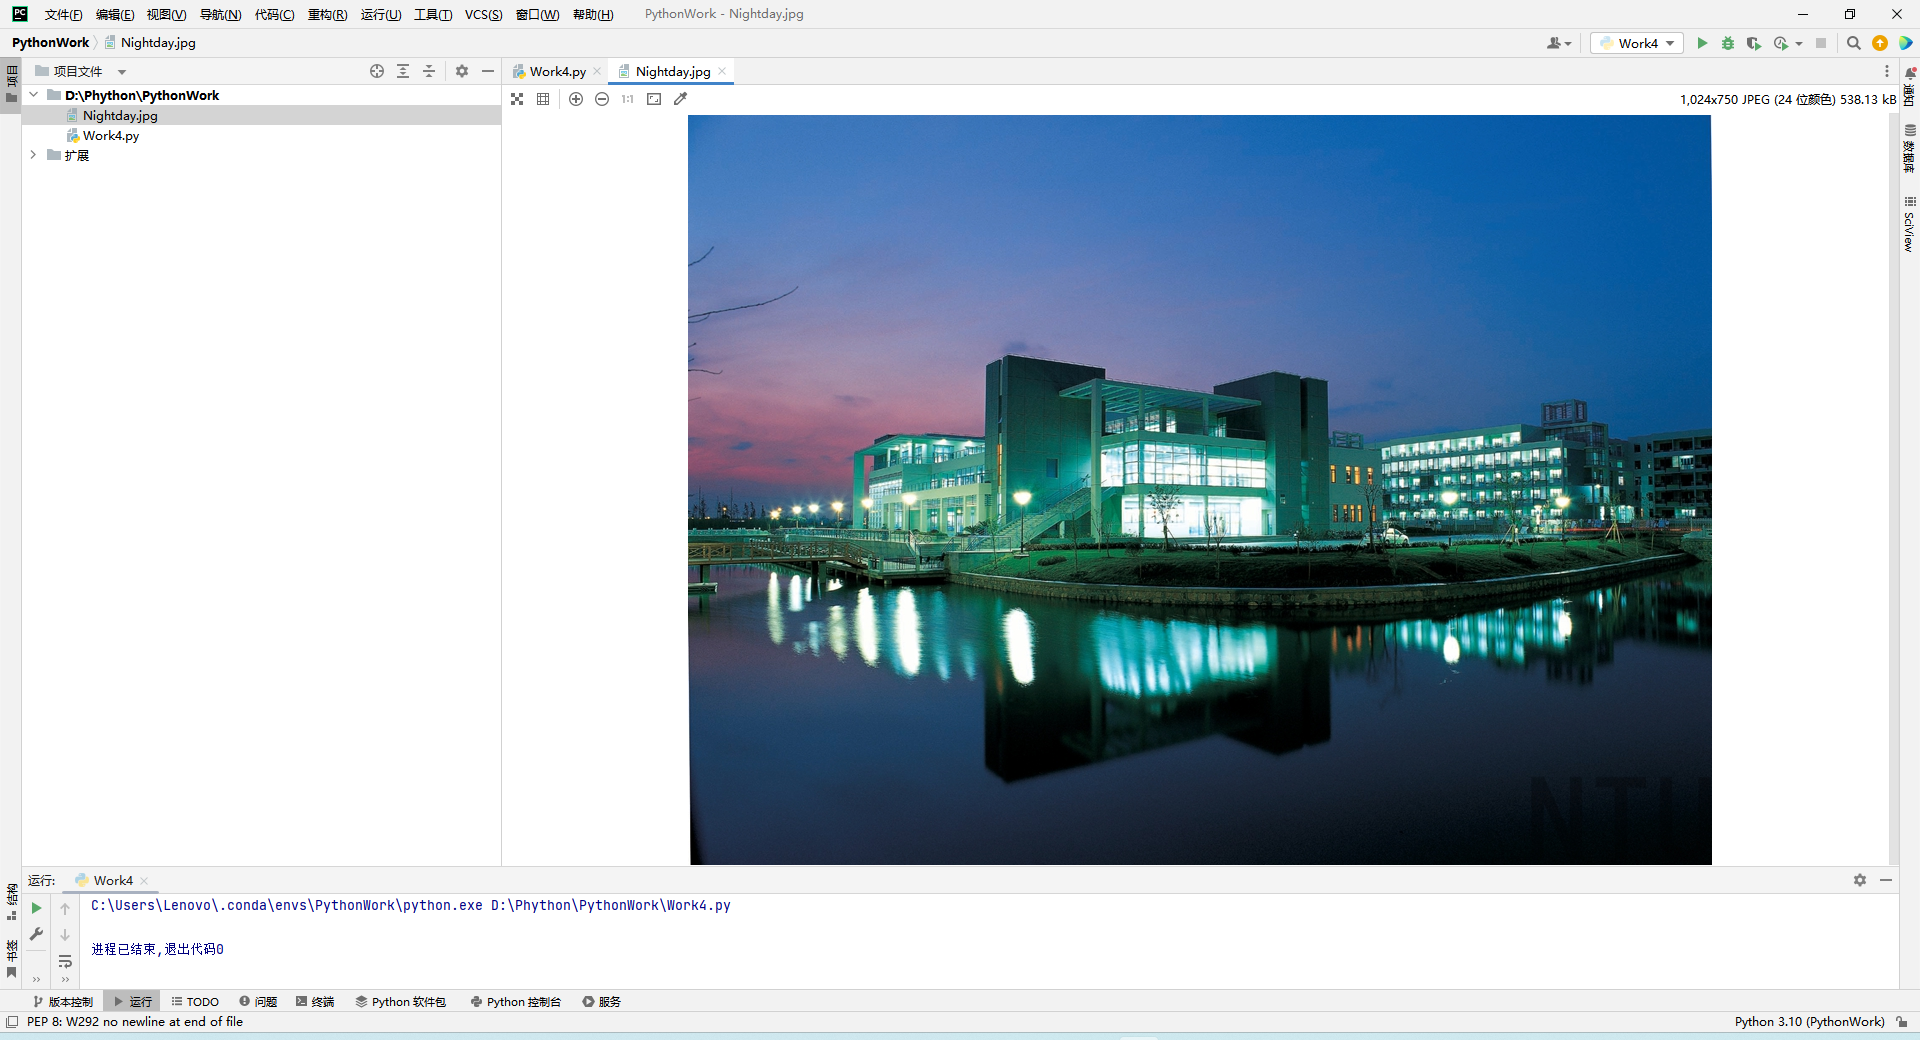
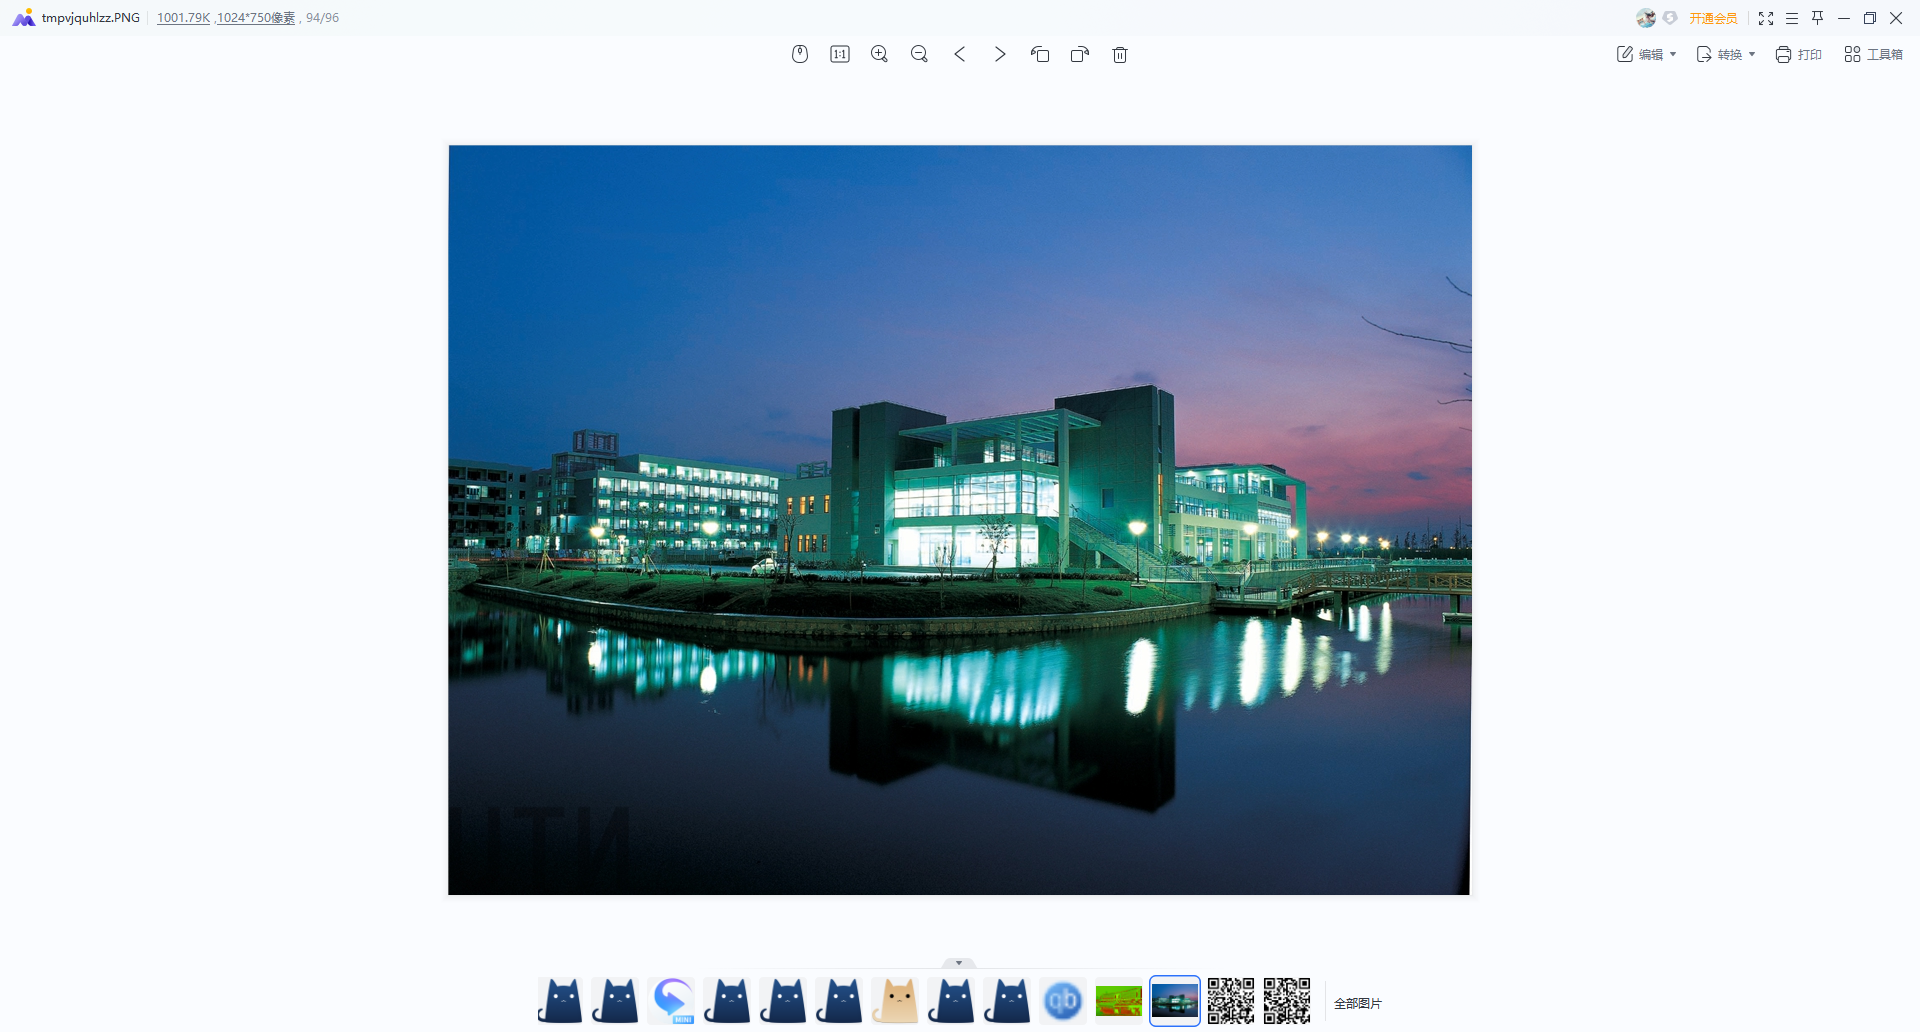
任务 1)从以下网站:南通大学[学校掠影](https://www.ntu.edu.cn/77/list.htm)任选一副图片下载,用Python程序显示原始图片。
为了方便,我直接放在了项目之中
引用代码为:
from PIL import Image
import numpy as np
# 打开图片
img = Image.open('Nightday.jpg')
img_array = np.array(img)
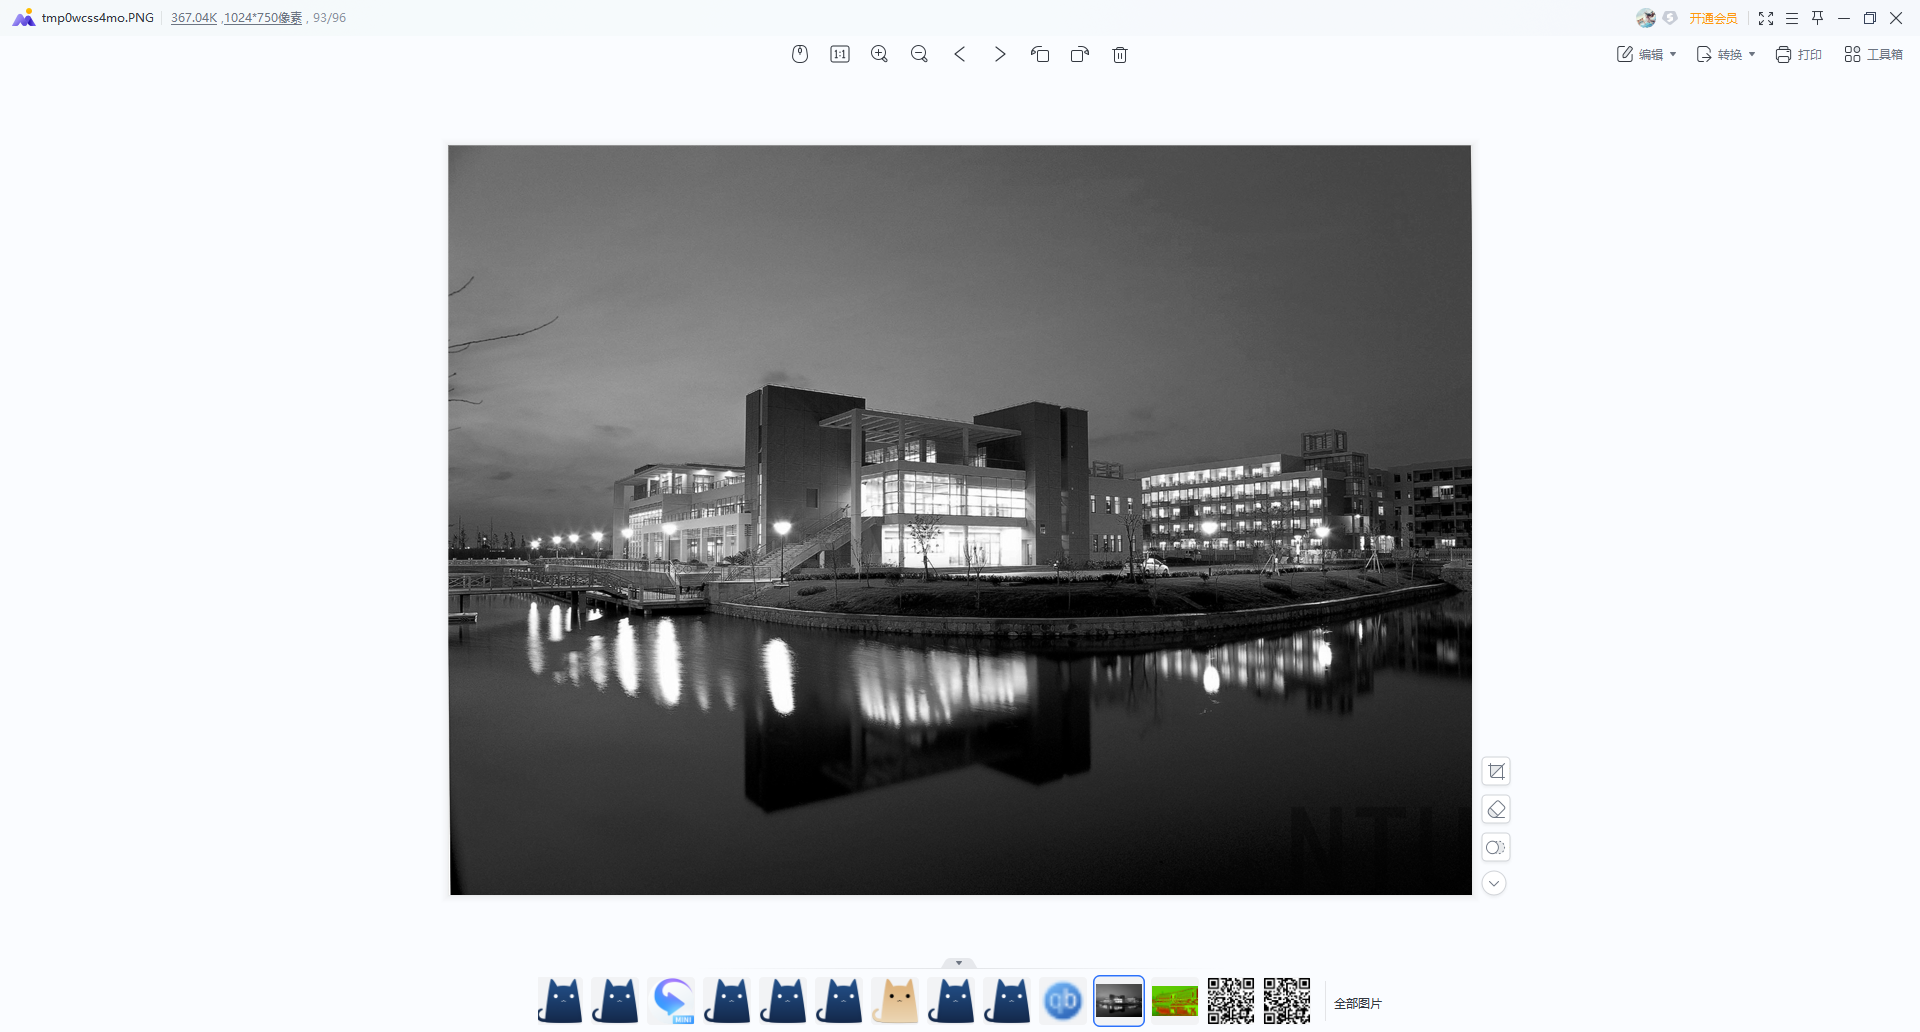
任务 2)将图片变成黑白图片,并用Python程序显示。
# 将 RGB 图像转换为灰度图像
gray_img_array = np.dot(img_array[...,:3], [0.2989, 0.5870, 0.1140])

# 将 numpy 数组转换回图像并显示
gray_img = Image.fromarray(gray_img_array.astype('uint8'))
gray_img.show()
运行效果为:
任务3)将图片左右翻转,并用Python程序显示。
# 左右翻转图像
flipped_img_array = img_array[:, ::-1]

# 将 numpy 数组转换回图像并显示
flipped_img = Image.fromarray(flipped_img_array)
flipped_img.show()
运行效果:
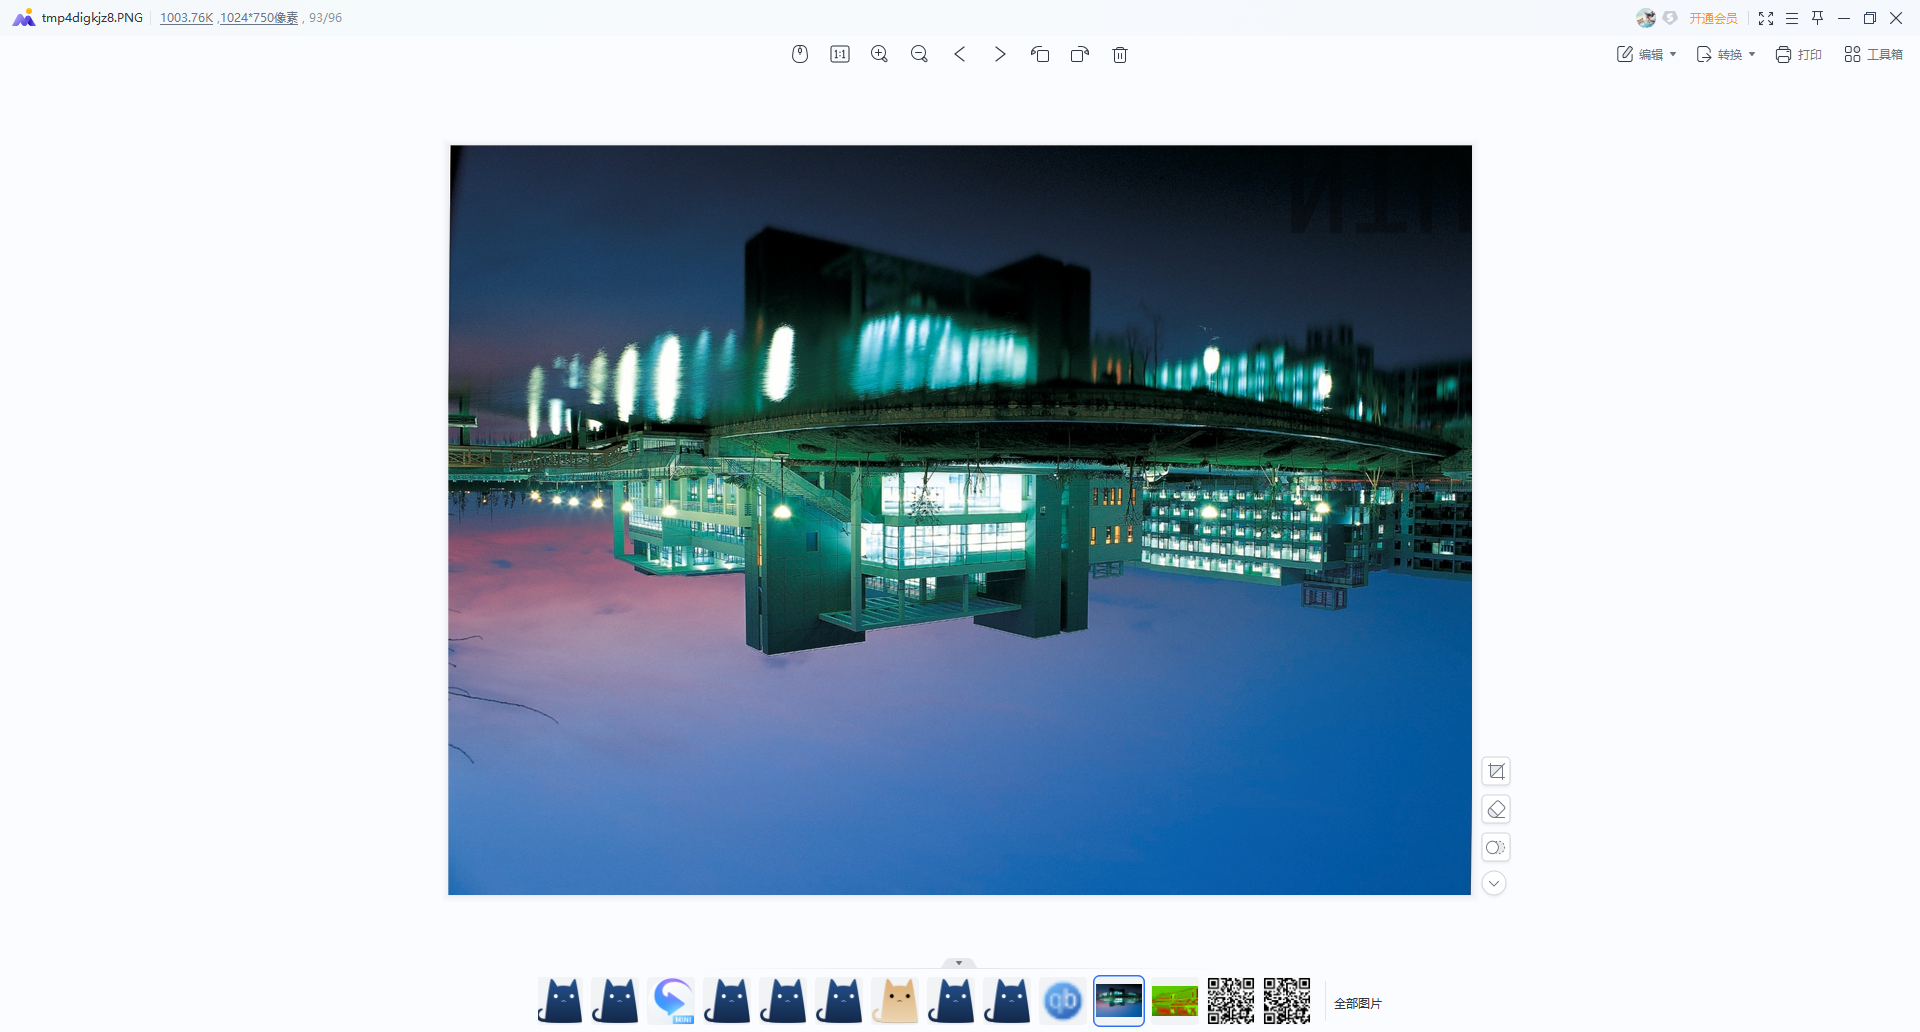
任务4)将图片上下翻转,并用Python程序显示。
# 上下翻转图像
flipped_img_array = img_array[::-1]

# 将 numpy 数组转换回图像并显示
flipped_img = Image.fromarray(flipped_img_array)
flipped_img.show()
运行效果:
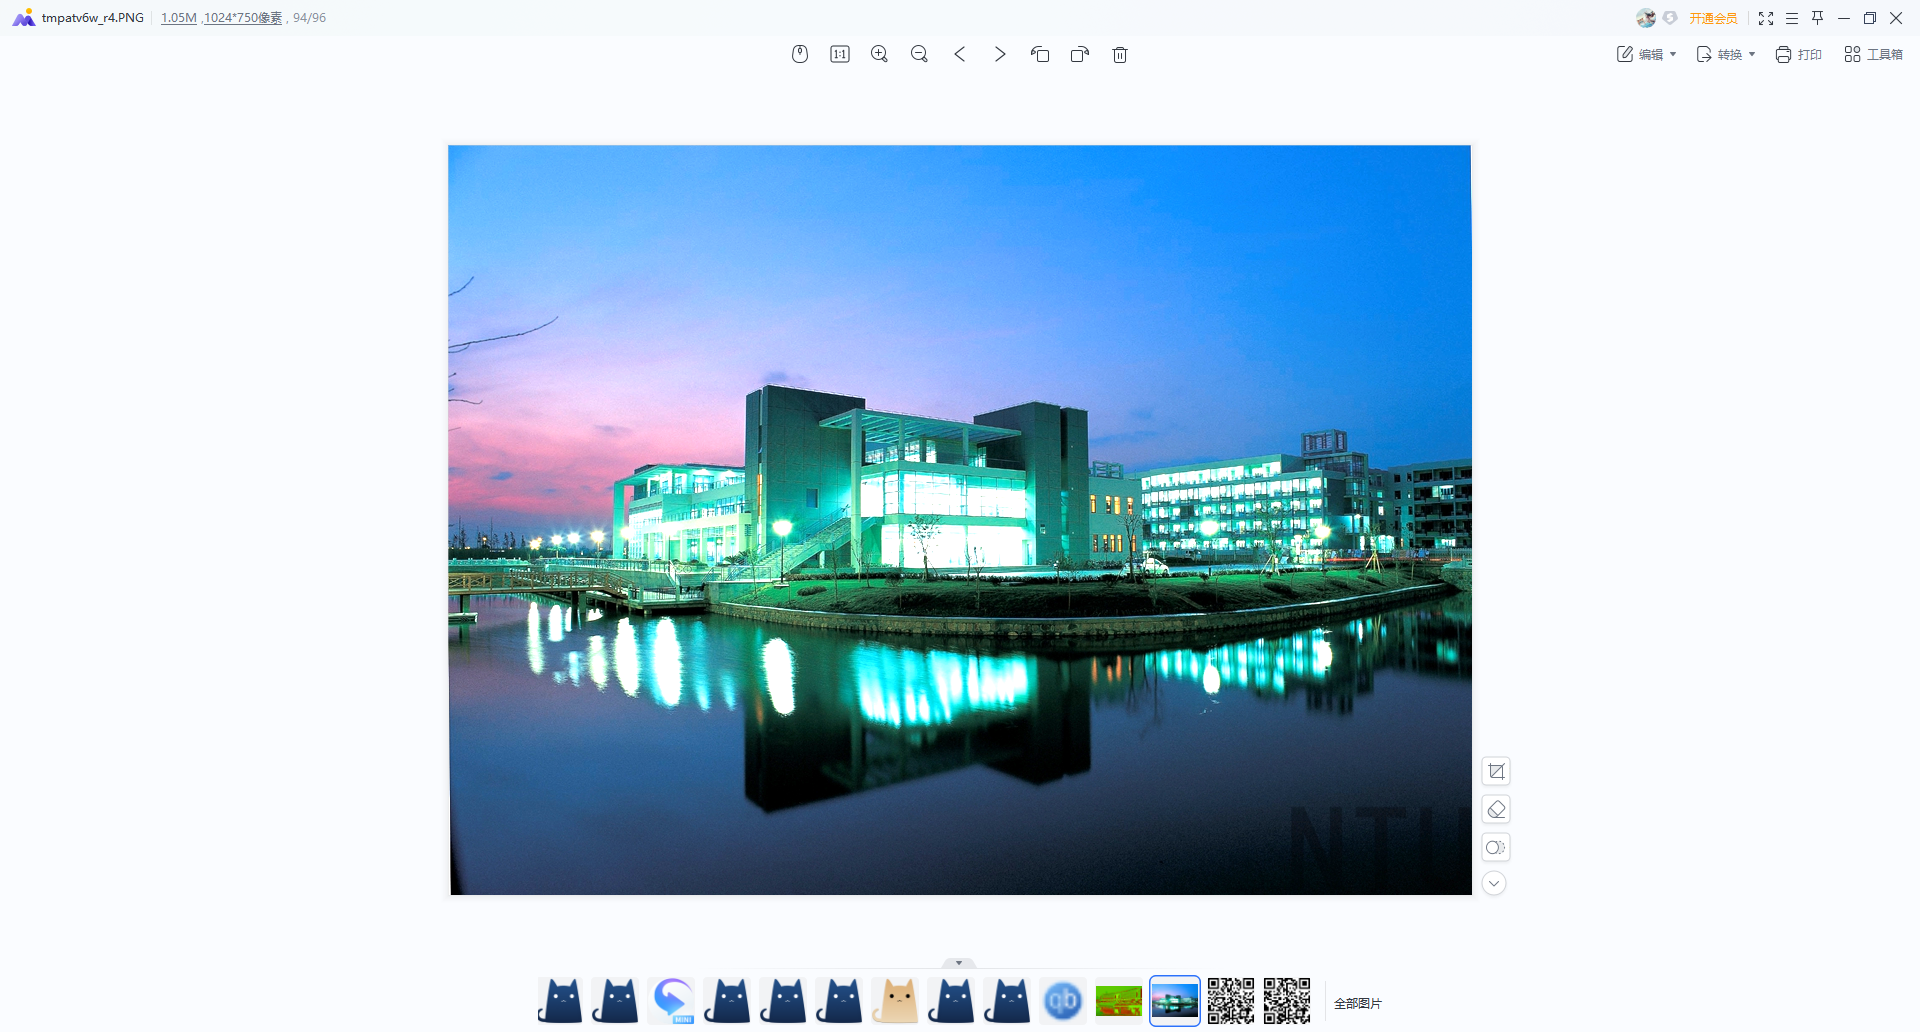
任务5 将图片亮度增强50%
# 调整图像亮度
bright_img_array = img_array * 1.5

# 将 numpy 数组转换回图像并显示
bright_img = Image.fromarray(np.clip(bright_img_array, 0, 255).astype('uint8'))
bright_img.show()