2023年福大-软件工程实践-W班

如何使用vue3组合式API定义全局变量
 墨衍会员 · AI 创作全网分发 墨衍智能分发 通过墨衍一键同步至各平台 可同步平台 CSDN微信公众号微博知乎掘金百家号博客园抖音小红书 你的文章也可以这样分发 墨衍会员 ¥399起/年,写一次发全网
我也要 关注 + 加入社区
目录
- 一、技术概述
- 二、技术详述
- 2.1 技术流程图
- 2.2 实战代码演示
- 三、技术使用中遇到的问题和解决过程
- 四、总结
一、技术概述
在 Vue 3 中,全局变量指的是可以在整个应用程序中访问的变量。与局部变量不同,全局变量不必依赖于组件层次结构或父子关系,而是存储在某个全局作用域中。在我们开发的项目中,当需要不同组件和页面同时共享一个数据的状态时,我们会用到全局变量,本博客将会介绍如何通过vue3项目开发中定义以及使用全局变量。
二、技术详述
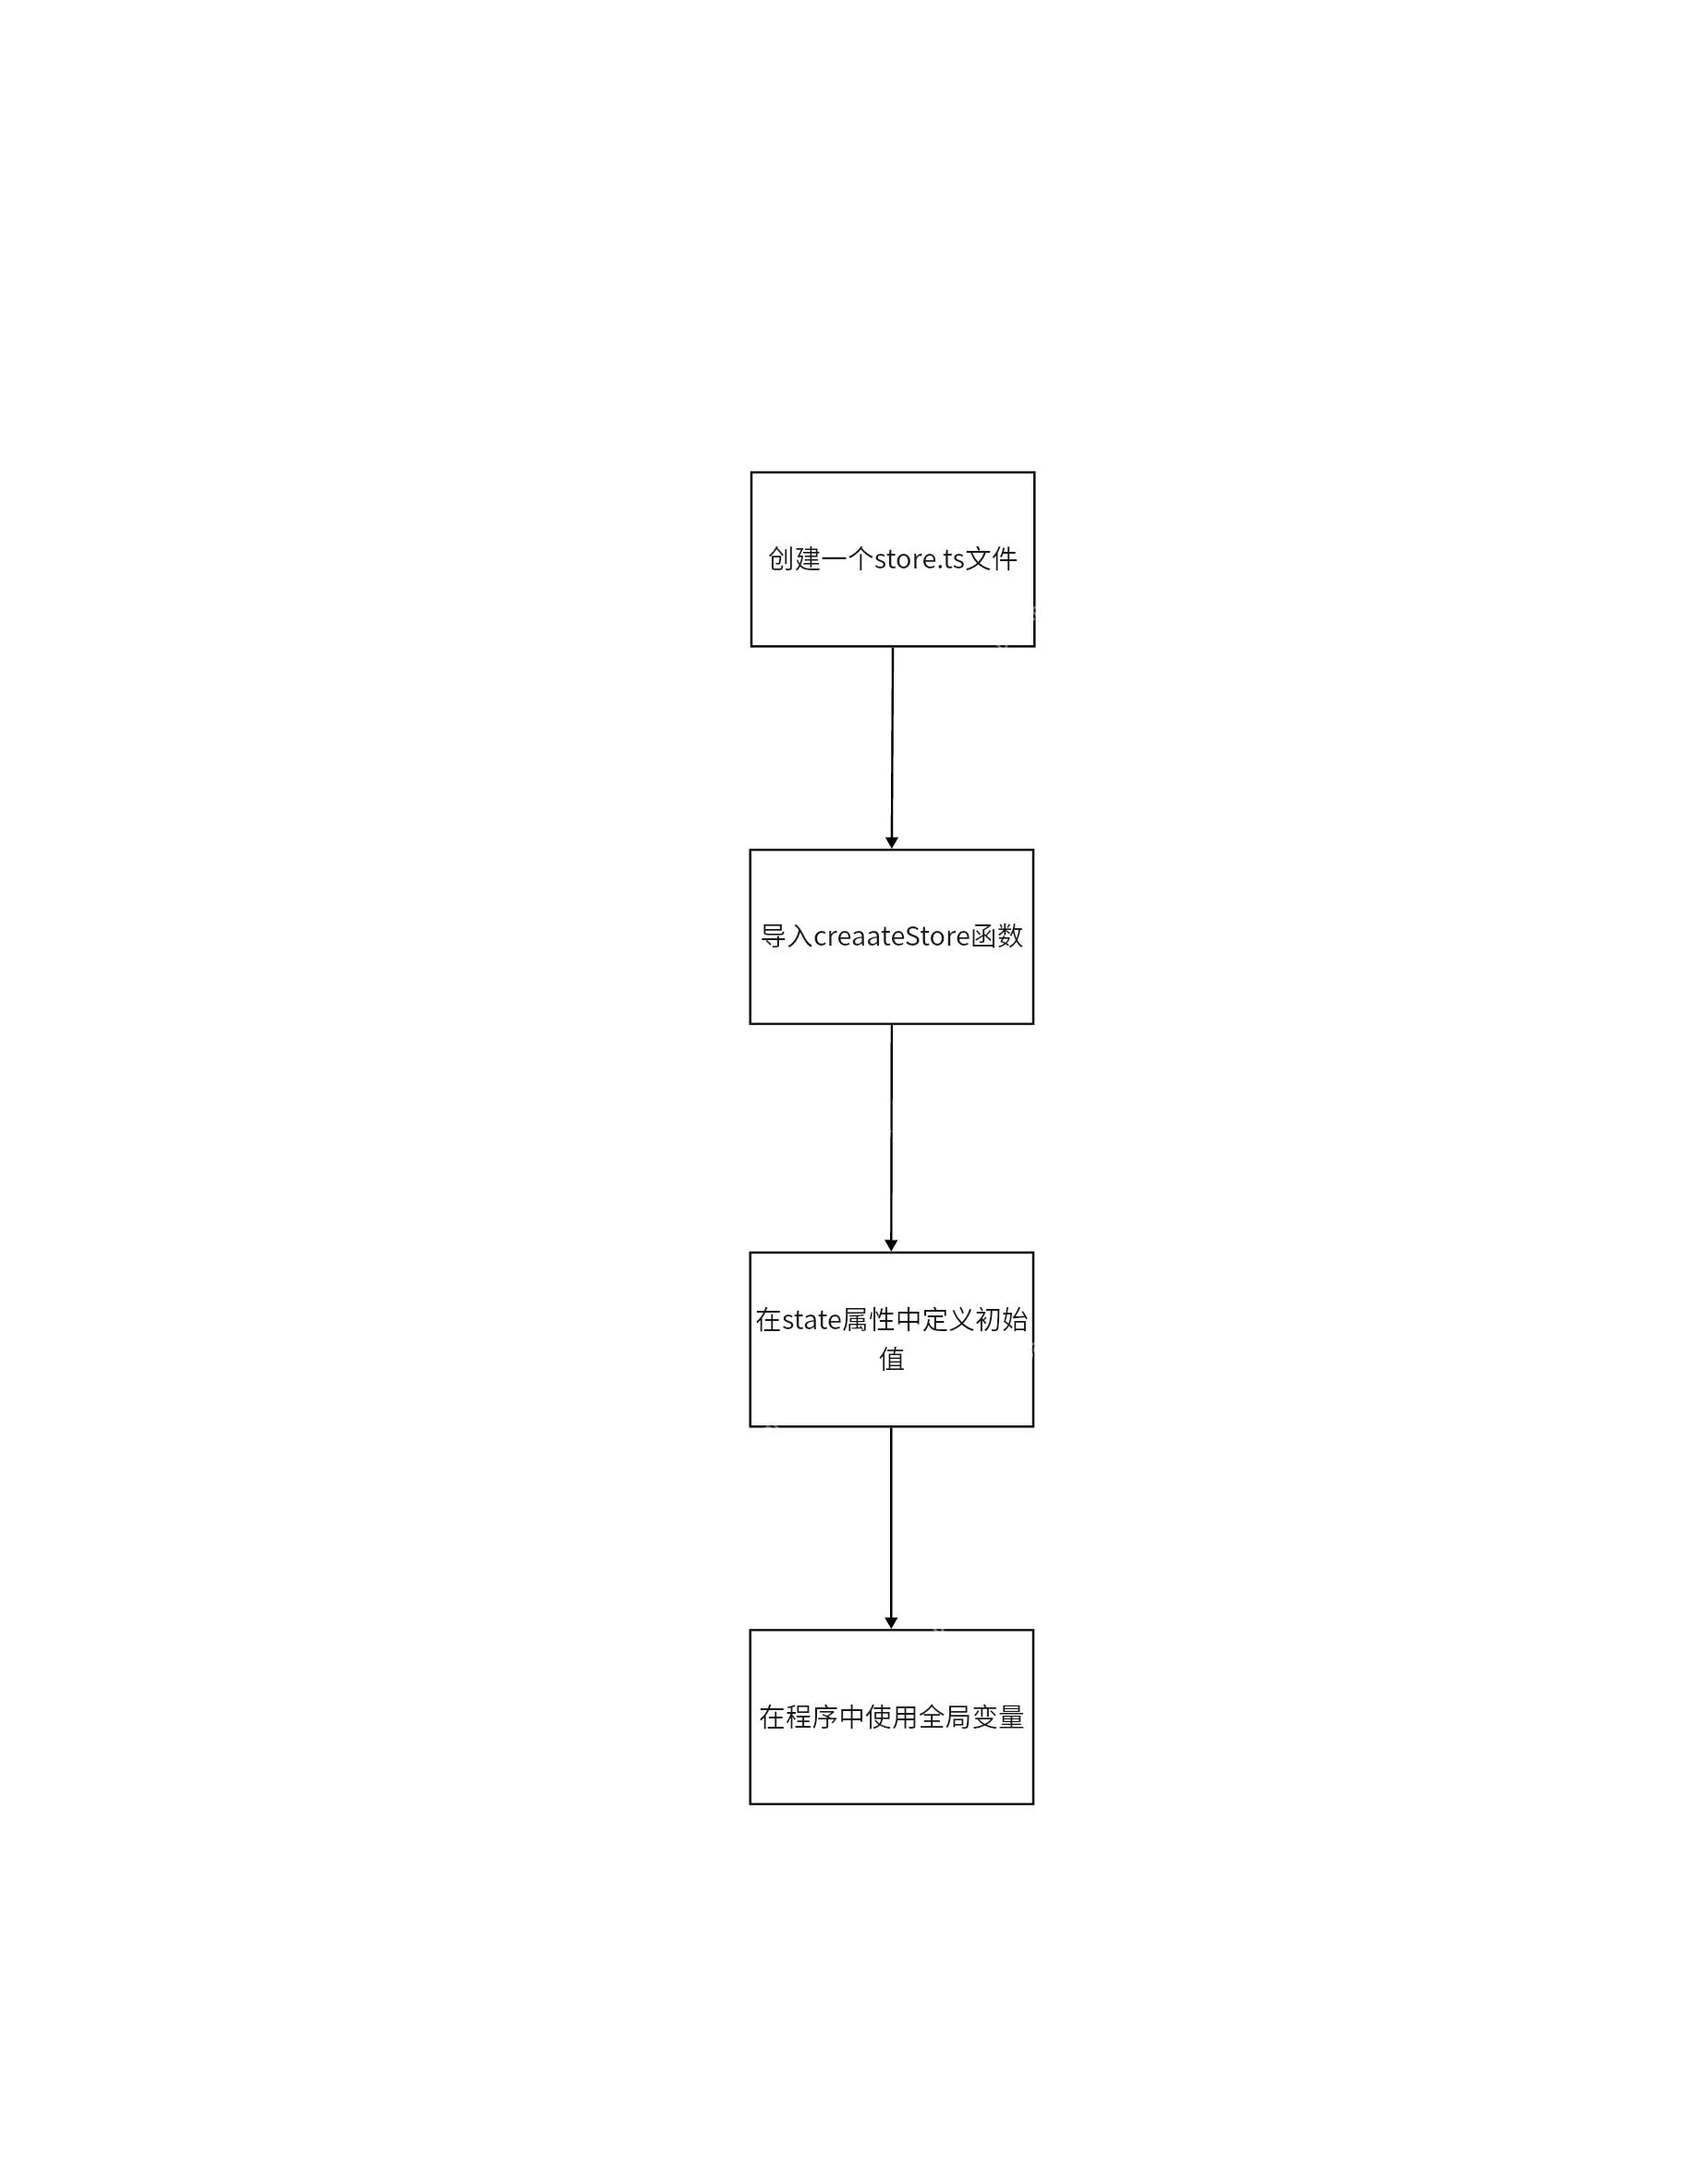
2.1 技术流程图
2.2 实战代码演示
在开发项目时,我需要实现一个全局变量apikey,使得其他页面和组件可以读取和使用该值,以下是具体的过程
创建store.ts文件,并引入createStore函数,具体代码如下:
import { reactive } from 'vue';
import axios from 'axios';
import { ElMessage } from 'element-plus';


  interface State {
  apiKey: string | null;
}

export const useStore = () => {
  const state = reactive<State>({
    apiKey: localStorage.getItem('apiKey') || null,//验证本地是否存储了apiKey,若没有,则apiKey初值为空
  });

  const setApiKey = async (apiKey: string) => { //修改apiKey,并向后端发送请求,返回成功消息后,才能完成修改
    try{
        const response = await axios.post(`/v1/chat/apikey`,{apiKey});
        state.apiKey = apiKey;
        localStorage.setItem('apiKey',apiKey);
        if(response.status === 200){
        ElMessage({
          type: 'success',
          message: 'API key has been set successfully',
        });
    }
  }

    catch(error)//返回失败信息后,前端弹窗提示
    {
      ElMessage(
        {
          type:'error',
          message:'Unable to set API key',
        }
      )
    }
  };

  return { state, setApiKey };
};
- 在组件或页面中使用该全局变量,首先,需要引入apiKey,可通过以下代码实现:
import { useStore } from '../components/store'//引入全局变量apiKey
- 以输入apiKey为例,使用store.ts的方法来修改apiKey的值,首先在页面编写一个输入框:
<template>
  <el-button text @click="open" round style="background-color: bisque;" :disabled="isLoading">{{ buttonText }}</el-button>
  <el-dialog v-model="dialogVisible" title="Enter License Key" >
    <el-form :model="form" >
      <el-form-item prop="key">
        <el-input v-model="computedValue" placeholder="Please enter your license key" @input="inputHandler"></el-input>
      </el-form-item>
    </el-form>
    <div>
      <el-select style="width: 100%; padding-top: 30px; padding-bottom: 30px" v-model="selectedModel" placeholder="Select ChatGPT model">
        <el-option label="GPT-3.5-TURBO(Default ChatGPT)" value="gpt3.5" />
        <el-option label="GPT-4(Limited Beta)" value="gpt4.0" />
      </el-select>
    </div>
    <div >
      <el-button @click="close">Cancel</el-button>
      <el-button style="width:10%;"  @click="submit" :loading="isLoading">ok</el-button>
    </div>
  </el-dialog>
</template>
- script部分代码为:
<script lang="ts" setup>
import { ElMessage } from 'element-plus';
import axios from 'axios';
import { useRouter } from 'vue-router';
import { ref, computed } from 'vue';
import { useStore } from '../components/store'//引入全局变量apiKey
const store = useStore()//接收useStore
const apiKey = computed(() => store.state.apiKey) // 计算属性获取apiKey
const router = useRouter();
const dialogVisible = ref(false);
const form = ref({
  key: '',
});
const isLoading = ref(false);
const buttonText = ref('Enter License Key');
const selectedModel = ref('');
const open = () => {
  if (apiKey.value) {
    router.push('/v1/chat');
    console.log(apiKey.value)
  } else {
    dialogVisible.value = true;
  }
};

const close = () => {
  dialogVisible.value = false;
  form.value.key = '';
  computedValue.value = '';
};

const submit = async () => {
  if(!selectedModel.value)
  {
    ElMessage(
      {
        type:'error',
        message:'Please select a ChatGPT model',
      }
    )
  }else if (form.value.key === '') {
    ElMessage({
      type: 'error',
      message: 'Please input your key',
    });
  } else if (form.value.key.substring(0, 2) !== 'sk') {
    ElMessage({
      type: 'error',
      message: 'Invalid Input! ApiKey should start with "sk".',
    });
  } else {
    isLoading.value = true;
    buttonText.value = 'Loading...';

    try {
      const response = await axios.post(`/v1/chat/apikey`, { key: form.value.key });//这里要根据具体api链接进行修改

      if (response.status === 200) {
        store.setApiKey(form.value.key); // 在Vuex store中存储apiKey
        router.push(`/v1/chat/`);
        dialogVisible.value = false;
        ElMessage({
          type: 'success',
          message: 'API key has been submitted successfully',
        });
      } else {
        ElMessage({
          type: 'error',
          message: 'Unauthorized: Invalid Key',
        });
      }
    } catch (err:any) {
      ElMessage({
        type: 'error',
        message: `Failed to submit: ${err.message}`,
      });
    } finally {
      isLoading.value = false;
      buttonText.value = 'Enter License Key';
    }
  }
};

const computedValue = computed<string>({
  get() {
    return form.value.key;
  },
  set(value:string) {
    form.value.key = value;
  },
}) as { value: string };

// 只允许输入字母和数字
const inputHandler = (event: Event) => {
  const input = event.target as HTMLInputElement;
  input.value = input.value.replace(/[^a-zA-Z0-9]/g, '');
  computedValue.value = input.value;
};
</script>
三、技术使用中遇到的问题和解决过程
- 遇到的问题:在代码中使用了commit调用setApikey方法修改apiKey的值但是报错
- 解决过程:通过查找网站上出现的类似问题,我发现这是由于我使用的是vue3组合式API,而不是传统的vuexAPI,所以我修改了代码,首先引入“store”接收store.ts的useStore(),然后我在原先调用commit函数的地方修改了代码,最终解决了问题,具体修改的代码为:
store.setApiKey(form.value.key); // 在Vuex store中存储apiKey
四、总结
- vue3项目开发过程中,要根据项目实际使用的api形式,来确定使用的方法和语言风格。
- 在传统的Vuex API中,我们通常会使用全局变量来存储应用程序的状态。这些状态可以被整个应用程序的组件所访问和修改,因此它们被认为是全局变量。
- 然而,在Vue 3中,我们通常使用组合式API来管理应用状态。与传统Vuex API不同的是,组合式API允许我们将状态逻辑封装在单独的组合式函数中,并且只有需要访问这些状态的组件才能够引用这些函数。这种方式可以避免全局变量带来的潜在问题,如命名冲突、代码耦合等等。
相关推荐
前端开发最新Vue3.0组合式api使用总结
Vue3.0组合式api包括1.setup使用;2.生命周期函数;3.vuex4.toRef介绍;5.ref介绍;6.组件传值;7.shallowRef和shallowReactive;8.watchEffect;9.watch侦听器区别使用;10.computed;11.reactive介绍;12.toRefs介绍等等
浅谈Vue3 Composition API如何替换Vue Mixins
主要介绍了浅谈Vue3 Composition API如何替换Vue Mixins,文中通过示例代码介绍的非常详细,对大家的学习或者工作具有一定的参考学习价值,需要的朋友们下面随着小编来一起学习学习吧
Vue3组合式api(奚奚).md
Vue3组合式api(奚奚)
Vue3组合式API详解[项目源码]
本文详细介绍了Vue3中的组合式API,重点讲解了reactive()和ref()函数的使用方法及其区别。reactive()函数用于处理对象类型数据,返回响应式代理对象;而ref()函数则支持简单类型和对象类型数据,返回一个包含.value属性的响应式对象。文章通过多个代码示例演示了这两个函数的具体应用场景,并总结了它们的共同点和差异。最后,作者推荐统一使用ref()函数来声明数据,以提高代码的灵活性和一致性。
vue3 组合式使用示例及代码展示,vue3 入门参考书,vue3 烹饪书.zip
vue3 组合式API、vuex、vue-router、axios、tailwindcss使用示例及代码展示,vue3 入门参考书,vue3 烹饪书.zip