124
社区成员
 发帖
发帖 与我相关
与我相关 我的任务
我的任务
 分享
分享实现效果:
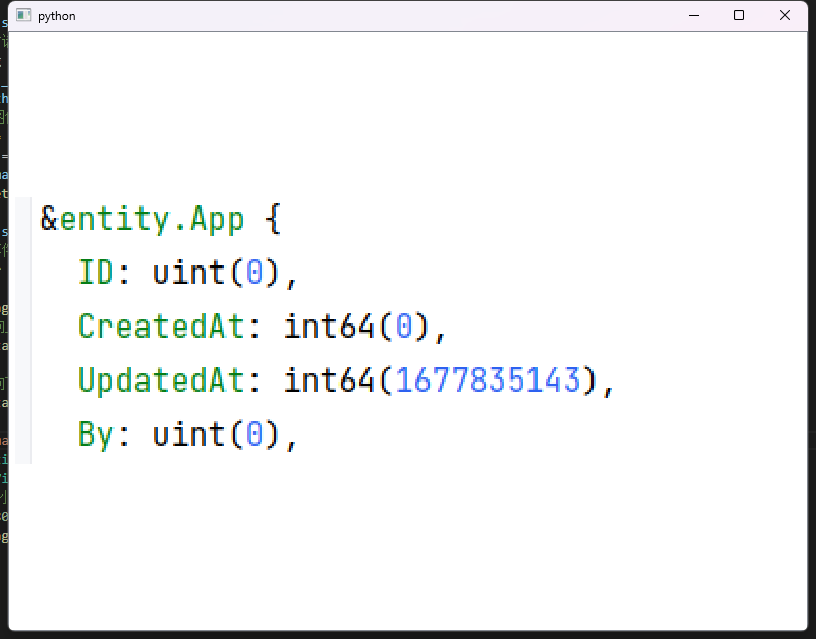
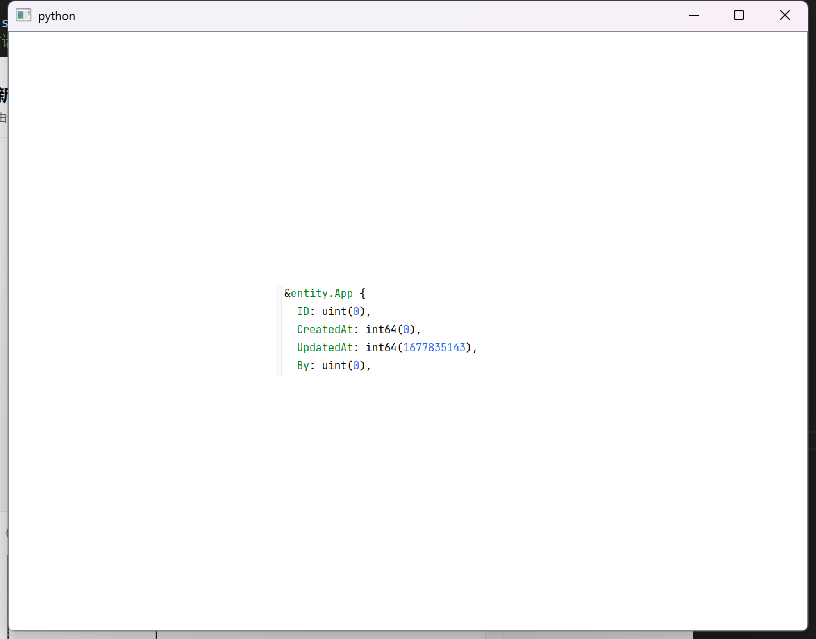
在使用PyQt实现图片放大和缩小的功能时,可以利用QGraphicsView和QGraphicsPixmapItem来显示和操作图片。下面是一个简单的示例代码,演示了如何实现图片的放大和缩小功能:
from PyQt5.QtWidgets import QApplication, QGraphicsView, QGraphicsScene, QGraphicsPixmapItem, QFileDialog
from PyQt5.QtGui import QPixmap, QImage
from PyQt5.QtCore import Qt, QRectF

class ImageViewer(QGraphicsView):
    def __init__(self):
        super().__init__()

        # 创建场景和图像项
        self.scene = QGraphicsScene()
        self.image_item = QGraphicsPixmapItem()
        self.scene.addItem(self.image_item)

        # 设置场景和缩放模式
        self.setScene(self.scene)
        self.setTransformationAnchor(QGraphicsView.AnchorUnderMouse)
        self.setResizeAnchor(QGraphicsView.AnchorUnderMouse)
        self.setDragMode(QGraphicsView.ScrollHandDrag)

    def load_image(self):
        # 打开文件对话框选择图像文件
        file_dialog = QFileDialog()
        file_path, _ = file_dialog.getOpenFileName(self, "选择图像文件", "", "Images (*.png *.xpm *.jpg *.bmp *.gif)")
        if file_path:
            # 加载图像
            image = QImage(file_path)
            pixmap = QPixmap.fromImage(image)
            self.image_item.setPixmap(pixmap)
            self.setSceneRect(QRectF(pixmap.rect()))

    def wheelEvent(self, event):
        # 处理滚轮事件
        zoom_factor = 1.2  # 缩放因子

        if event.angleDelta().y() > 0:
            # 滚轮向上滚动,放大图像
            self.scale(zoom_factor, zoom_factor)
        else:
            # 滚轮向下滚动,缩小图像
            self.scale(1 / zoom_factor, 1 / zoom_factor)

if __name__ == '__main__':
    app = QApplication([])
    viewer = ImageViewer()
    # 设置当前窗口大小为宽度为800像素,高度为600像素
    viewer.resize(800, 600)
    viewer.load_image()
    viewer.show()
    app.exec()
在上面的代码中,首先定义了一个自定义的ImageViewer类,继承自QGraphicsView。在该类中,创建了一个QGraphicsScene和一个QGraphicsPixmapItem来显示图像。通过重写wheelEvent方法,可以在滚轮事件中实现图像的放大和缩小功能。
在主函数中,创建了一个QApplication实例和一个ImageViewer实例,加载图像并显示窗口。你可以将load_image函数中的image.jpg替换为你自己的图像文件路径。
运行程序后,你可以使用鼠标滚轮来放大或缩小图像。图像会根据滚轮滚动的方向进行相应的操作。
上述代码仅提供了一个基本的图片放大和缩小的功能演示,你可以根据自己的需求进行扩展和定制。同时,需要确保已安装PyQt库,可以使用pip install pyqt5进行安装。
C++代码一样可以类似实现!!!