


576
社区成员
 发帖
发帖 与我相关
与我相关 我的任务
我的任务
 分享
分享实现隐私查询,alice作为服务器,bob作为客户端。
我的环境是win11,python3.10,wsl2,ubuntu20.04,miniconda创建的环境,pip方式安装的secretflow。
使用docker-compose up方式启动secretnote,选择了1.5.0.dev版本,docker-compose.yml如下
services:
  alice:
    image: 'secretflow/secretnote:1.5.0.dev'
    platform: linux/amd64
    environment:
      - SELF_PARTY=alice
      - ALL_PARTIES=alice,bob
    ports:
      # SecretNote
      - 8090:8888
    entrypoint: /root/scripts/start.sh
    volumes:
      - /root/scripts

  bob:
    image: 'secretflow/secretnote:1.5.0.dev'
    platform: linux/amd64
    environment:
      - SELF_PARTY=bob
      - ALL_PARTIES=alice,bob
    ports:
      # SecretNote
      - 8092:8888
    entrypoint: /root/scripts/start.sh
    volumes:
      - /root/scripts
由127.0.0.1:8090进入alice端的secretnote(哪端都行),随后以如下形式组织ipynb
import secretflow as sf
import spu
import os

network_conf = {
    "parties": {
        "alice": {
            "address": "alice:8090",
        },
        "bob": {
            "address": "bob:8092",
        },
    },
}

party = os.getenv("SELF_PARTY", "alice")
sf.shutdown()
sf.init(
    address="127.0.0.1:6379",
    cluster_config={**network_conf, "self_party": party},
    log_to_driver=True,
)
alice, bob = sf.PYU("alice"), sf.PYU("bob")
spu_conf = {
    "nodes": [
        {
            "party": "alice",
            "address": "alice:8091",
            "listen_addr": "alice:8091",
        },
        {
            "party": "bob",
            "address": "bob:8091",
            "listen_addr": "bob:8091",
        },
    ],
    "runtime_config": {
        "protocol": spu.spu_pb2.SEMI2K,
        "field": spu.spu_pb2.FM128,
        "sigmoid_mode": spu.spu_pb2.RuntimeConfig.SIGMOID_REAL,
    },
}
spu = sf.SPU(
    cluster_def=spu_conf,
    link_desc={
        "connect_retry_times": 60,
        "connect_retry_interval_ms": 1000
    },
)
# only alice
import pandas  as pd

alice_df = pd.DataFrame({
    "name": ["alice", "bob", "carol", "tony"],
    "age": [11, 13, 14, 26]
})


current_dir = os.getcwd()
alice_df.to_csv(f"{current_dir}/alice_pir_input.csv", index=False)
# only bob
import pandas  as pd

alice_df = pd.DataFrame({
    "name": ["tony", "alice"]
})


current_dir = os.getcwd()
alice_df.to_csv(f"{current_dir}/bob_pir_query.csv", index=False)
需要事先在alice的docker container内执行openssl rand 32 >/root/workspace/alice_oprf_key创建秘钥
spu.pir_setup(
    server="alice",
    input_path=f"{current_dir}/alice_pir_input.csv",
    key_columns=["name"],
    label_columns=["age"],
    oprf_key_path=f"{current_dir}/alice_oprf_key",
    setup_path=f"{current_dir}/alice_setup",
    num_per_query=1,
    label_max_len=20,
    bucket_size=1000000
)
spu.pir_query(
    server="alice",
    client="bob",
    server_setup_path=f"{current_dir}/alice_setup",
    client_key_columns=["name"],
    client_input_path=f"{current_dir}/bob_pir_query.csv",
    client_output_path=f"{current_dir}/bob_pir_result.csv",
)
sf.shutdown()
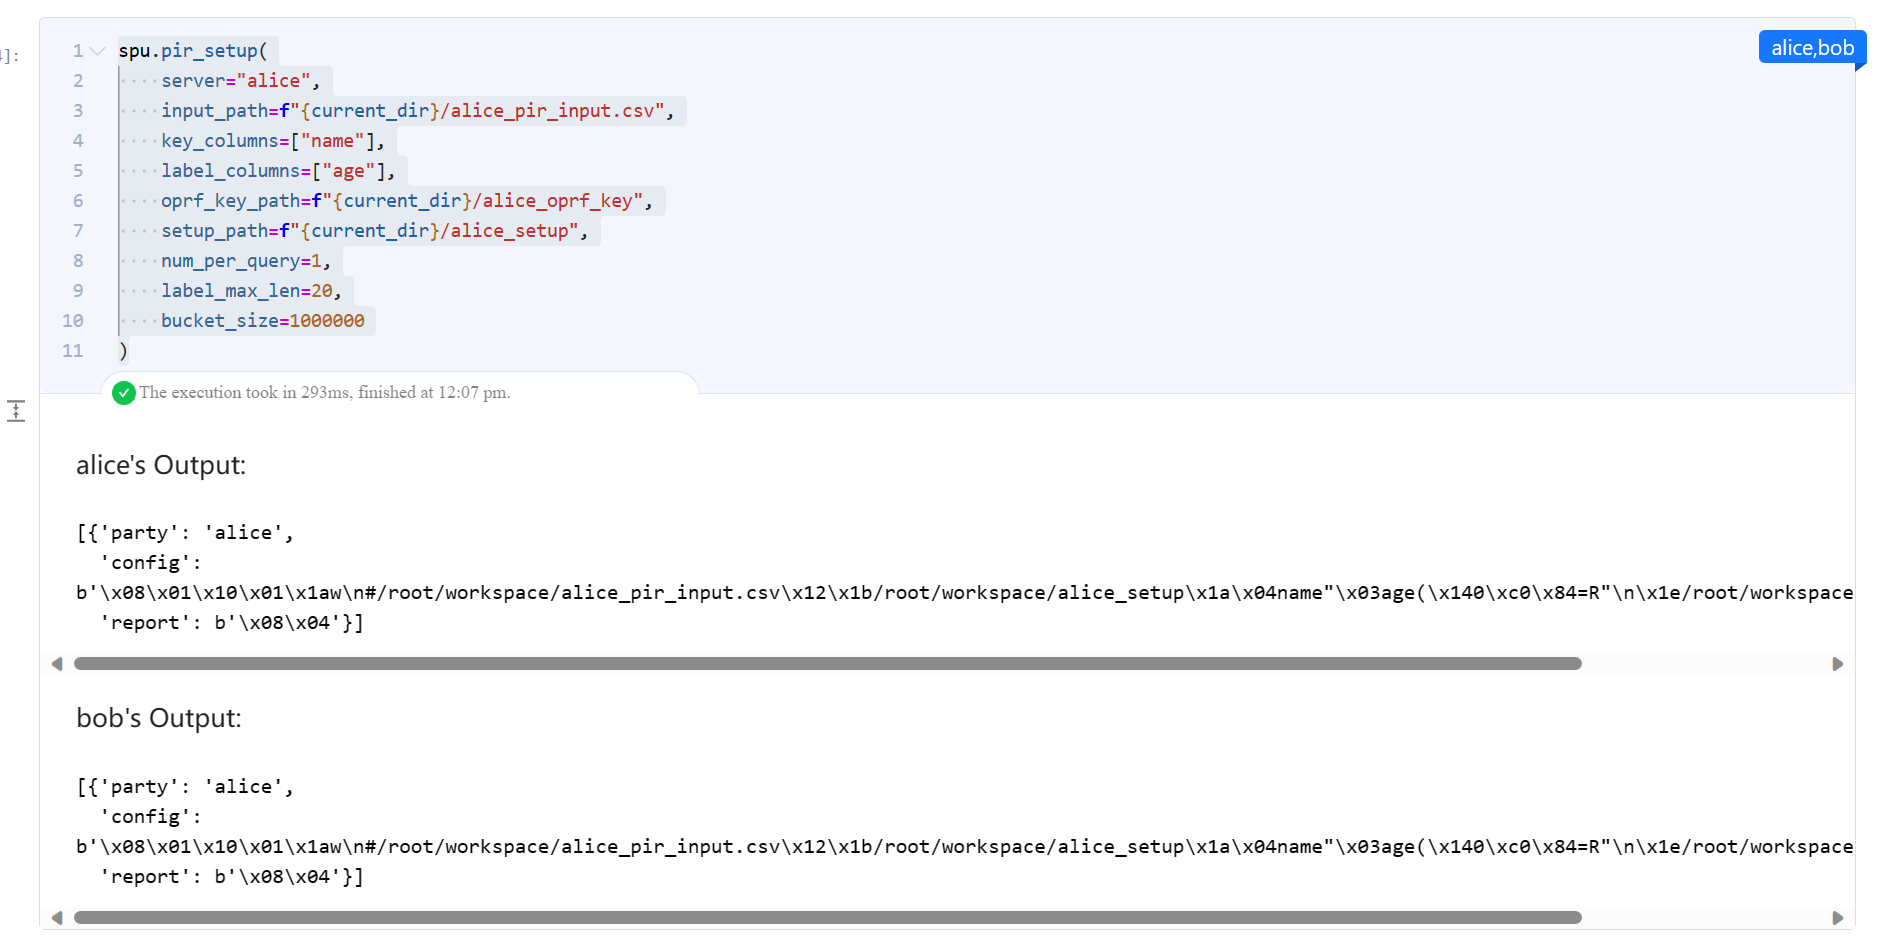
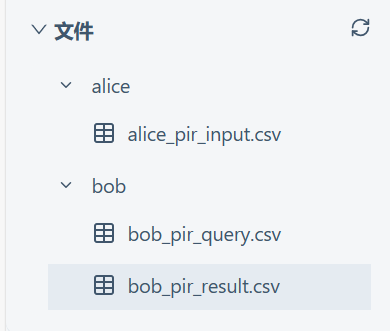
生成了对应的csv文件

output的结果也是正确的。
首先将给出的setup好了的结果文件及文件夹放到对应位置
docker cp /mnt/d/tmp/pir_server_setup sim-alice-1:/root/workspace
docker cp /mnt/d/tmp/server_secret_key.bin sim-alice-1:/tmp
docker cp /mnt/d/tmp/server_secret_key.bin sim-bob-1:/tmp
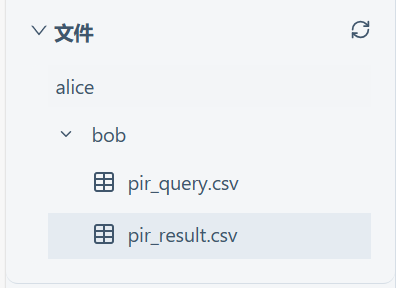
然后正常启动secretnote,上传pir_query.csv到bob,操作部分直接query就能得到结果文件
current_dir = os.getcwd()
spu.pir_query(
    server="alice",
    client="bob",
    server_setup_path=f"{current_dir}/pir_server_setup",
    client_key_columns=["uid"],
    client_input_path=f"{current_dir}/pir_query.csv",
    client_output_path=f"{current_dir}/pir_result.csv",
)
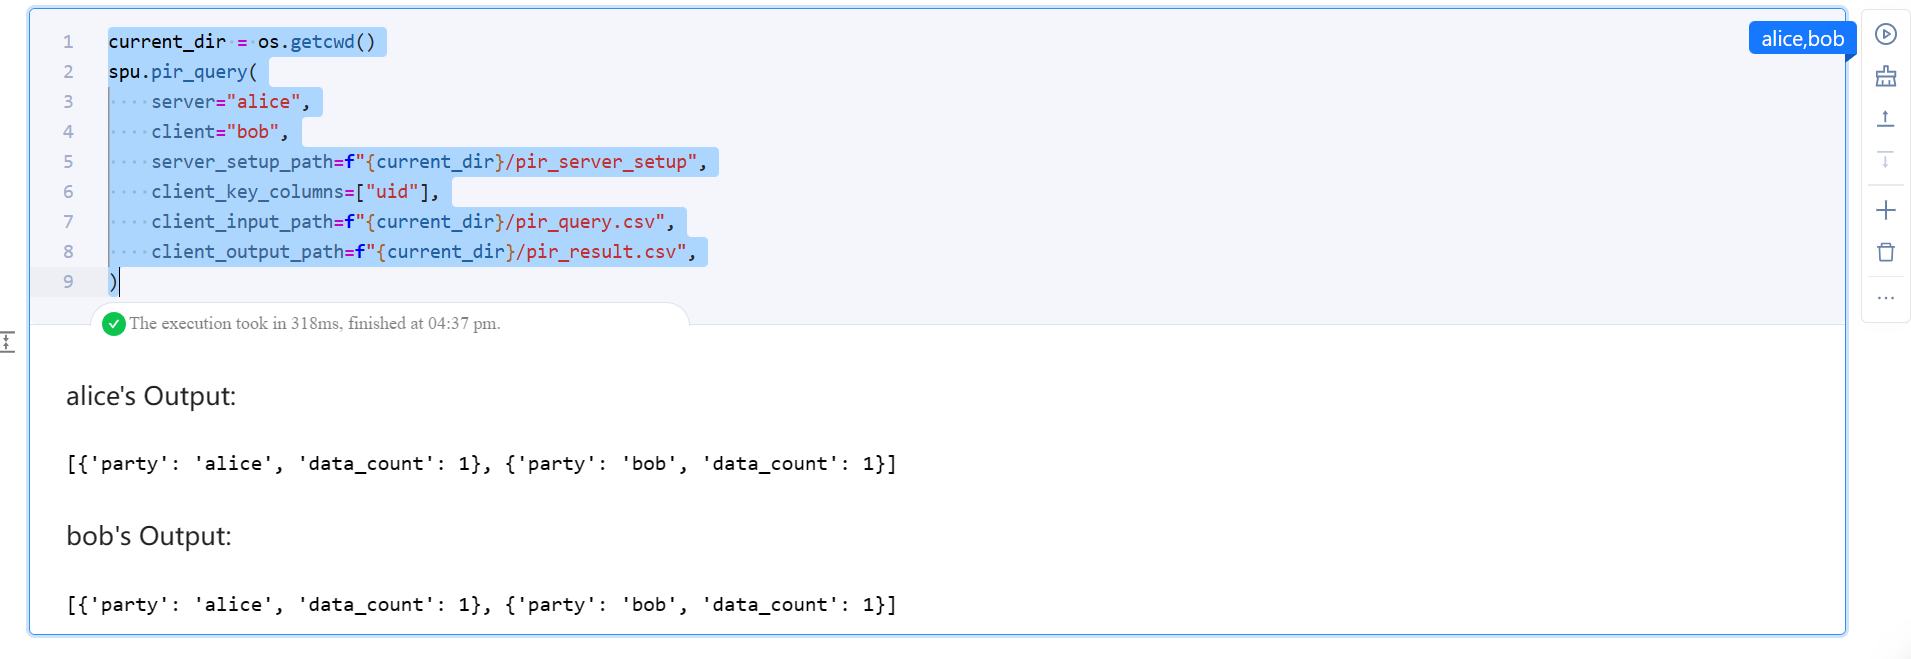

可以看到代码执行良好,生成结果文件,隐私查询成功。
张磊 | 蚂蚁集团安全协议团队技术专家
冯骏 I 蚂蚁集团隐私计算技术专家隐语开源社区Maintainer
视频地址,pdf地址
代码实践的关键就是在alice的docker内创建秘钥,而不是wsl-ubuntu下的用户目录下。

