


98
社区成员
 发帖
发帖 与我相关
与我相关 我的任务
我的任务
 分享
分享
systemctl start apache2
sudo chmod 777 /var/www/html
vi /var/www/html/2314.html
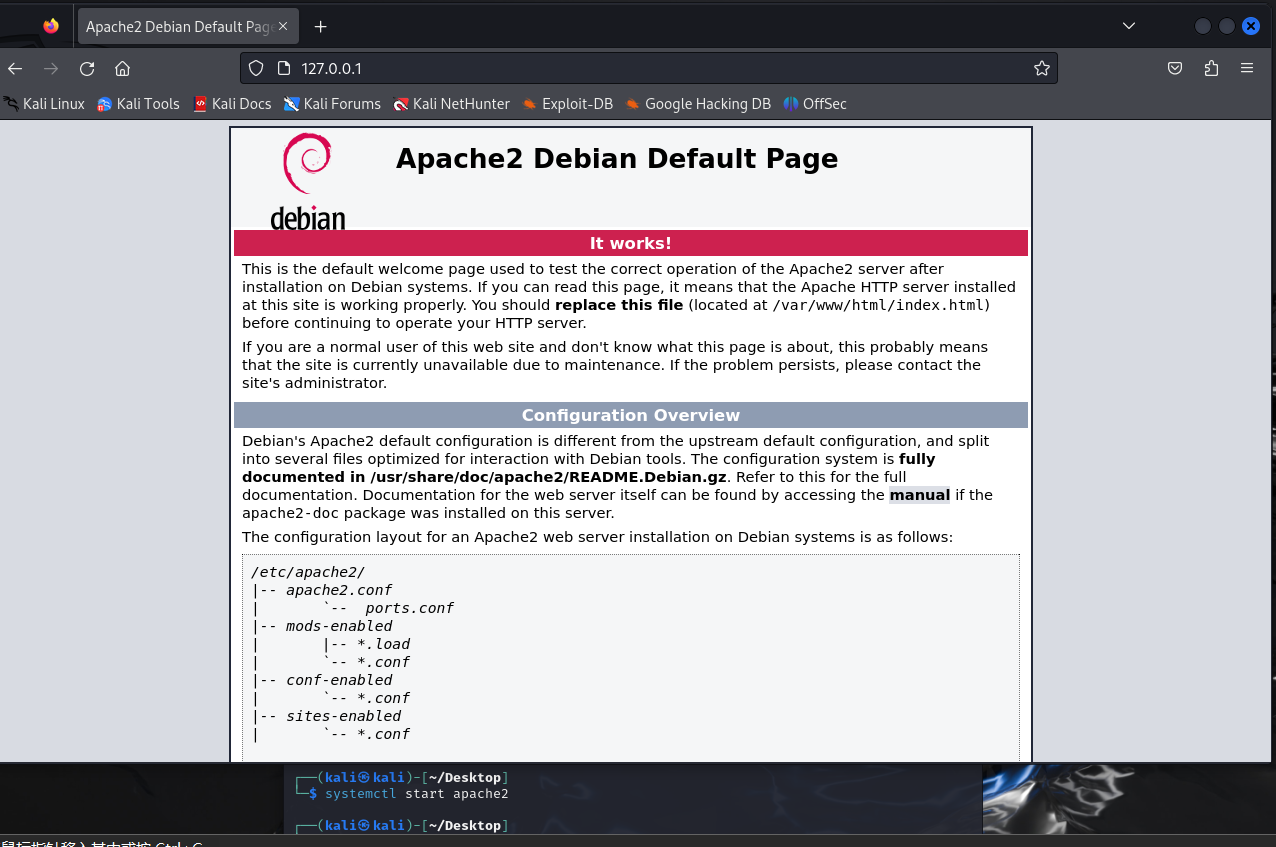
前端代码:
<!DOCTYPE html>
<html lang="en">
<head>
<meta charset="UTF-8">
<title>Login Form</title>
<style>
body {
font-family: Arial, sans-serif;
background-color: #f2f2f2;
margin: 0;
padding: 0;
display: flex;
justify-content: center;
align-items: center;
height: 100vh;
}
.login-form {
width: 300px;
padding: 30px;
background: #fff;
border-radius: 5px;
box-shadow: 0px 0px 10px 0px rgba(0,0,0,0.1);
}
.form-group {
margin-bottom: 20px;
}
label {
display: block;
margin-bottom: 5px;
}
input[type="text"], input[type="password"] {
width: 100%;
padding: 10px;
border: 1px solid #ddd;
border-radius: 3px;
}
button[type="submit"] {
width: 100%;
padding: 10px;
background-color: #5cb85c;
color: white;
border: none;
border-radius: 3px;
cursor: pointer;
}
</style>
</head>
<body>
<div class="login-form">
<h2>Login</h2>
<form action="/login" method="post">
<div class="form-group">
<label for="username">Username</label>
<input type="text" id="username" name="username" required>
</div>
<div class="form-group">
<label for="password">Password</label>
<input type="password" id="password" name="password" required>
</div>
<button type="submit">Log in</button>
</form>
</div>
</body>
</html>
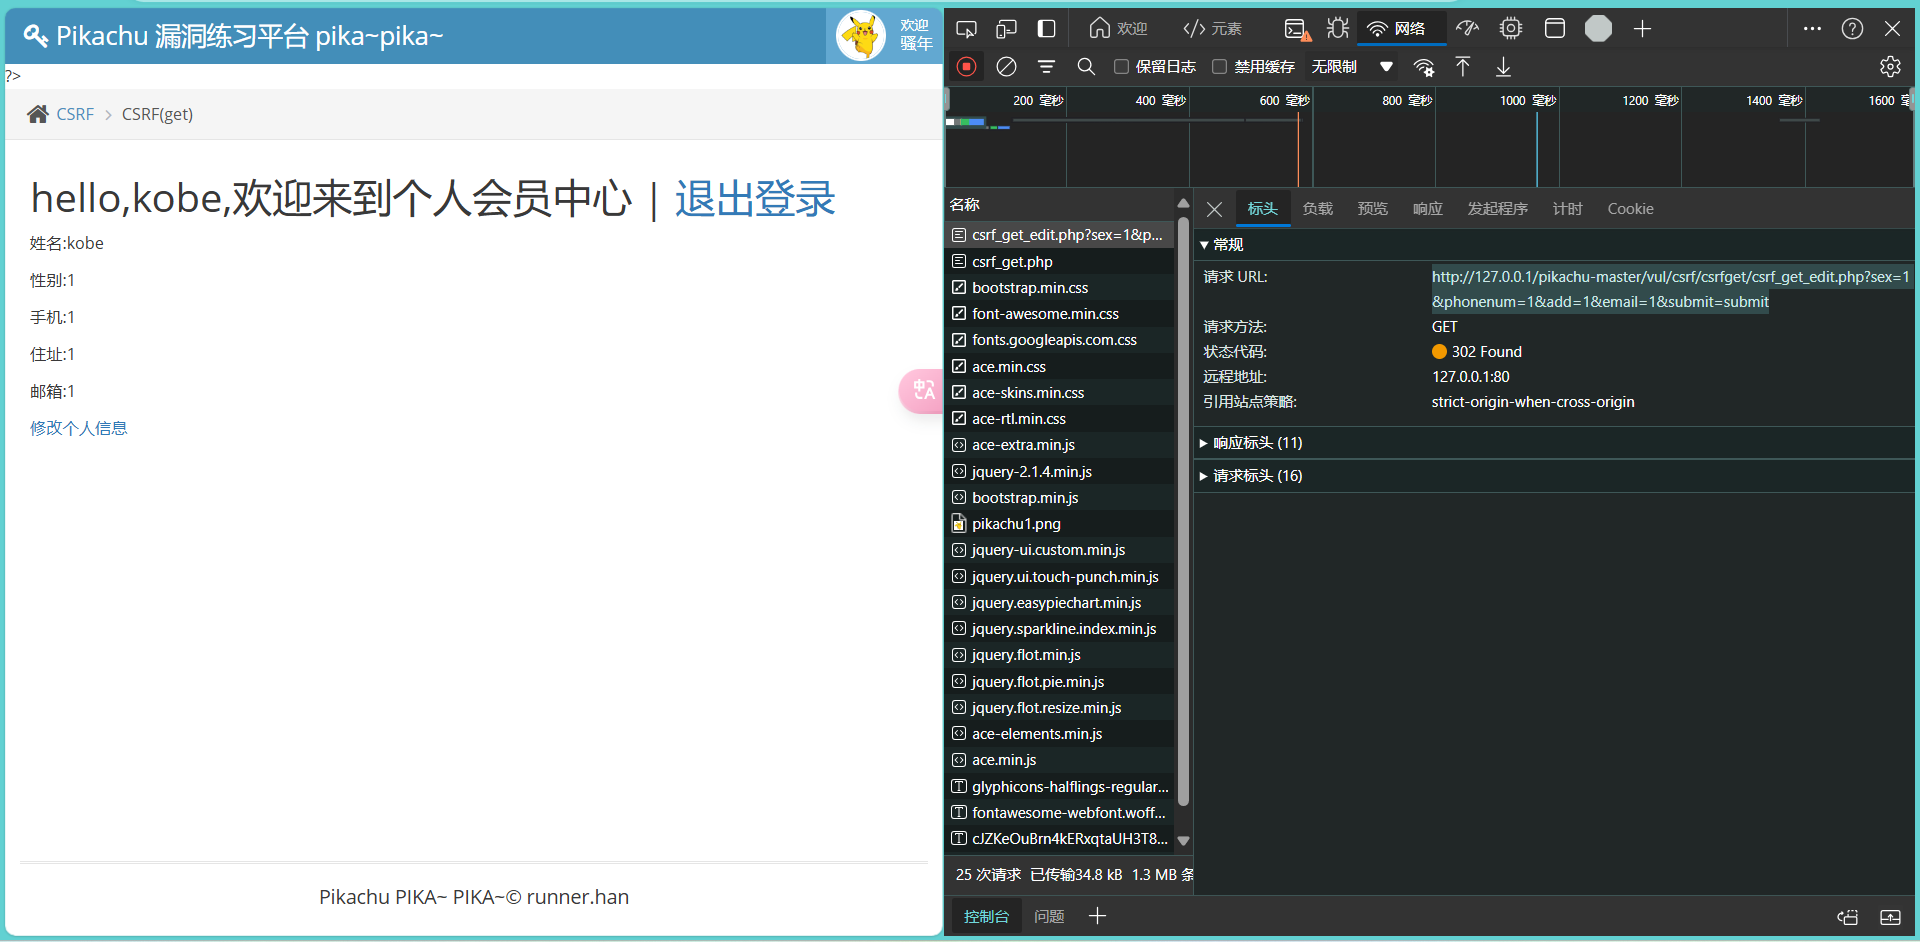
get方法:参数附加在URL后,通过查询字符串传递;post方法:参数包含在HTTP请求体中,不显示在URL上,下图是get方法看到的URL

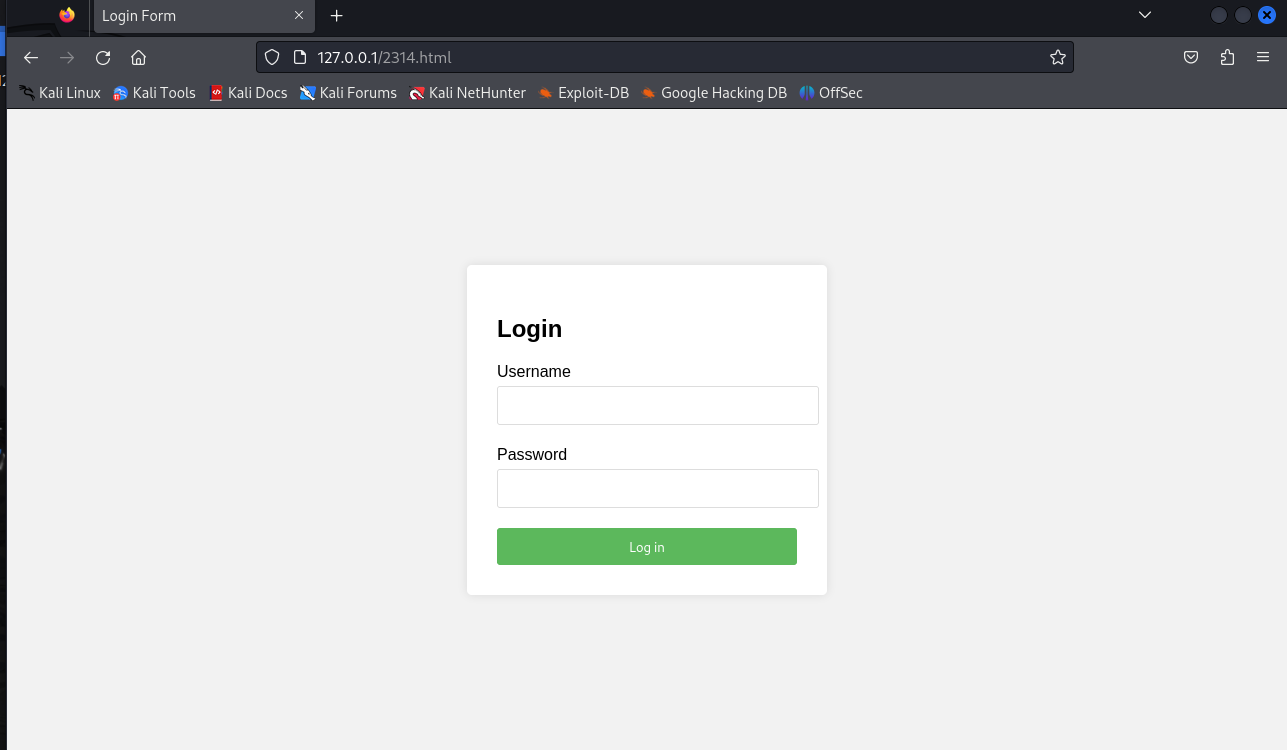
账号和密码不为空即可
<!DOCTYPE html>
<html lang="en">
<head>
    <meta charset="UTF-8">
    <title>Login Form</title>
    <style>
        /* 省略样式代码 */
    </style>
</head>
<body>
    <div class="login-form">
        <h2>Login</h2>
        <form id="loginForm">
            <div class="form-group">
                <label for="username">Username</label>
                <input type="text" id="username" name="username" required>
            </div>
            <div class="form-group">
                <label for="password">Password</label>
                <input type="password" id="password" name="password" required>
            </div>
            <button type="submit">Log in</button>
        </form>
        <p id="message"></p>
    </div>

    <script>
        document.getElementById('loginForm').addEventListener('submit', function(event) {
            event.preventDefault(); // 阻止表单默认提交行为

            var username = document.getElementById('username').value;
            var password = document.getElementById('password').value;

            // 简单验证:用户名和密码都不能为空
            if (username && password) {
                document.write( 'Welcome, ' + username + '!');
            } else {
                document.getElementById('message').textContent = 'Please enter both username and password.';
            }
        });
    </script>
</body>
</html>
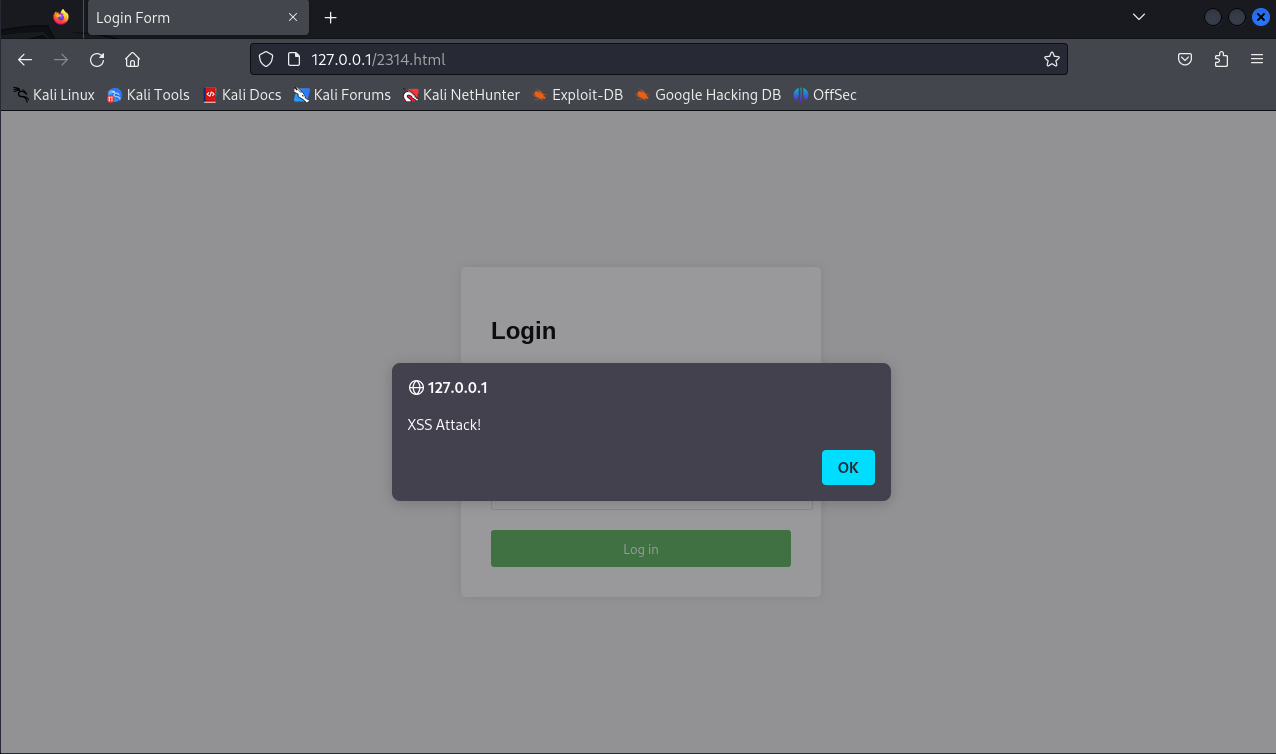
利用回显用户名注入HTML
<p>231411111111111</p>
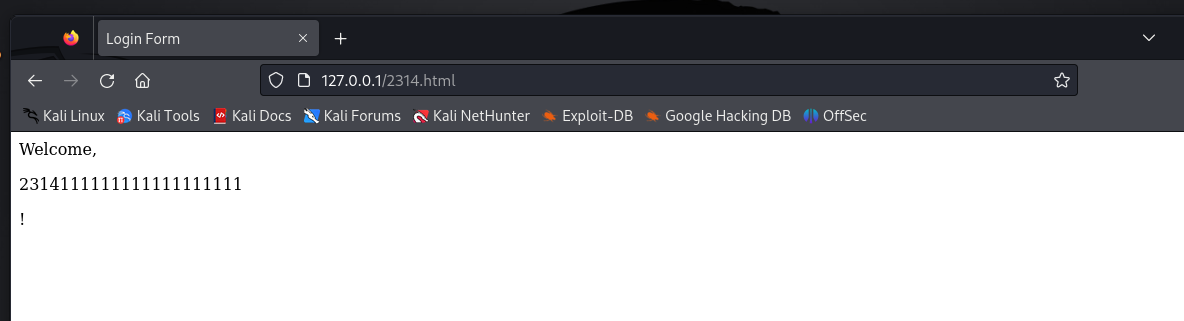
<script> alert("XSS Attack!") </script>
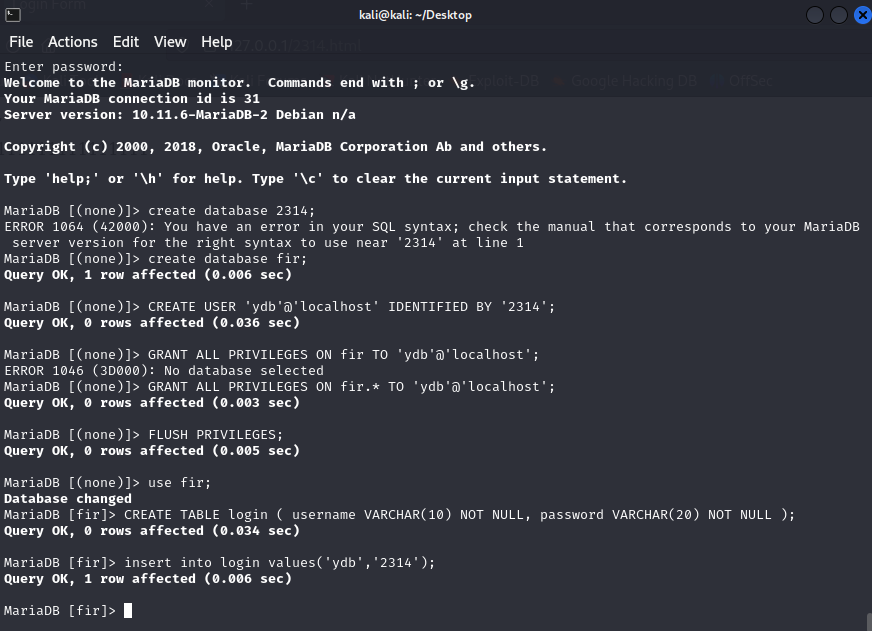
systemctl start mysql

sudo mysql -u root -p
创建数据库
create database fir;
创建用户和密码
CREATE USER 'ydb'@'localhost' IDENTIFIED BY '2314';
赋予权限
GRANT ALL PRIVILEGES ON fir TO 'ydb'@'localhost';
刷新
FLUSH PRIVILEGES;
使用数据库
use fir;
创建表
CREATE TABLE login ( username VARCHAR(10) NOT NULL, password VARCHAR(20) NOT NULL );
插入数据
insert into login values('ydb','2314');
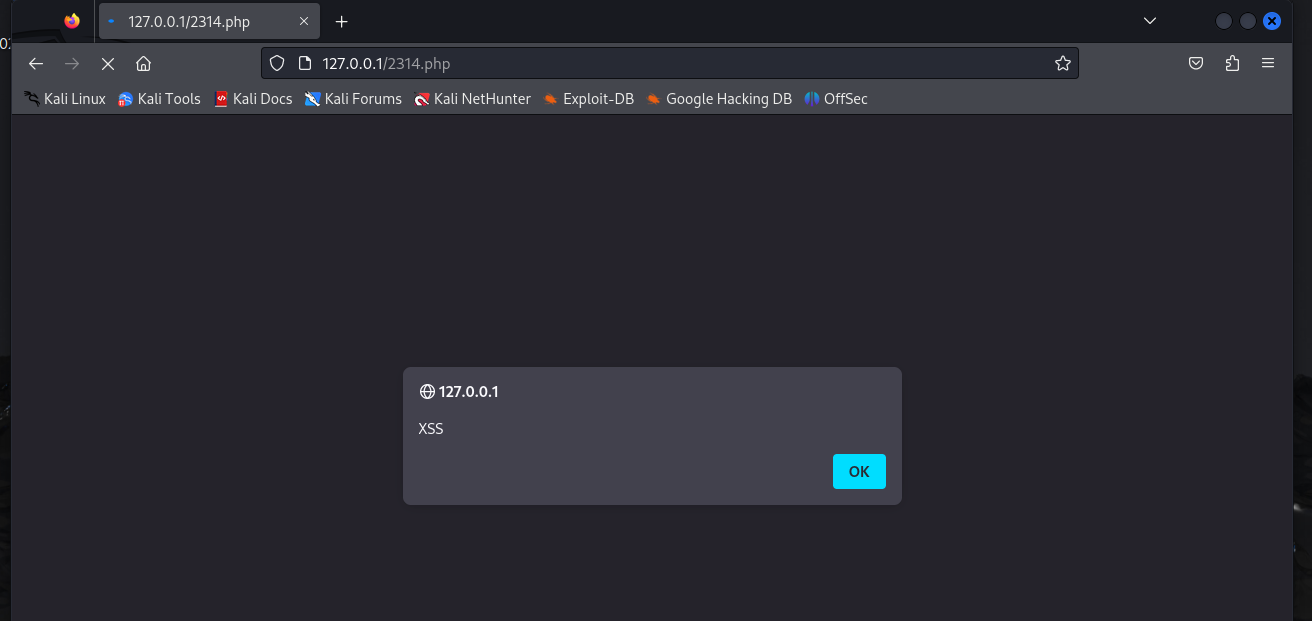
2314.php
<?php

$servername = "localhost";
$username = "ydb";
$password = "2314";
$dbname = "fir";

// 创建连接
$conn = new mysqli($servername, $username, $password, $dbname);

// 检查连接
if ($conn->connect_error) {
    die("Connection failed: " . $conn->connect_error);
}

// 获取用户输入的用户名和密码
$username = $_POST['username'];
$password = $_POST['password'];

// 直接从数据库中检索用户凭据
$sql = "SELECT * FROM login WHERE username='$username' AND password='$password'";
$result = $conn->query($sql);

if ($result->num_rows > 0) {
    // 用户认证成功,设置会话变量并重定向到主页
    echo "{$username} Welcome!";
} else {
    // 用户认证失败,显示错误信息
    echo "Invalid username or password";
}

$conn->close();
?>
修改html文件
<form action="login.php" method="post">
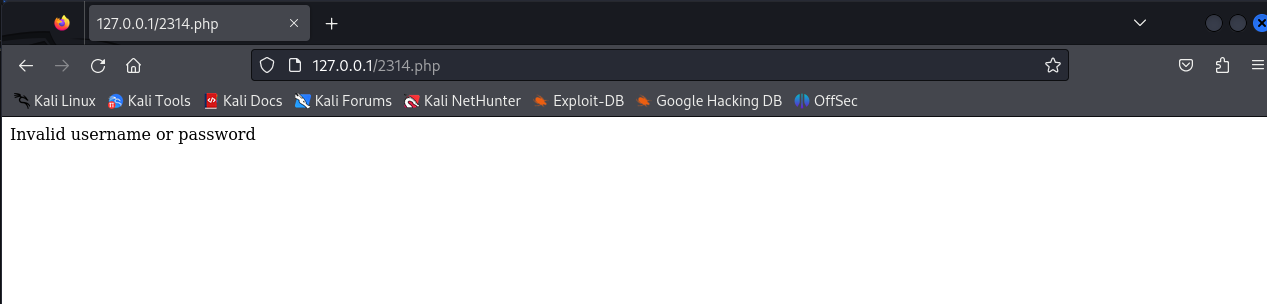

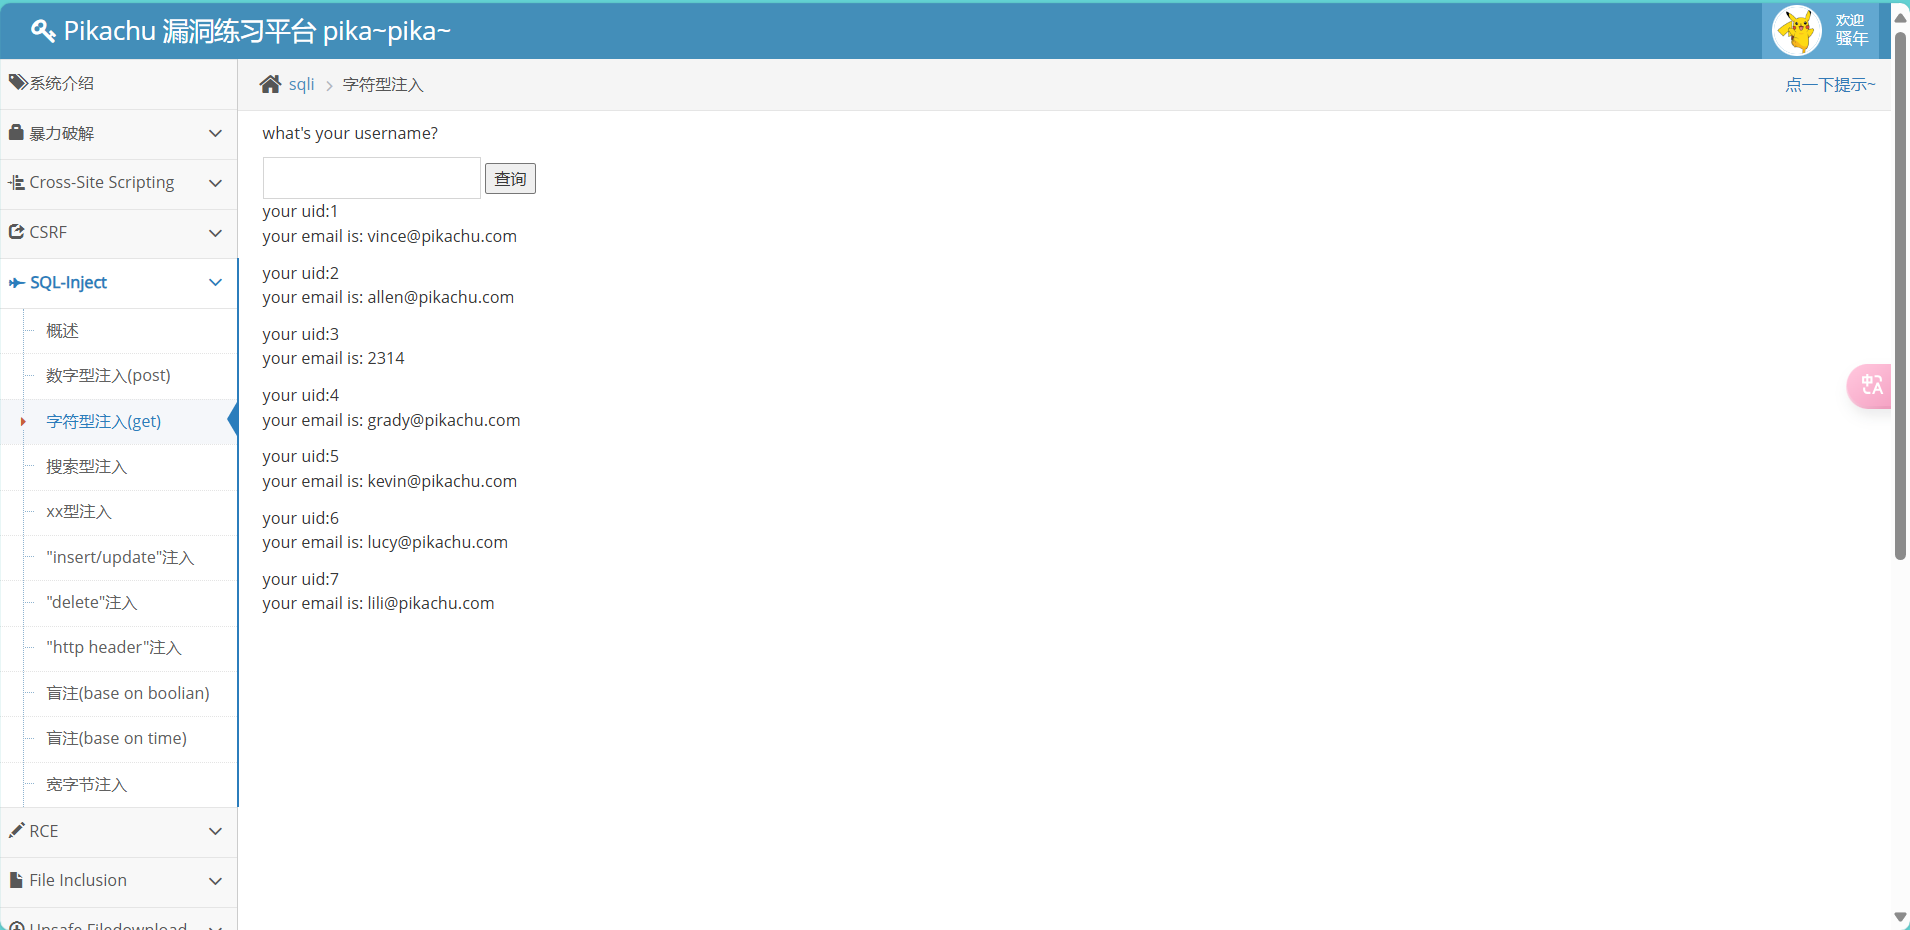
SQL注入
' or 1=1#

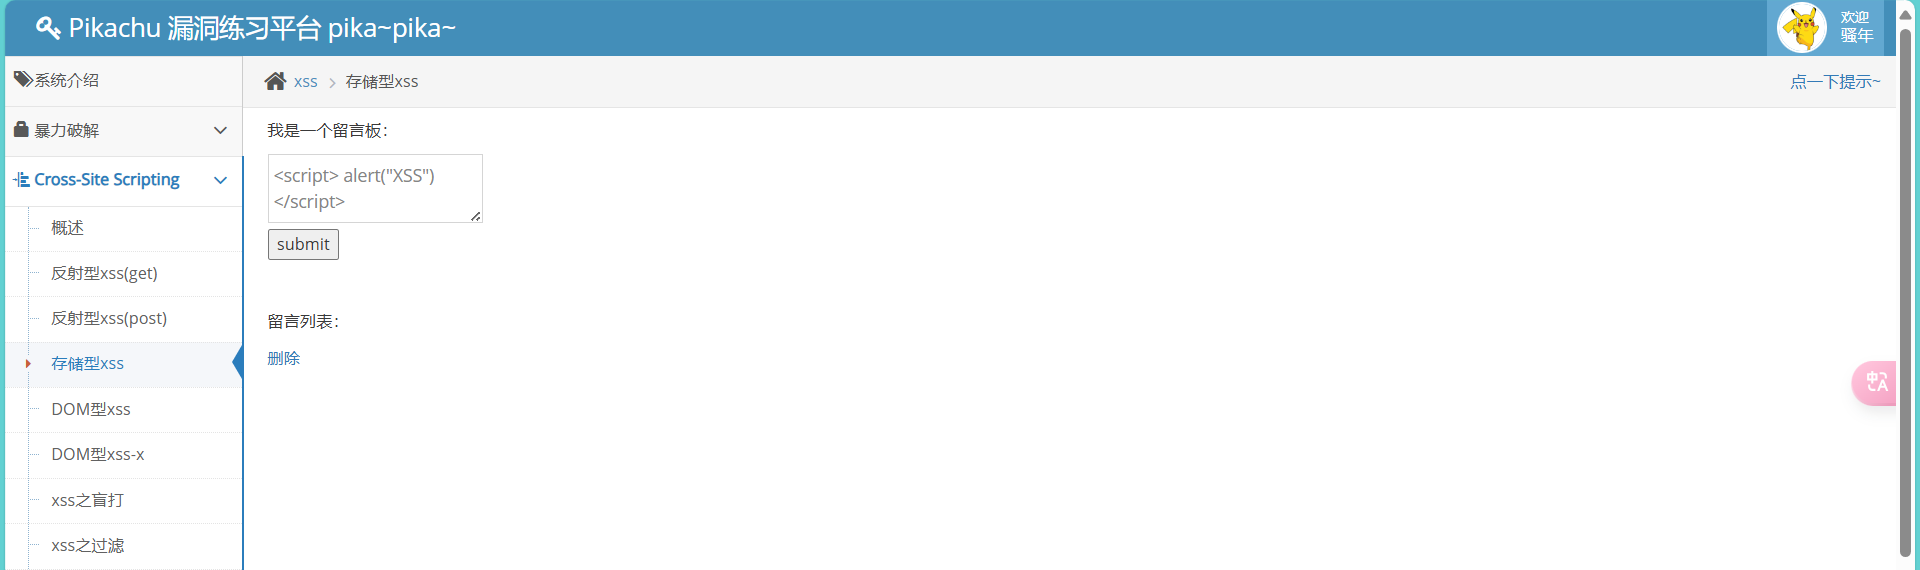
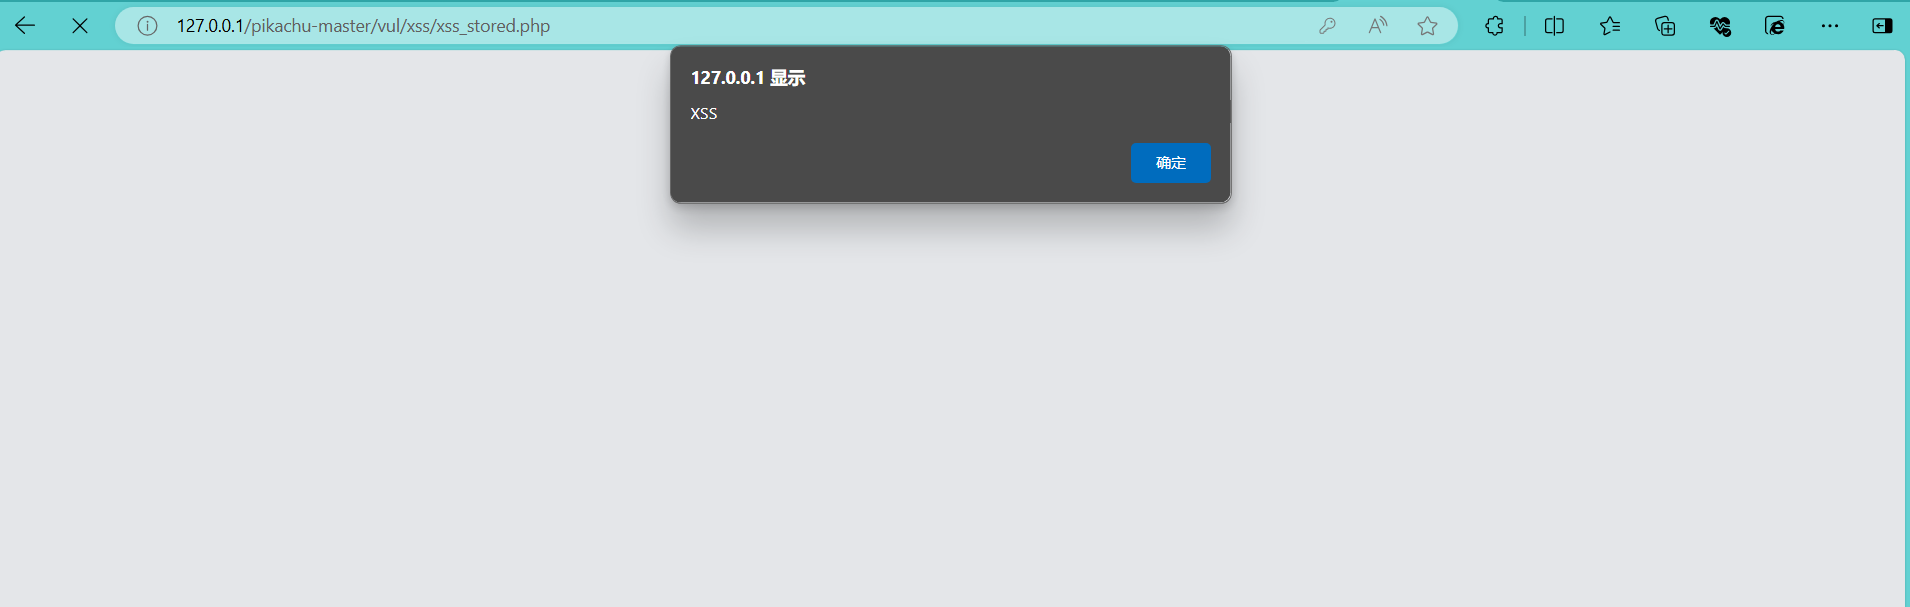
<script> alert("XSS") </script>
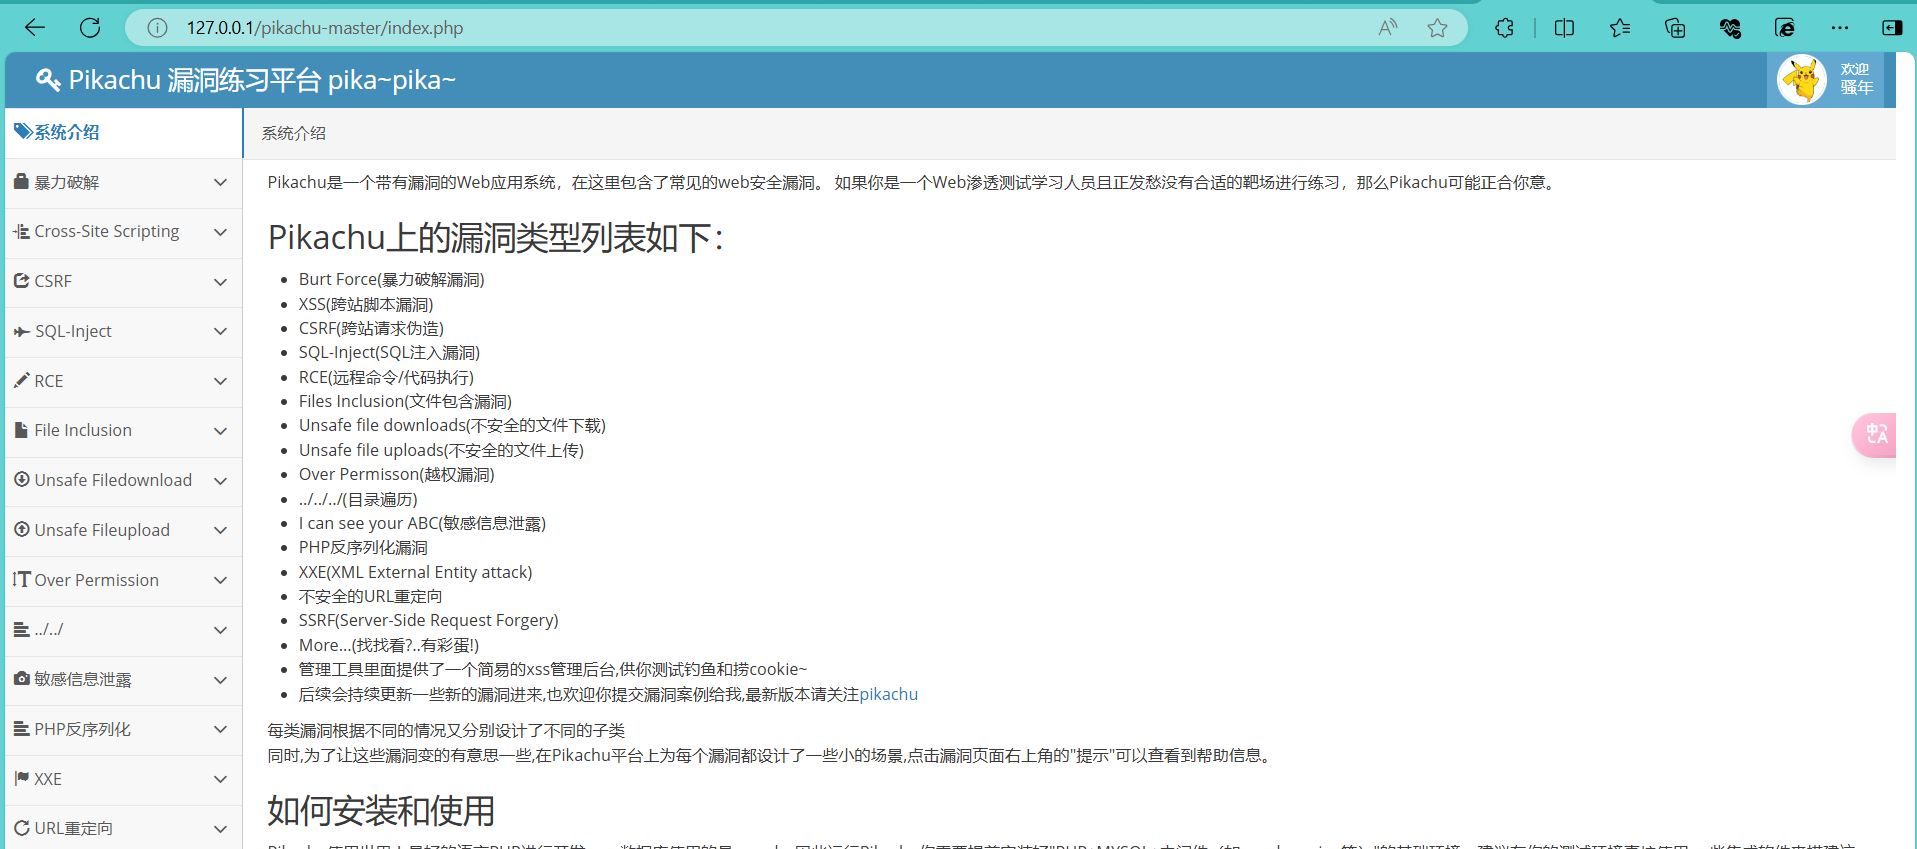
pikachu安装

XSS
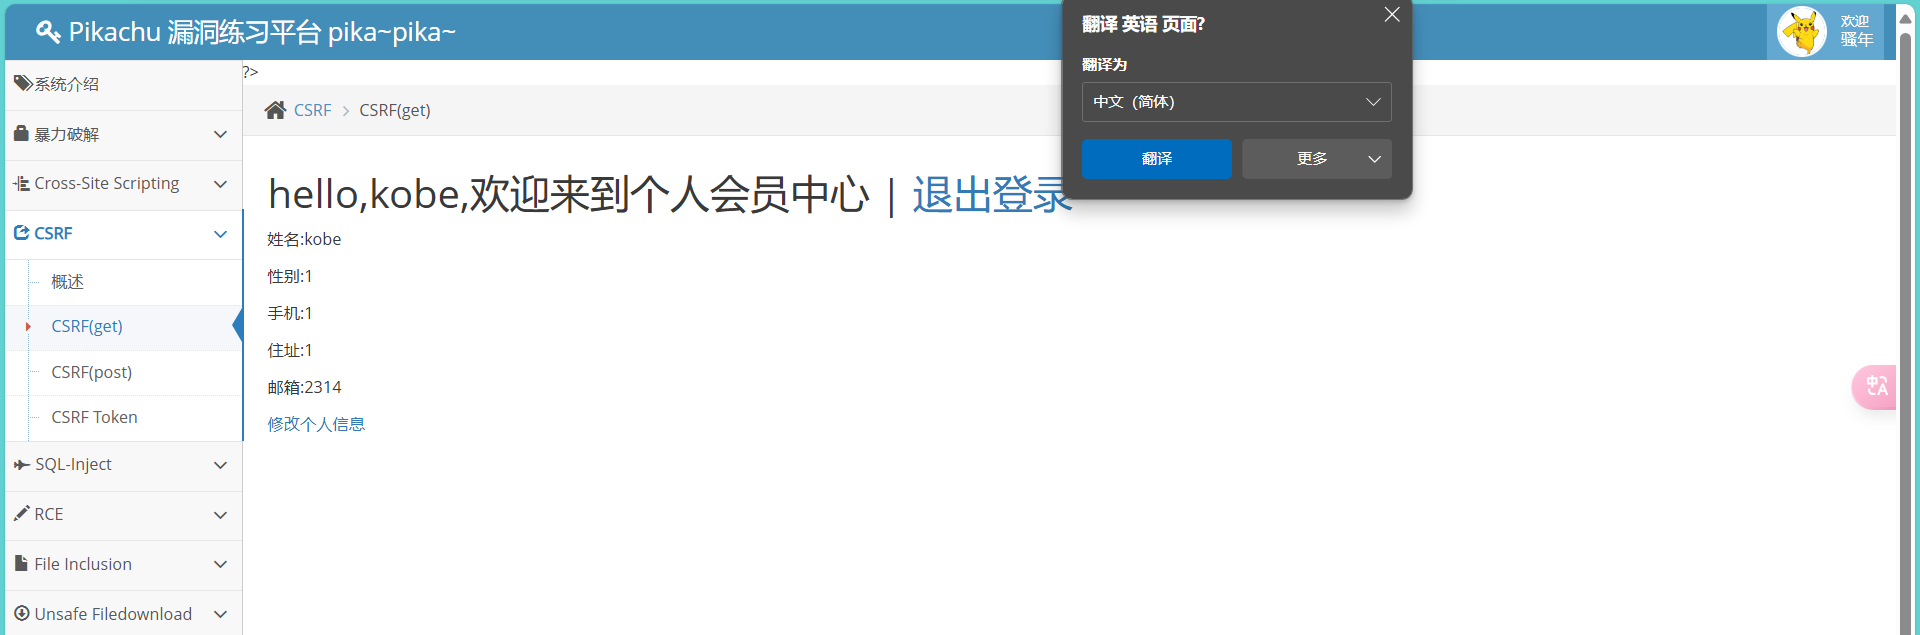
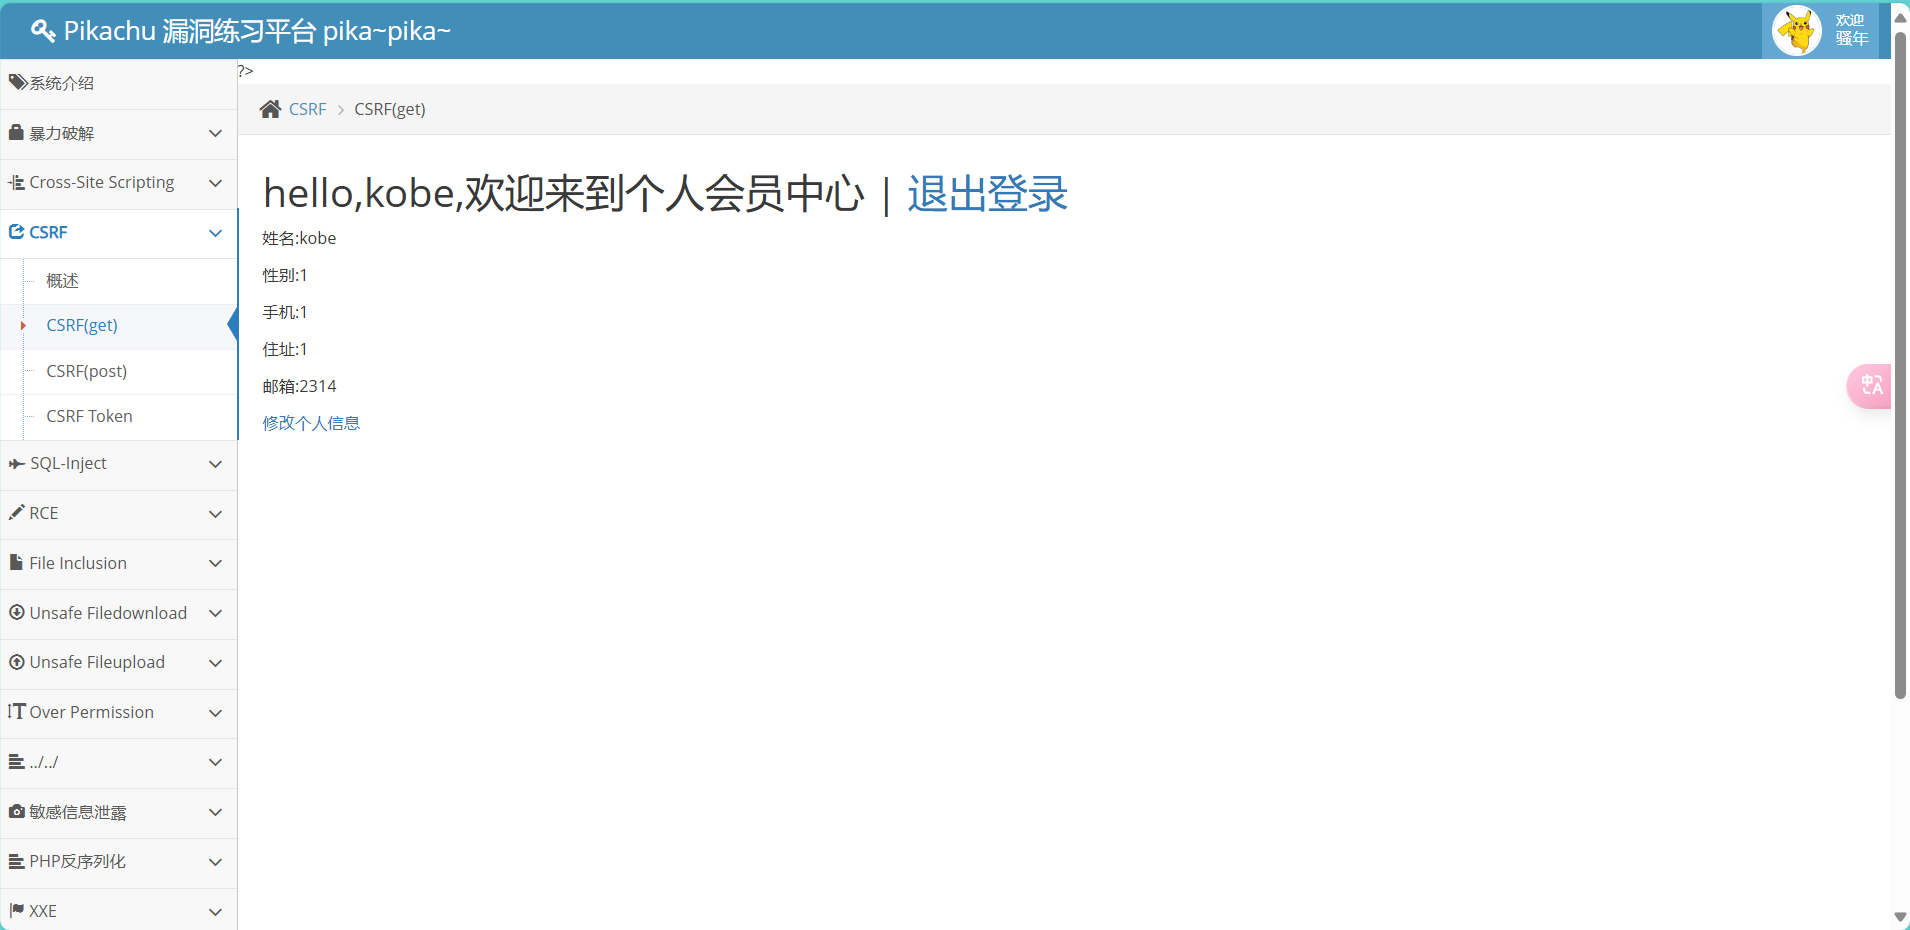
CSRF攻击
先登录进去
网络攻防的实验到此就结束了,这次的实验在之前网编的课程上已经做过类似的了,过程也比较顺利,算是圆满结束了。

