


19
社区成员
 发帖
发帖 与我相关
与我相关 我的任务
我的任务
 分享
分享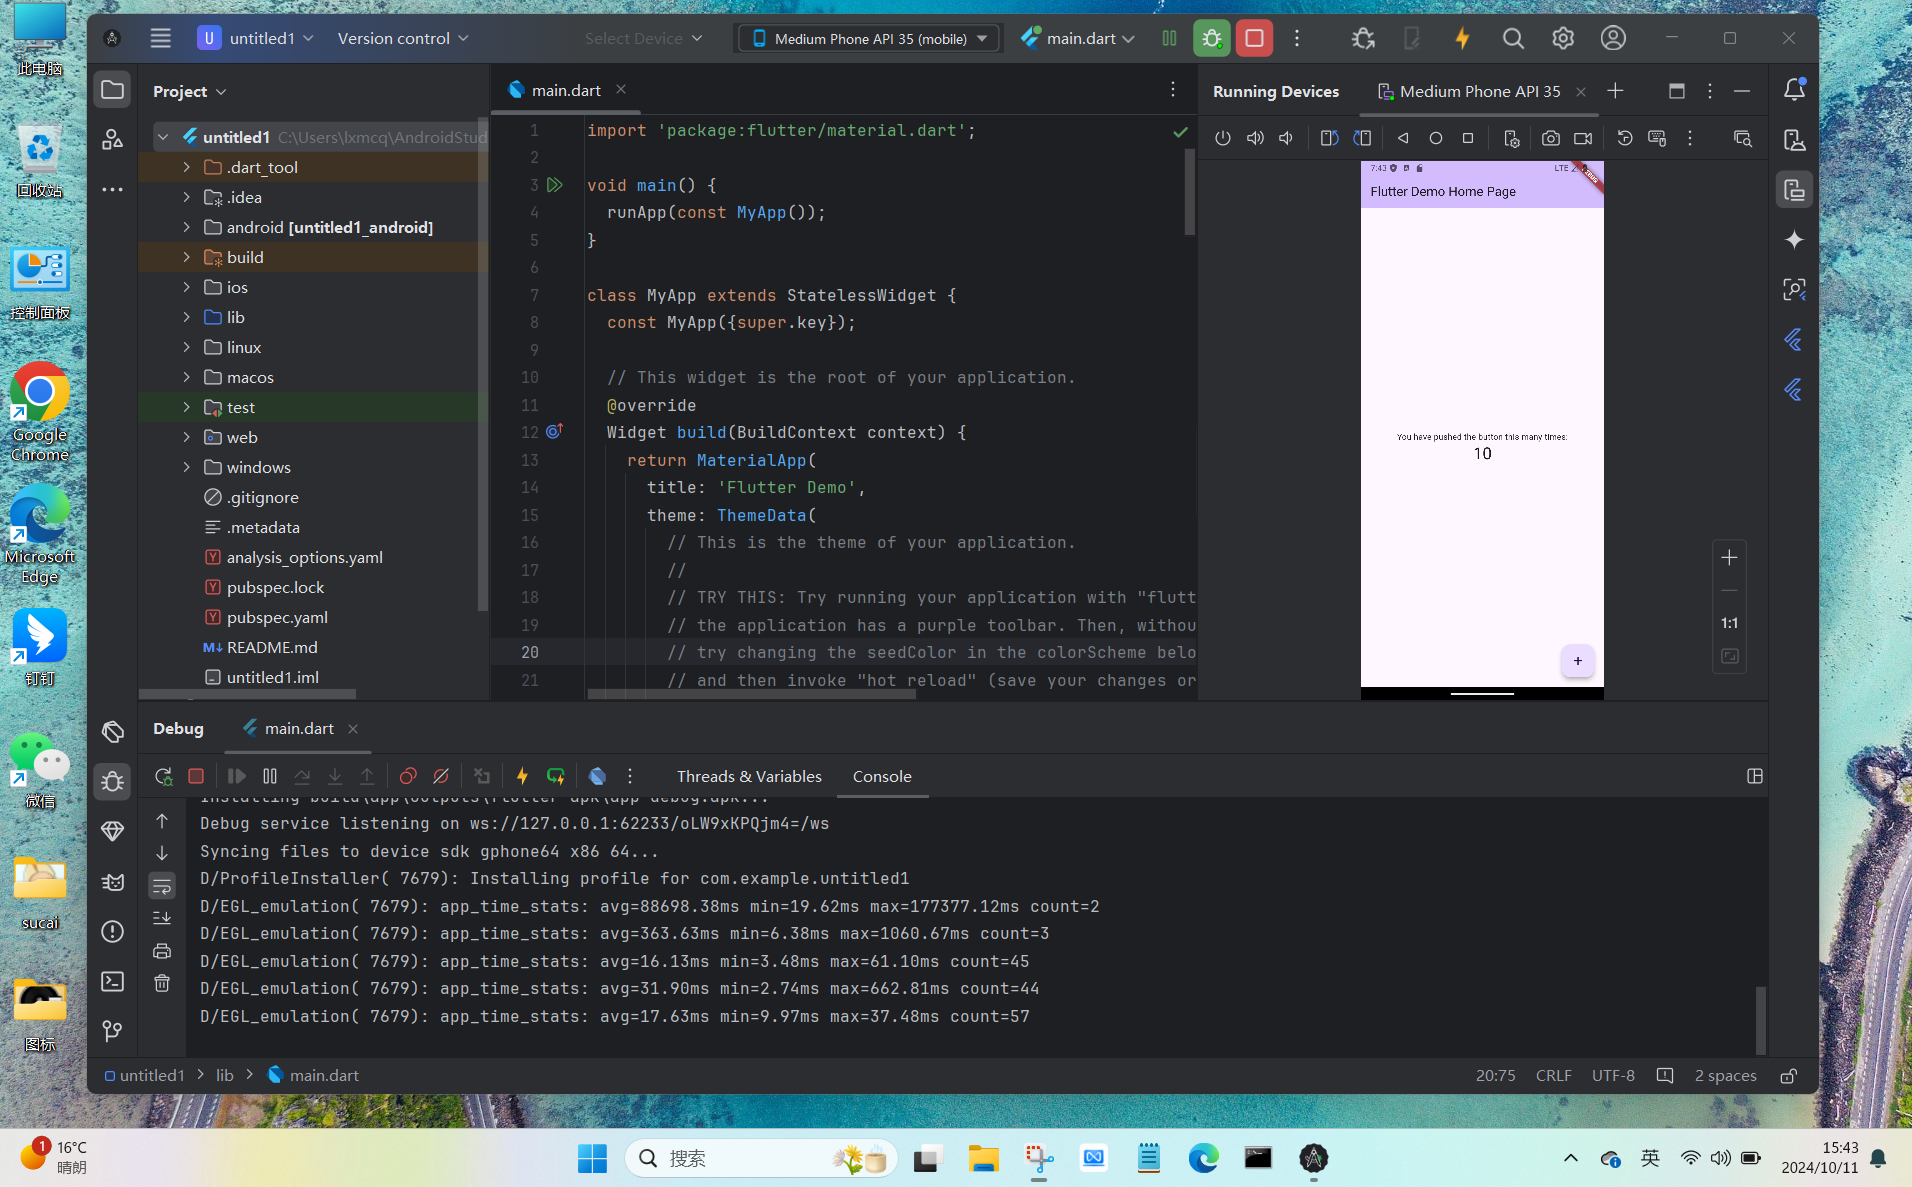
import 'package:flutter/material.dart';

void main() {
  runApp(const MyApp());
}

class MyApp extends StatelessWidget {
  const MyApp({super.key});

  // This widget is the root of your application.
  @override
  Widget build(BuildContext context) {
    return MaterialApp(
      title: 'Flutter Demo',
      theme: ThemeData(
        // This is the theme of your application.
        //
        // TRY THIS: Try running your application with "flutter run". You'll see
        // the application has a purple toolbar. Then, without quitting the app,
        // try changing the seedColor in the colorScheme below to Colors.green
        // and then invoke "hot reload" (save your changes or press the "hot
        // reload" button in a Flutter-supported IDE, or press "r" if you used
        // the command line to start the app).
        //
        // Notice that the counter didn't reset back to zero; the application
        // state is not lost during the reload. To reset the state, use hot
        // restart instead.
        //
        // This works for code too, not just values: Most code changes can be
        // tested with just a hot reload.
        colorScheme: ColorScheme.fromSeed(seedColor: Colors.deepPurple),
        useMaterial3: true,
      ),
      home: const MyHomePage(title: 'Flutter Demo Home Page'),
    );
  }
}

class MyHomePage extends StatefulWidget {
  const MyHomePage({super.key, required this.title});

  // This widget is the home page of your application. It is stateful, meaning
  // that it has a State object (defined below) that contains fields that affect
  // how it looks.

  // This class is the configuration for the state. It holds the values (in this
  // case the title) provided by the parent (in this case the App widget) and
  // used by the build method of the State. Fields in a Widget subclass are
  // always marked "final".

  final String title;

  @override
  State<MyHomePage> createState() => _MyHomePageState();
}

class _MyHomePageState extends State<MyHomePage> {
  int _counter = 0;

  void _incrementCounter() {
    setState(() {
      // This call to setState tells the Flutter framework that something has
      // changed in this State, which causes it to rerun the build method below
      // so that the display can reflect the updated values. If we changed
      // _counter without calling setState(), then the build method would not be
      // called again, and so nothing would appear to happen.
      _counter++;
    });
  }

  @override
  Widget build(BuildContext context) {
    // This method is rerun every time setState is called, for instance as done
    // by the _incrementCounter method above.
    //
    // The Flutter framework has been optimized to make rerunning build methods
    // fast, so that you can just rebuild anything that needs updating rather
    // than having to individually change instances of widgets.
    return Scaffold(
      appBar: AppBar(
        // TRY THIS: Try changing the color here to a specific color (to
        // Colors.amber, perhaps?) and trigger a hot reload to see the AppBar
        // change color while the other colors stay the same.
        backgroundColor: Theme.of(context).colorScheme.inversePrimary,
        // Here we take the value from the MyHomePage object that was created by
        // the App.build method, and use it to set our appbar title.
        title: Text(widget.title),
      ),
      body: Center(
        // Center is a layout widget. It takes a single child and positions it
        // in the middle of the parent.
        child: Column(
          // Column is also a layout widget. It takes a list of children and
          // arranges them vertically. By default, it sizes itself to fit its
          // children horizontally, and tries to be as tall as its parent.
          //
          // Column has various properties to control how it sizes itself and
          // how it positions its children. Here we use mainAxisAlignment to
          // center the children vertically; the main axis here is the vertical
          // axis because Columns are vertical (the cross axis would be
          // horizontal).
          //
          // TRY THIS: Invoke "debug painting" (choose the "Toggle Debug Paint"
          // action in the IDE, or press "p" in the console), to see the
          // wireframe for each widget.
          mainAxisAlignment: MainAxisAlignment.center,
          children: <Widget>[
            const Text(
              'You have pushed the button this many times:',
            ),
            Text(
              '$_counter',
              style: Theme.of(context).textTheme.headlineMedium,
            ),
          ],
        ),
      ),
      floatingActionButton: FloatingActionButton(
        onPressed: _incrementCounter,
        tooltip: 'Increment',
        child: const Icon(Icons.add),
      ), // This trailing comma makes auto-formatting nicer for build methods.
    );
  }
}
下面是你的 Flutter 应用程序的代码解释。这个简单的应用程序展示了如何使用 Flutter 框架创建一个计数器应用。
### 1. 引入依赖
```dart
import 'package:flutter/material.dart';
```
这行代码引入了 Flutter 的 Material 设计库,为我们提供构建用户界面所需的基本构件。
### 2. 主函数
```dart
void main() {
runApp(const MyApp());
}
```
这是应用程序的入口。`runApp` 函数接受一个根组件(在这里是 `MyApp`)并开始运行应用程序。
### 3. 主应用程序组件
```dart
class MyApp extends StatelessWidget {
const MyApp({super.key});
```
`MyApp` 是一个无状态组件(`StatelessWidget`),它是整个应用程序的根组件。
### 4. 应用程序主题
```dart
@override
Widget build(BuildContext context) {
return MaterialApp(
title: 'Flutter Demo',
theme: ThemeData(
colorScheme: ColorScheme.fromSeed(seedColor: Colors.deepPurple),
useMaterial3: true,
),
home: const MyHomePage(title: 'Flutter Demo Home Page'),
);
}
```
- `MaterialApp` 是 Flutter 中的一个容器,包含了应用程序的主题和路由等信息。
- `ThemeData` 定义了应用程序的主题颜色和风格。
- `ColorScheme.fromSeed` 使用深紫色作为应用程序的种子颜色,生成对应的调色板。
- `home` 属性设置了默认显示的组件,这里是 `MyHomePage`。
### 5. 主页面组件
```dart
class MyHomePage extends StatefulWidget {
const MyHomePage({super.key, required this.title});
final String title;
```
`MyHomePage` 是一个有状态组件(`StatefulWidget`),表示主要的用户界面元素,初始化时需要传入一个标题。
### 6. 组件状态
```dart
class _MyHomePageState extends State<MyHomePage> {
int _counter = 0;
void _incrementCounter() {
setState(() {
_counter++;
});
}
```
- `_MyHomePageState` 类保存了 `MyHomePage` 的状态,这里有一个 `_counter` 变量来记录点击次数。
- `_incrementCounter` 方法用于增加 `_counter` 的值,并通过 `setState` 通知 Flutter 重新构建 UI。
### 7. 构建方法
```dart
@override
Widget build(BuildContext context) {
return Scaffold(
appBar: AppBar(
backgroundColor: Theme.of(context).colorScheme.inversePrimary,
title: Text(widget.title),
),
body: Center(
child: Column(
mainAxisAlignment: MainAxisAlignment.center,
children: <Widget>[
const Text('You have pushed the button this many times:'),
Text('$_counter', style: Theme.of(context).textTheme.headlineMedium),
],
),
),
floatingActionButton: FloatingActionButton(
onPressed: _incrementCounter,
tooltip: 'Increment',
child: const Icon(Icons.add),
),
);
}
```
- `build` 方法定义了如何构建 UI。
- `Scaffold` 是一个设计良好的 Material 设计应用程序布局的结构,包括一个应用栏、主要内容和浮动操作按钮。
- `AppBar` 显示应用程序的标题,可以自定义背景颜色。
- `Center` 和 `Column` 组件用于将计数器文本居中显示。
- `FloatingActionButton` 是一个圆形按钮,点击后会调用 `_incrementCounter` 方法增加计数。
### 总结
这个 Flutter 应用程序实现了一个基本的计数器功能,通过点击浮动按钮来增加计数并实时更新显示。在用户界面(UI)上,它展示了 Material 风格的元素,包括应用栏、居中的文本和浮动按钮。
